6
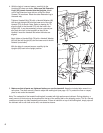
5. Make sure that all parts are tightened before you use the treadmill. Keep the included allen wrench in a
safe place. The allen wrench is used to adjust the walking belt (see page 12). To protect the floor or carpet,
place a mat under the treadmill.
Note: The underside of the treadmill walking belt is coated with high-performance lubricant. During shipping, a
small amount of lubricant may be transferred to the top of the walking belt or the shipping carton. This is a normal
condition and does not affect treadmill performance. If there is lubricant on top of the walking belt, simply wipe off
the lubricant with a soft cloth and a mild, non-abrasive cleaner.
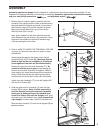
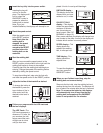
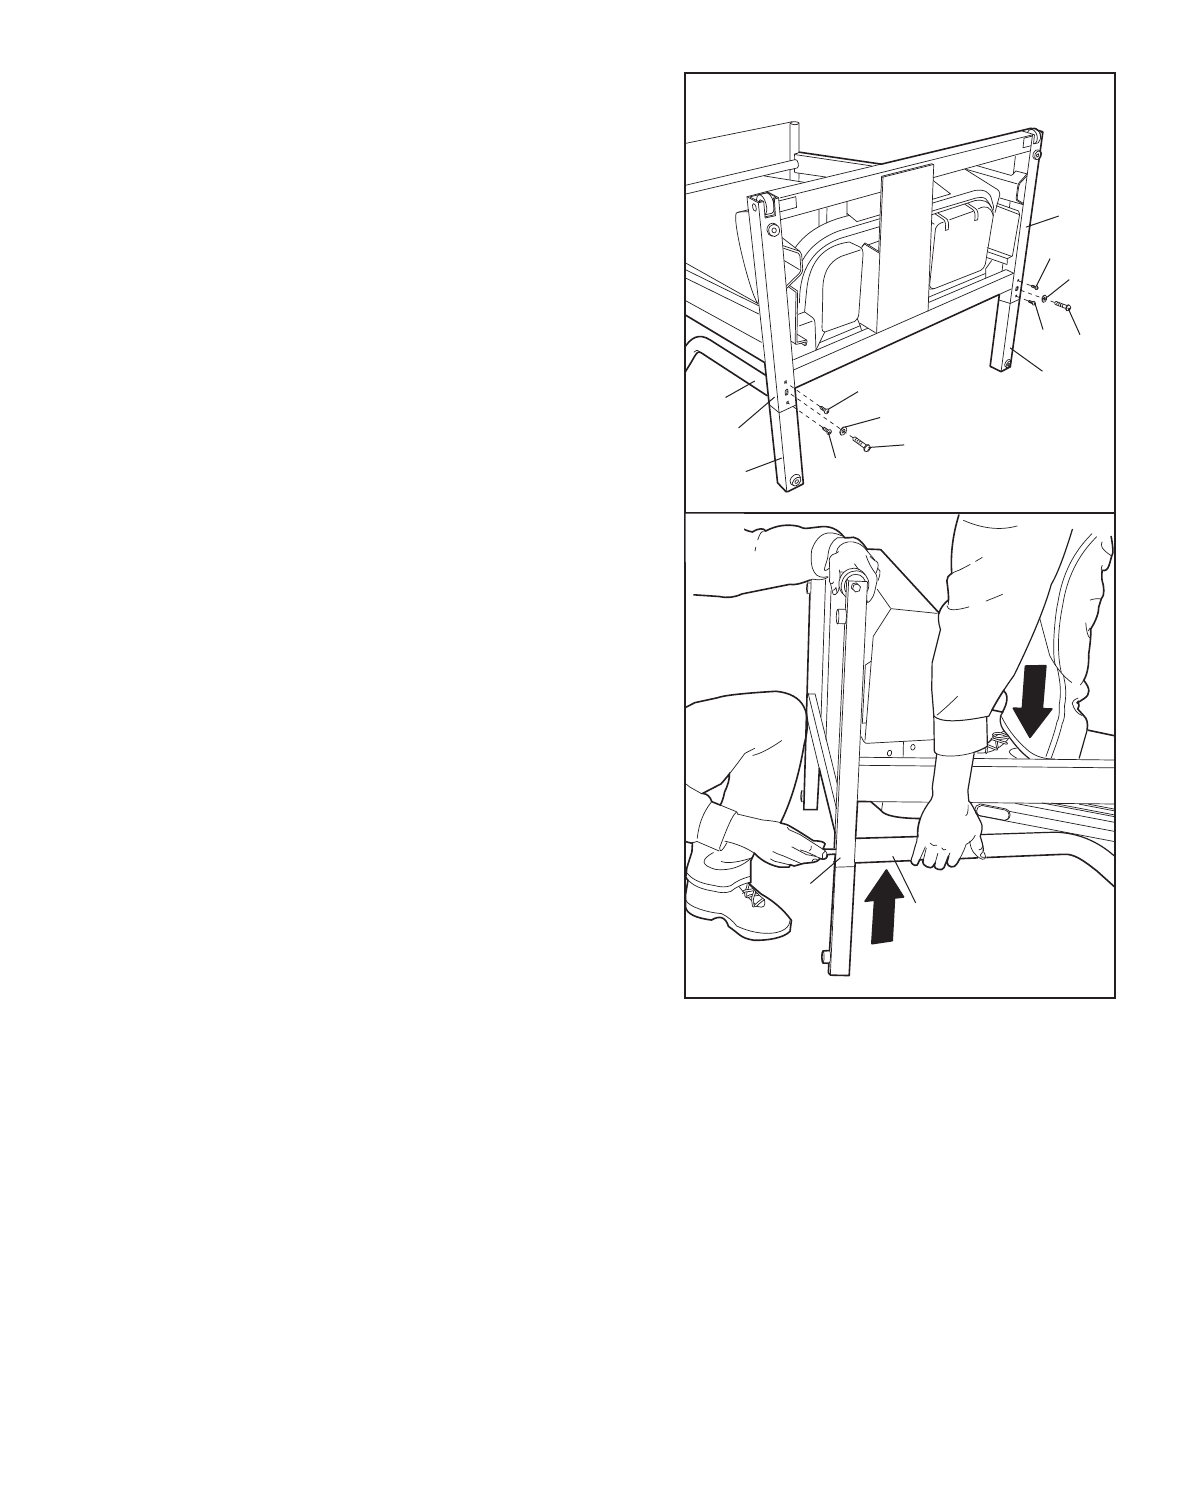
4. With the help of a second person, carefully tip the
Uprights (82) down as shown. Make sure the Extension
L
egs (103) remain inserted into the Uprights.
A
ttach
o
ne of the Extension Legs with two of the four Short
Screws (76) as shown. Attach the other Extension Leg in
the same way.
Tighten a Handrail Bolt (78) with a Handrail Washer (96)
into the right Upright (82) and the lower end of the right
Handrail (75) as shown. Note: Refer to drawing 4b. To
align the hole in the Handrail (75) with the hole in the
Upright (82), it may be necessary to have a second per-
son place one foot on the treadmill as they lift the
Handrail. Insert the Handrail Bolt when the holes are
aligned.
Next, tighten a Handrail Bolt (78) with a Handrail Washer
(96) into the left Upright (82) and the lower end of the left
Handrail (not shown).
With the help of a second person, carefully tip the
Uprights (82) back to the upright position.
4
76
96
78
76
82
96
78
103
76
76
103
82
75
4b
75
82


