


9
STEP-BY-STEP CONSOLE OPERATION
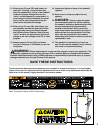
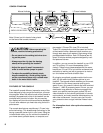
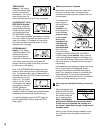
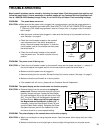
Before operating the con-
sole, make sure that the
on/off switch near the
power cord is in the on
position. Next, make sure
that the key is removed
from the console and the power cord is properly
plugged in (see HOW TO PLUG IN THE POWER
CORD on page 7).
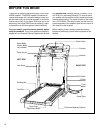
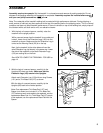
When you are ready to begin exercising, step onto the
foot rails of the treadmill. Find the clip attached to the
key (see the drawing on page 8), and slide the clip
onto the waistband of your clothing.
To use the manual mode, follow the steps below
and on page 11. To use i-Fit.com CD’s or videocas-
settes (not included), refer to page 11. To use other
i-Fit.com technology, see page 13.
Note: The console can display speed and distance in
either miles or kilometers (see SPEED/MIN-MILE DIS-
PLAY on page 11). For simplicity, all instructions in this
manual refer to miles.
HOW TO USE THE MANUAL MODE
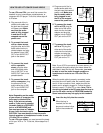
Insert the key fully into the console.
When the key is
inserted, the four dis-
plays and various indi-
cators on the console
will light.
Select the manual mode.
When the key is in-
serted, the manual
mode will automatically
be selected. If the i-
Fit.com indicator is lit,
press the MODE but-
ton to select the man-
ual mode.
Press the START button or the SPEED
▲▲
button
to start the walking belt.
A moment after the but-
ton is pressed, the walk-
ing belt will begin to
move at 1 mph. Hold the
handrails and carefully
begin walking. As you exercise, change the speed
of the walking belt as desired by pressing the
SPEED buttons.
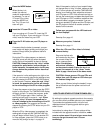
To stop the walking belt, press the STOP button.
The TIME/INCLINE display will begin to flash. To
restart the walking belt, press the START button or
the SPEED
▲▲
button.
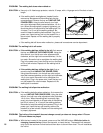
Change the incline of the treadmill as desired.
To vary the intensity of
your exercise, change the
incline of the treadmill by
pressing the INCLINE
buttons. Each time one of
the buttons is pressed,
the incline will change by
0.5%. The incline range is
1.5% to 12%. Note: When one of the INCLINE
buttons is pressed, the TIME/INCLINE display will
show the incline setting for seven seconds. After
the buttons are pressed, it may take a moment for
the treadmill to reach the selected incline setting.
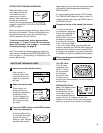
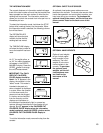
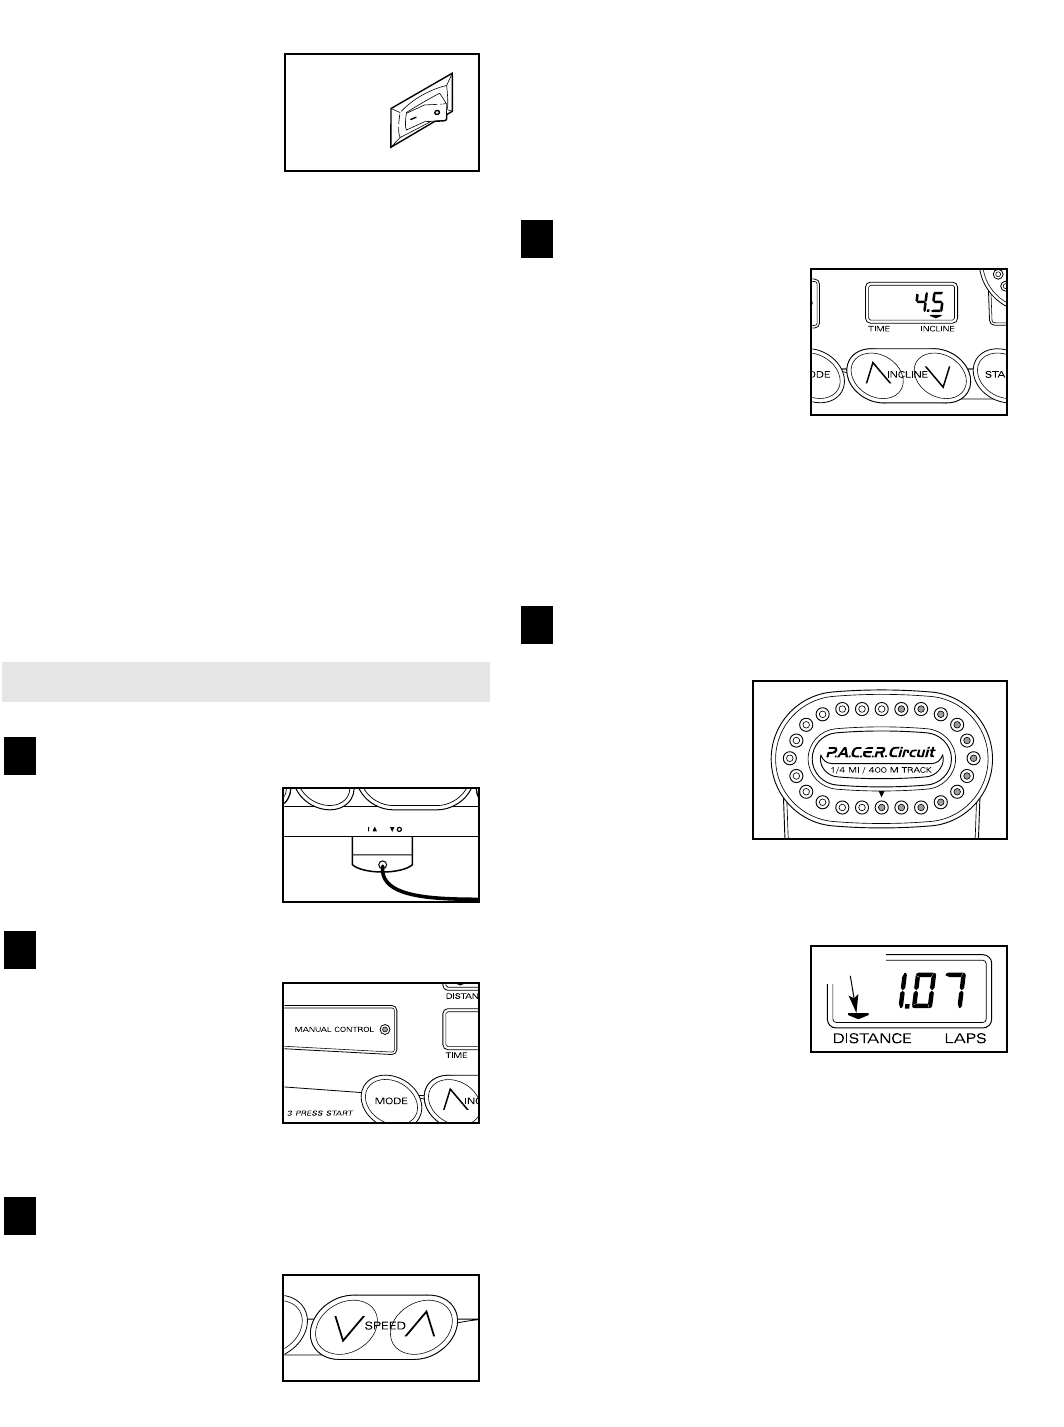
Follow your progress with the LED track and
the four displays.
The LED Track—
The LED track
represents a dis-
tance of 1/4 mile.
As you exercise,
the indicators
around the track
will light one at a
time until you have completed 1/4 mile. A new lap
will then begin.
DISTANCE/LAPS dis-
play—This display shows
the distance that you
have walked or run and
the number of laps you
have completed (one lap
equals 1/4 mile). The display will alternate
between one number and the other every seven
seconds, as shown by the arrows in the display.
5
4
3
2
1
On
Position
Arrow