705102 REGGIE WHITE ALL PRO GYM
1. Attach two 2" COVER CAPS and one 2" END
CAP to BASE as shown on drawing.
2. Insert one 3 x 2" END CAP into each end of
TOP BOOM as shown on drawing.
3.
Attach one 2" END CAP and one 1-1/4 x 5"
GRIP to each PRESS ARM.
4. Insert one 2" END CAP into each end of LEG
EXTENSION as shown on drawing.
5. Insert one 2" END CAP into open end of SEAT
SUPPORT. Affix one 1-1/4" Rubber Bumper to
SEAT SUPPORT as shown on drawing.
6. LOOSELY assemble the UPRIGHT to the
BASE as shown on drawing using two 3/8 X 3
bolts, two 3/8 locknuts and four 3/8 flat washers.
Make sure the edge of the UPRIGHT is flush
with the side of the BASE and the bolts are
oriented correctly.
7. LOOSELY assemble one PULLEY to the SEAT
SUPPORT as shown in drawing using one 3/8 X
3 bolt, one 3/8 locknut and two 1/2 spacers.
8. LOOSELY assemble the SEAT suPPORT to
the BASE and UPRIGHT as shown in drawing
using three 3/8 X 3 bolts, four 3/8 flat washers
and three 3/8 locknuts.
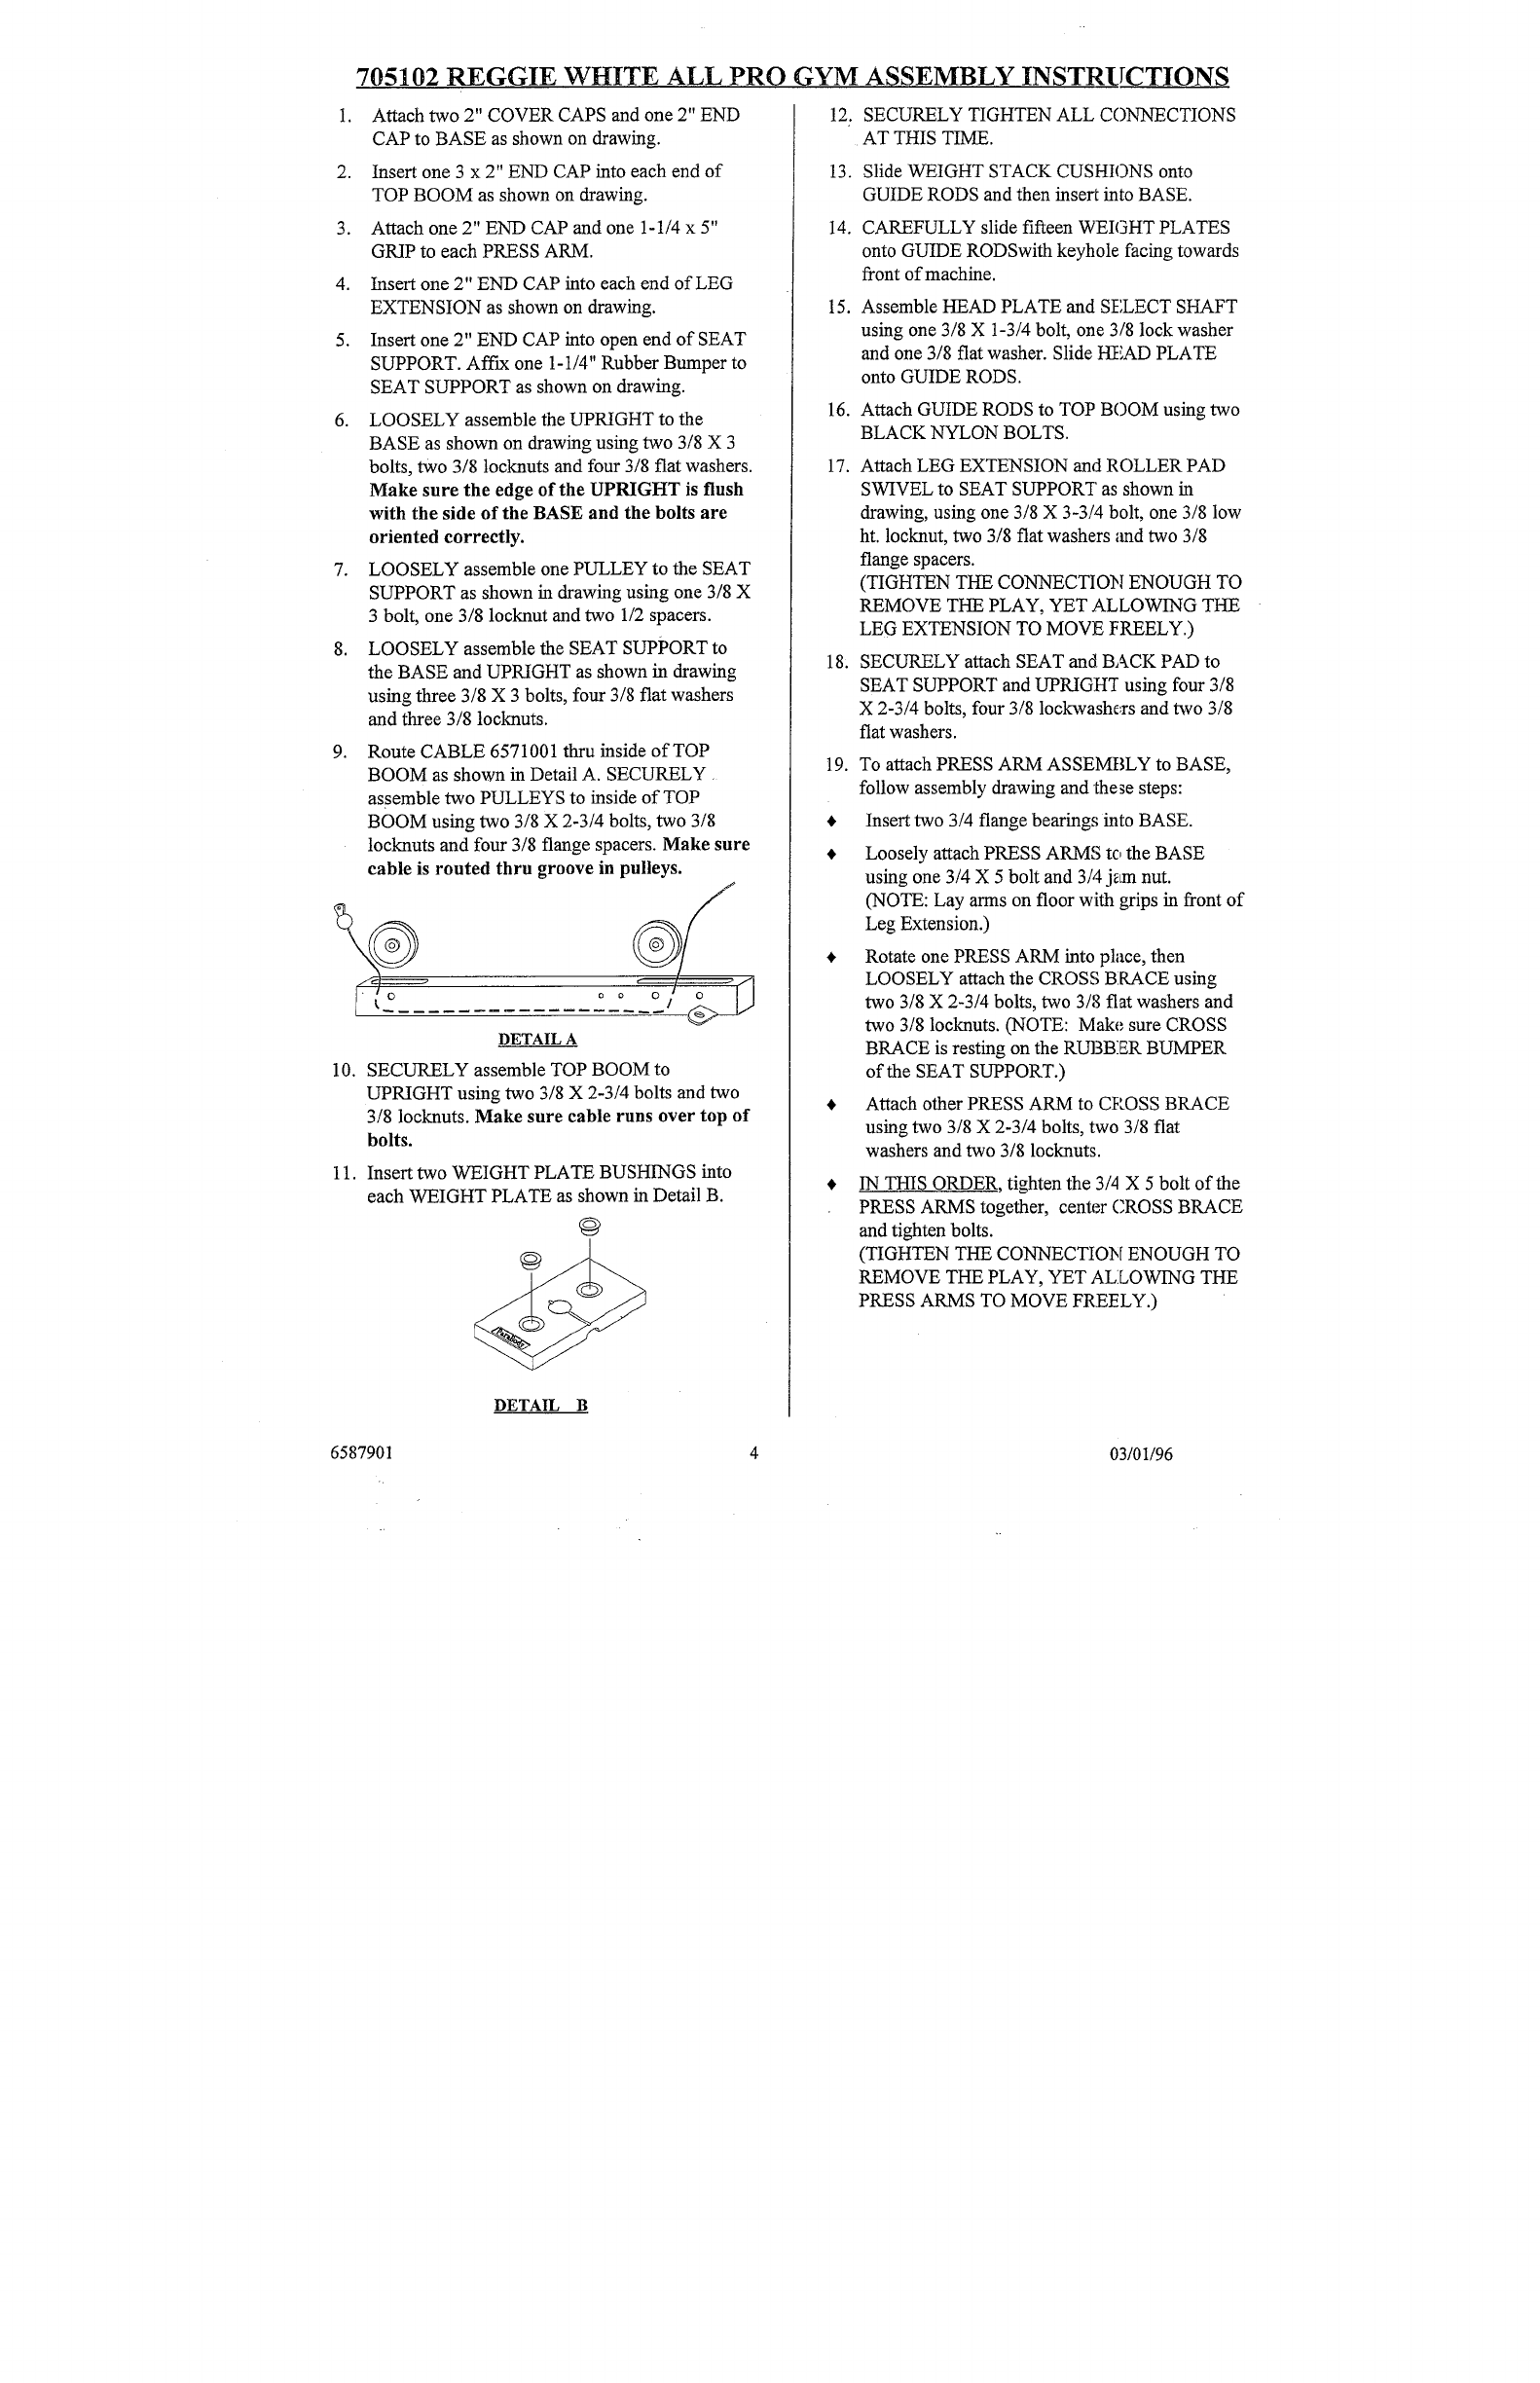
9. Route CABLE 6571001 thru inside of TOP
BOOM as shown in Detail A. SECURELY,
assemble two PULLEYS to inside of TOP
BOOM using two 3/8 X 2-3/4 bolts, two 3/8
locknuts and four 3/8 flange spacers. Make sure
cable is routed thru groove in pulleys.
10.
11.
DETAIL A
SECURELY assemble TOP BOOM to
UPRIGHT using two 3/8 X 2-3/4 bolts and two
3/8 locknuts. Make sure cable runs over top of
bolts.
Insert two WEIGHT PLATE BUSHINGS into
each WEIGHT PLATE as shown in Detail B.
DETAIL B
ASSEMBLY INSTRUCTIONS
12. SECURELY TIGHTEN ALL CONNECTIONS
AT THIS TIME.
13. Slide WEIGHT STACK CUSHIONS onto
GUIDE RODS and then insert into BASE.
CAREFULLY slide fifteen WEIGHT PLATES
onto GUIDE RODSwith keyhole facing towards
front of machine.
Assemble HEAD PLATE and SELECT SHAFT
using one 3/8 X 1-3/4 bolt, one 3/8 lock washer
and one 3/8 flat washer. Slide I~iAD PLATE
onto GUIDE RODS.
Attach GUIDE RODS to TOP BOOM using two
BLACK NYLON BOLTS.
Attach LEG EXTENSION and ROLLER PAD
SWIVEL to SEAT SUPPORT as shown in
drawing, using one 3/8 X 3-3/4 bolt, one 3/8 low
ht. locknut, two 3/8 flat washers and two 3/8
flange spacers.
(TIGHTEN THE CONNECTION ENOUGH TO
REMOVE THE PLAY, YET ALLOWING THE
LEG EXTENSION TO MOVE I:REELY.)
SECURELY attach SEAT and BACK PAD to
SEAT SUPPORT and UPRIGH’f using four 3/8
X 2-3/4 bolts, four 3/8 lockwashers and two 3/8
flat washers.
To attach PRESS ARM ASSEMBLY to BASE,
follow assembly drawing and these steps:
Insert two 3/4 flange bearings into BASE.
Loosely attach PRESS ARMS t¢, the BASE
using one 3/4 X 5 bolt and 3/4 jam nut.
(NOTE: Lay arms on floor with grips in front of
Leg Extension.)
Rotate one PRESS ARM into place, then
LOOSELY attach the CROSS BRACE using
two 3/8 X 2-3/4 bolts, two 3/8 fiat washers and
two 3/8 locknuts. (NOTE: Make, sure CROSS
BRACE is resting on the RUBBER BUMPER
of the SEAT SUPPORT.)
Attach other PRESS ARM to CROSS BRACE
using two 3/8 X 2-3/4 bolts, two 3/8 flat
washers and two 3/8 locknuts.
IN THIS ORDER, tighten the 3/d X 5 bolt of the
PRESS ARMS together, center (;ROSS BRACE
and tighten bolts.
(TIGHTEN THE CONNECTION ENOUGH TO
REMOVE THE PLAY, YET ALLOWING THE
PRESS ARMS TO MOVE FREELY.)
14.
15.
16.
17.
19.
6587901
4 03/01/96


