


27
WARNING: If your bike is equipped with an internal gear rear hub, do not attempt to remove the rear
wheel. The removal and re-installation of internal gear hubs require special knowledge. Incorrect removal
or assembly can result in hub failure, which can cause you to lose control and fall.
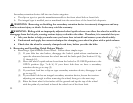
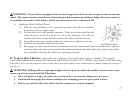
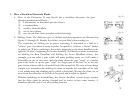
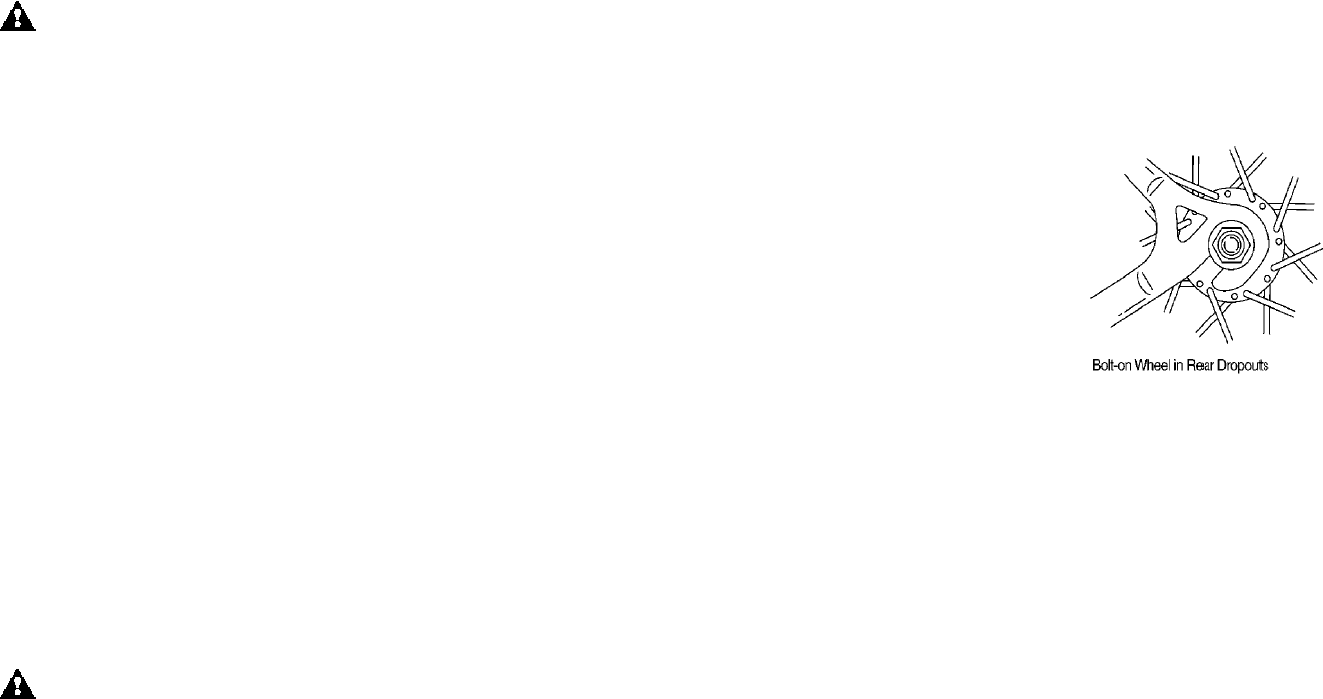
d. Installing a Bolt-On Rear Wheel
(1) Shift the rear derailleur to its outermost position and pull the derailleur
body back with your right hand.
(2) Put the chain on to the smallest sprocket. Then, insert the wheel into the
frame dropouts and pull it all the way in to the dropouts. The axle nut
washers should be on the outside, between the frame and the axle nut.
(3) Using the correct size wrench, tighten the axle nuts as tightly as you can.
(4) Push the rear derailleur back into position.
fig. 9
(5) Re-engage the brake quick-release mechanism to restore correct brake pad-to-rim clearance; spin the
wheel to make sure that it is centered in the frame and clears the brake pads; then squeeze the brake
lever and make sure that the brakes are operating correctly.
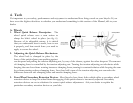
B. Seatpost Quick Release.
Some bikes are equipped with a quick-release seat post binder. The seatpost
quick-release binder works exactly like the wheel quick-release (Section 4.A.1). While a quick release looks like a long
bolt with a lever on one end and a nut on the other, the quick release uses a cam action to firmly clamp the seat post
(see fig. 6).
WARNING: Riding with an improperly tightened seat post can allow the saddle to turn or move and
cause you to lose control and fall. Therefore:
•
Ask your dealer to help you make sure you know how to correctly clamp your seat post.
• Understand and apply the correct technique for clamping your seat post quick release.
•
Before you ride the bike, first check that the seatpost is securely clamped.