STEP 3 (See Diagram 3)
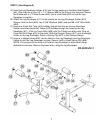
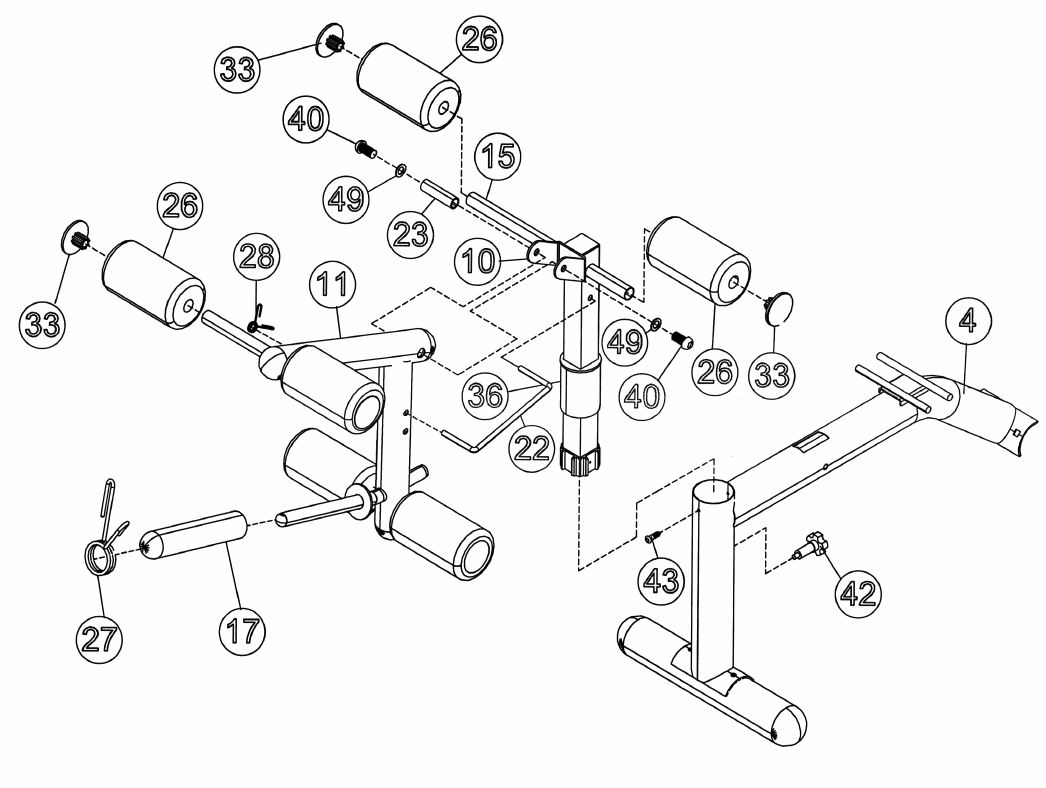
A.) Insert the Leg Developer Holder (#10) into the top opening on the Main Seat Support
(#4). Align the hole on the ∅3” x 1 ¾” Sleeve (#36) to the hole on the font post. Secure
the Sleeve with a ½” Philips Screw (#43). Use a Lock Knob (#42) to lock the Leg
Developer in position.
B.) Attach the Leg Developer (#11) to the bracket on the Leg Developer Holder (#10).
Secure it with an Axle (#23), two ∅ 5/8” Washers (#49), and two M8 x 5/8” Allen Bolts
(#40).
C.) Insert one Foam Roll Tube (#15) halfway through the hole on the Leg Developer
Holder. Insert two Foam Roll Tubes (#15) halfway through the holes on the Leg
Developer (#11). Push six Foam Rolls (#26) onto the Tubes from both ends. Plug six
Foam Roll End Caps (#33) to the ends. Slide the Olympic Sleeve (#17) onto the weight
holder on the Leg Developer. Attach a Spring Clip (#27) to the Olympic Sleeve.
D.) Insert a U-shaped Hook (#22) into the holes on the Leg Developer and Leg Developer
Holder to lock the Leg Developer in place. Secure it with a Small Spring Clip (#28).
NOTE: The purpose of the Hook is to lock the Leg Developer in place when doing
abdominal exercises. Remove the Hook when using the Leg Developer.
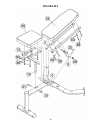
DIAGRAM 3
7


