ASSEMBLY INSTRUCTION
Tools Required Assembling the Machine: Two Adjustable Wrenches and Allen Wrenches.
NOTE: It is strongly recommended this machine to be assembled by two or more people to
avoid possible injury.
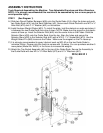
STEP 1 (See Diagram 1)
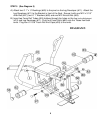
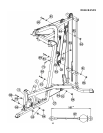
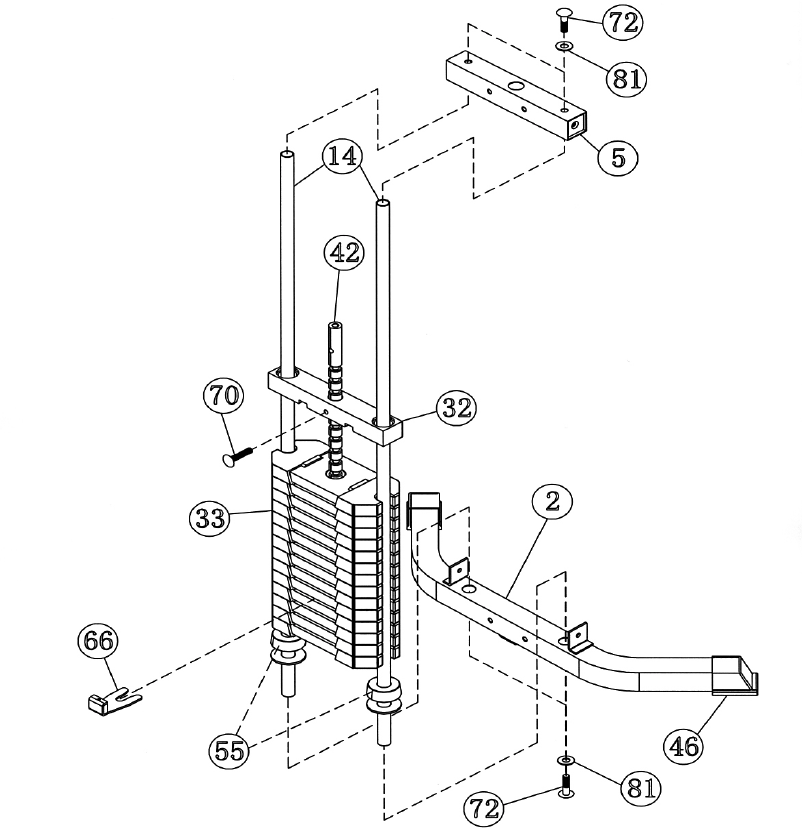
A.) Slide two Round Rubber Bumpers (#55) onto the Guide Rods (#14). Align the holes and push
two Guide Rods (#14) into the Rear Stabilizer (#2). Secure each Guide Rod with one M10 x ¾”
Allen Bolt (#72) and ∅ ¾” Washer (#81) on the bottom.
B.) Install fourteen Weight Plates (#33). To install the plate, hold the plate at an angle and place it
in between the two Guide Rods then drop it down. NOTE: Make sure the groves on the plastic
covers all face up. Insert the Selector Rod (#42) into the center hole on the Plates. Slide the
Selector Stem (#32) onto the Guide Rods from the top. Align the holes and secure the
Selector Stem (#32) to the Selector Rod (#42) with a M10 x 1 ¾” Socket Bolt (#70). Use the
Weight Select Pin (#66) to secure the Plates. Make sure the magnet on the Pin faces up.
C.) It is strongly recommended to spray lubricant such as WD-40 on the two Guide Rods to
minimize friction. Please note this machine comes with 14 plates. You can purchase another 5
more plates (Model No. WK51) in the future to increase the weights.
D.) Attach the Top Socket Assembly (#5) to the top of the Guide Rods. Secure the Assembly to
the Guide Rods with two M10 x ¾” Allen Bolts (#72) and ∅ ¾” Washers (#81).
DIAGRAM 1
4


