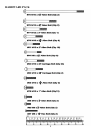
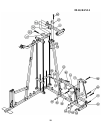
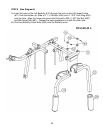
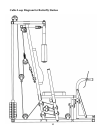
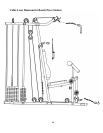
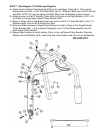
STEP 3 (See Diagram 3)
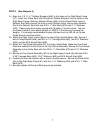
A.) Align four ∅ 2 ½” x 1” Rubber Bumpers (#68) to the holes on the Right Base Frame
(#1). Insert four Guide Rods (#5) through the Rubber Bumpers into the holes on the
Right Base Frame. Slide two Selector Stems (#35) onto the Guide Rods. Insert a
Selector Rod (#24) through the hole on each Selector Stem. Secure each Selector
Rod to the Selector Stem with two M10 x 1” Allen Bolts (#78) and ∅ ¾” Washers
(#93). Please note this machine comes with 18 plates, 9 to each stack. You can
purchase another 5 more plates (Model no. WK51) in the future to increase the
weights. It is strongly recommended to spay lubricant such as WD-40 on the two
Guide Rods to minimize friction.
B.) Attach the Right Upper Frame (#6) to the top of Right Vertical Beam (#2). Secure it
with a Pulley Bracket (#46), two M10 x 2 ½” Carriage Bolts (#82), two Ø ¾” Washers
(#93), and two M10 Aircraft Nuts (#90).
C.) Attach the Top Socket Assembly (#7) to the four Guide Rods. Make sure the Guide
Rods are inserted into the holes on the Top Socket Assembly. Secure the Top Socket
Assembly to the Guide Rods with four M10 x 1” Allen Bolts (#78) and ∅ ¾” Washers
(#93).
D.) Secure the Top Socket Assembly (#7) to the Right Upper Frame (#6) with two M10 x
2 3/8” Carriage Bolts (#80), ∅3/4” Washers (#93) and M10 Aircraft Nuts (#90).
E.) Carefully tilt over the machine with a help of another person. Secure the Guide Rods
(#5) to the Right Base Frame (#1) with four ∅ ¾” Washers (#93) and M10 x 1” Allen
Bolts (#78).
F.) Securely tighten all Nuts and Bolts previously installed.
7


