


BEFORE
YOU BEGIN
14
INTRODUCTION
IMPORTANT
PRECAUTIONS
ASSEMBLY
BEFORE
YOU BEGIN
TREADMILL
OPERATION
LIMITED
WARRANTY
TROUBLESHOOTING
& MAINTENANCE
CONDITIONING
GUIDELINES
ASSEMBLY
BEFORE
YOU BEGIN
BEFORE
YOU BEGIN
ASSEMBLYASSEMBLY
15
INTRODUCTION
IMPORTANT
PRECAUTIONS
TREADMILL
OPERATION
CONDITIONING
GUIDELINES
TROUBLESHOOTING
& MAINTENANCE
LIMITED
WARRANTY
TREADMILL
OPERATION
ASSEMBLY
IMPORTANT
PRECAUTIONS
BEFORE
YOU BEGIN
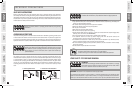
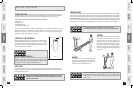
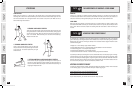
TENSIONING THE RUNNING BELT
NOTE: Running belt should NOT be moving during
adjustments
If you can feel a slipping sensation when running on
the treadmill, the running belt must be tightened.
In most cases, the belt has stretched from use,
causing the belt to slip. This is a normal and common
adjustment. To eliminate this slipping, turn the
treadmill off and tension BOTH THE REAR ROLLER
BOLTS using the supplied Allen wrench, turning them
1/4 TURN to the right as shown. Turn the treadmill
on and check for slipping. Repeat if necessary, but
NEVER TURN the roller bolts more than 1/4 turn at
a time. Belt is properly tensioned when the slipping
sensation is gone.
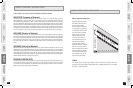
CENTERING THE RUNNING BELT
The running belt has been properly adjusted at the
factory before it was shipped. At times the belt can
move off-center during shipment. Before operating the
treadmill, make sure the belt is centered and remains
centered to maintain smooth operation.
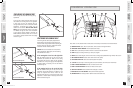
CAUTION: Do not run belt faster than 1/2 mph while
making adjustments. Keep fingers, hair and clothing
away from belt at all times.
If the running belt is too far to the right side:
With the treadmill running at 1/2 mph, turn the right
adjustment bolt clockwise 1/4
TURN at a time (using
the supplied Allen wrench). Check the belt alignment.
Allow belt to run a full cycle to gauge if more adjustment
is needed. Repeat if necessary, until the belt remains
centered during use.
If the running belt is too far to the left side:
With the treadmill running at 1/2 mph, turn the right
adjustment bolt counter-clockwise 1/4
TURN at a time
(using the supplied Allen wrench). Check the belt
alignment. Allow belt to run a full cycle to gauge if more
adjustment is needed. Repeat if necessary, until the belt
remains centered during use.
Belt is too far to the right side
Belt is too far to the left side
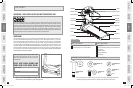
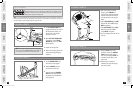
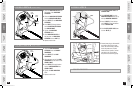
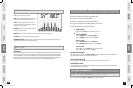
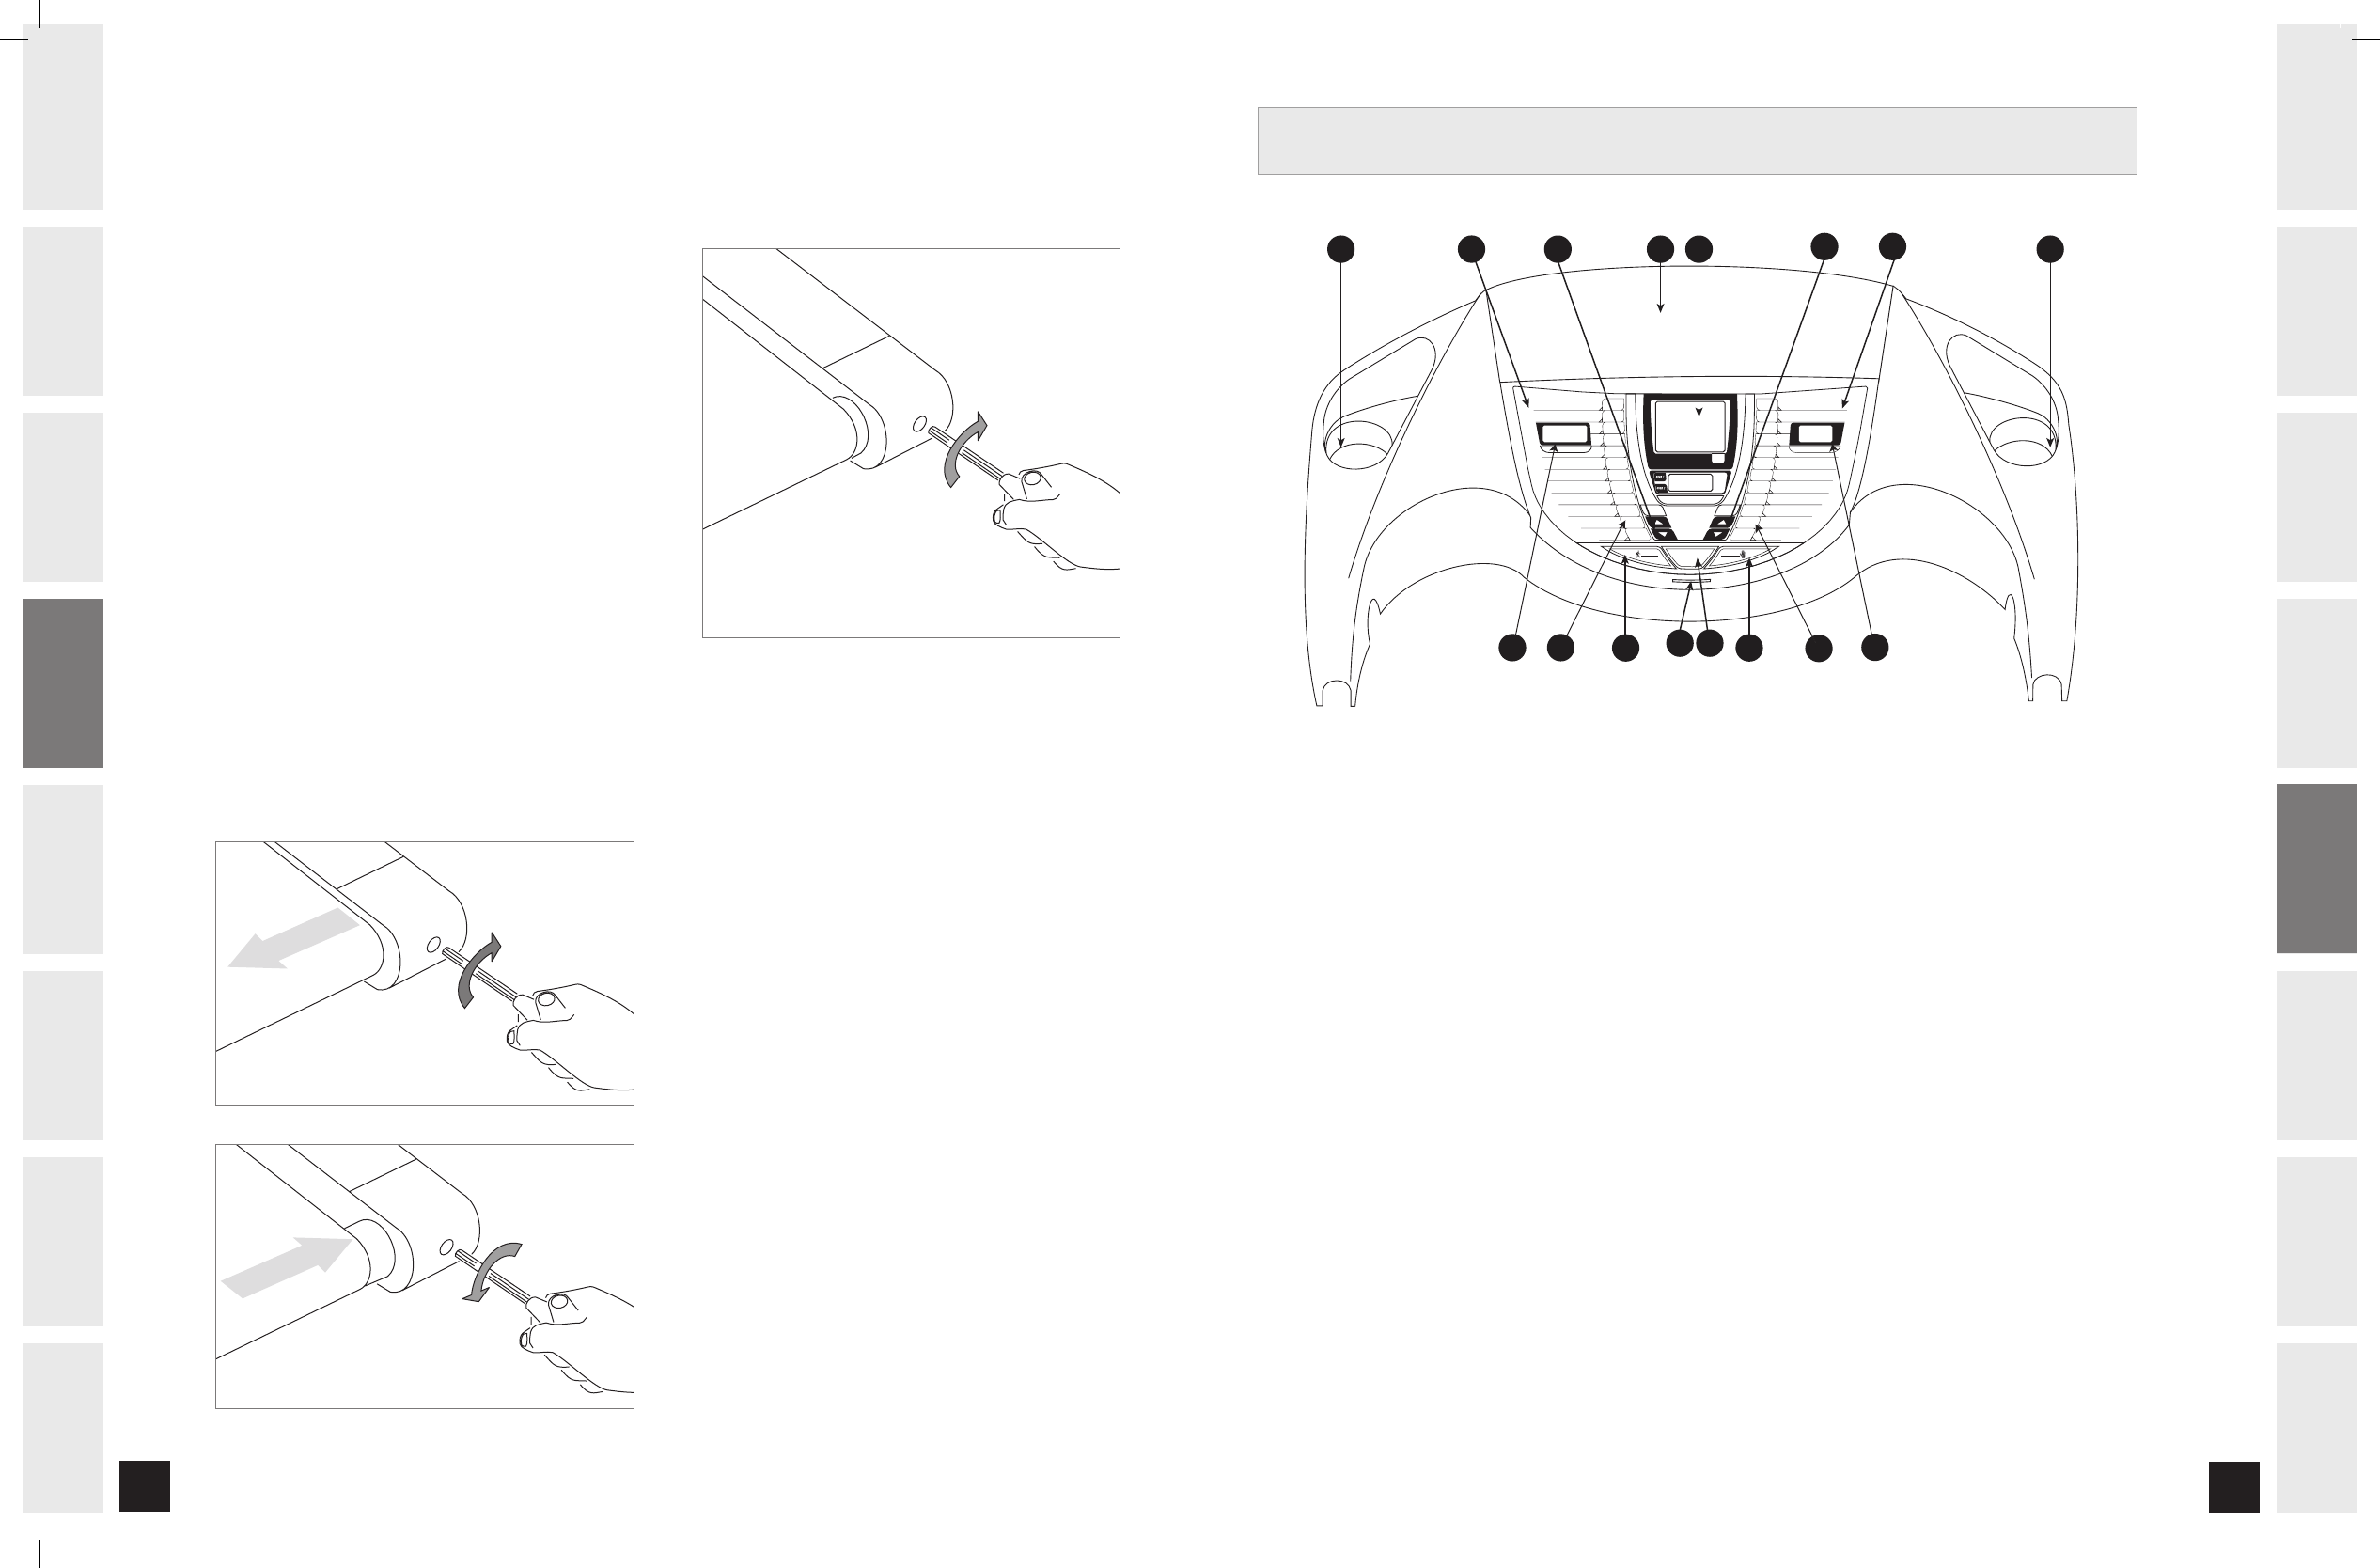
Note: There is a thin protective sheet of clear plastic on the overlay of the console and should be removed.
A) MONITOR DISPLAY: Speed, Time, Pulse, Distance, Incline, Calories and Program Profiles.
B) ADDITIONAL DISPLAY WINDOWS: Time and Speed (CST4.5 only)
C) STOP: Press to pause/end your workout. Hold for 3 seconds to reset the treadmill.
D) START: Simply press to begin exercising or starts your program.
E) ENTER: Used to select Program, Level and Time. Press to change display feedback during workout, Hold to scan.
F) ONE-TOUCH INCLINE KEYS: Used to reach desired incline more quickly.
G) ONE-TOUCH SPEED KEYS: Used to reach desired speed more quickly.
H) 1/2 KEYS
: One-touch keys for increasing speed (0.5 mph increments) and incline (0.5% increments).
I) BACK-LIT INCLINE INDICATORS: Illuminate to indicate current incline.
J) BACK-LIT SPEED INDICATORS: Illuminate to indicate current speed.
K) SAFETY KEY POSITION: Enables treadmill when safety key is inserted.
L) WATER BOTTLE / CD / MP3 HOLDERS: Holds personal workout equipment.
M) READING RACK: Holds reading material. (Remove sales sticker before use)
T R E A D M I L L O P E R AT I O N
CST3.5-4.5 Treadmill Rev0.2.indd 14-15 4/21/05 11:22:50 AM