3 - 16
Preferred Symbology classifies each symbology as high priority, low priority,
or as an unspecified type. When a low priority symbology is presented, the
imager ignores it for a set period of time (see Preferred Symbology Time-out on
page 3-17) while it searches for the high priority symbology. If a high priority
symbology is located during this period, then that data is read immediately.
If the time-out period expires before a high priority symbology is read, the
imager will read any bar code in its view (low priority or unspecified). If there is
no bar code in the imager’s view after the time-out period expires, then no data
is reported.
Note: A low priority symbol must be centered on the aiming pattern to be read.
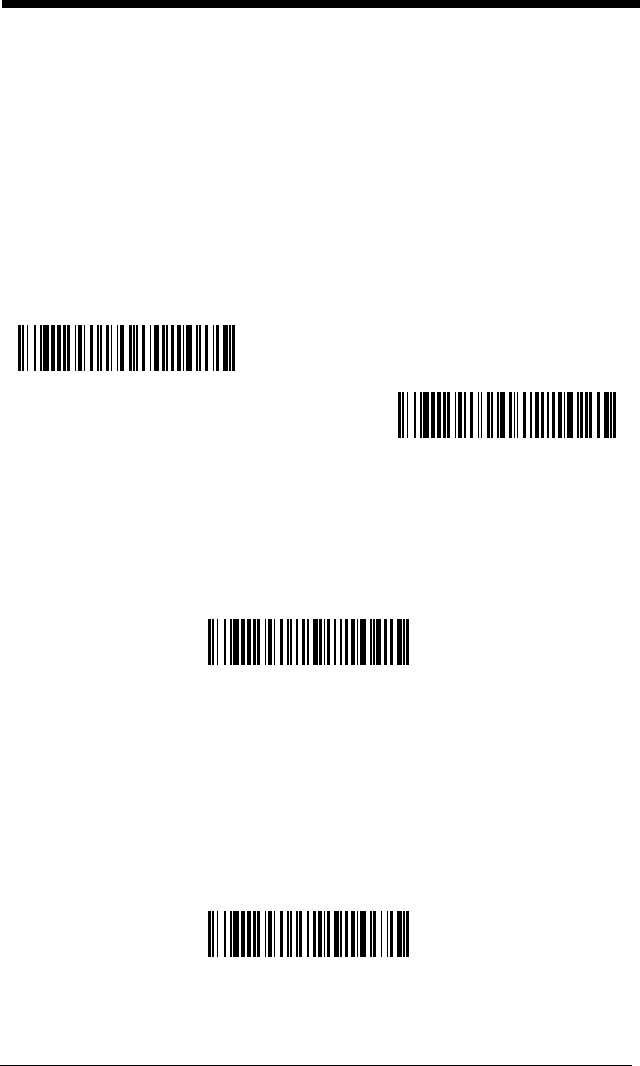
Scan a bar code below to enable or disable Preferred Symbology.
Default =
Preferred Symbology Off.
High Priority Symbology
To specify the high priority symbology, scan the High Priority Symbology bar
code below. On the Symbology Chart on page A-1, find the symbology you
want to set as high priority. Locate the Hex value for that symbology and scan
the 2 digit hex value from the Programming Chart (inside back cover). Scan
Save to save your selection.
Default = None
Low Priority Symbology
To specify the low priority symbology, scan the Low Priority Symbology bar
code below. On the Symbology Chart on page A-1, find the symbology you
want to set as low priority. Locate the Hex value for that symbology and scan
the 2 digit hex value from the Programming Chart (inside back cover).
If you want to set additional low priority symbologies, scan FF, then scan the 2
digit hex value from the Programming Chart for the next symbology. You can
program up to 5 low priority symbologies. Scan Save to save your selection.
Default = None
* Preferred Symbology Off
Preferred Symbology On
