E
7
How to Use as a Cyclocomputer
1. Main Unit Preparation
The following must be completed before operation.
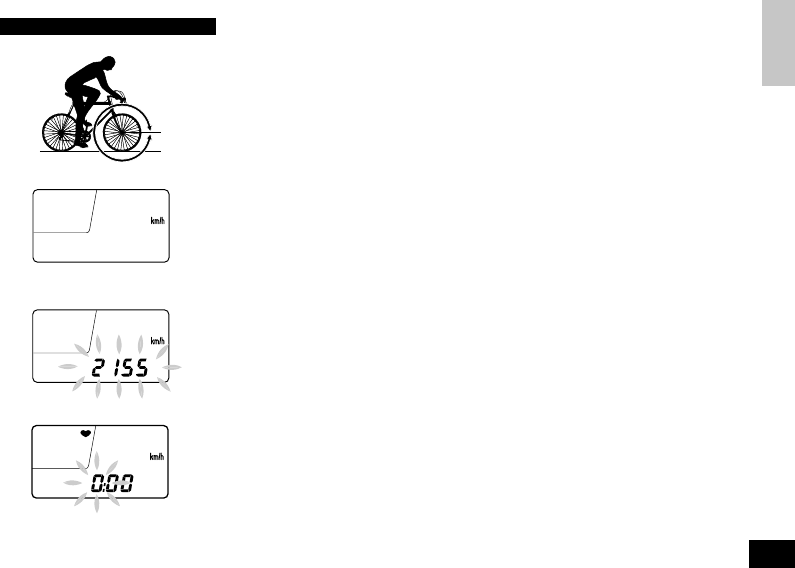
-1.How to Measure Wheel Circumference
In order to get the accurate value, measure the wheel circumference (L) actually from the
tire of your bicycle (Fig.3). Put a mark on the tire tread, and ride one full wheel revolution;
then mark the ground at the end of one revolution and measure the distance between the
two marks. Or, "Setting Values Cross Reference Table" (page 19) can tell you the approxi-
mate wheel circumference according to the tire size.
-2.Setting Speed Scale
First, press the AC button; all displays illuminate and then "km/h" symbol appears. With
each press of the right button, "km/h" and "mile/h" appears alternately. Select the desired
scale and press the Set button to fix the scale.
-3.Setting Wheel Circumference
The preset value of this cyclocomputer is 2155mm (standard value for 700 x 32C wheel)
(Fig. 5). When using 2155mm without revision, press Set button and this value is set. For
revision, press the right button to increase the number and the left button to decrease, when
the number is blinking. To increase/decrease the number rapidly, hold down the button.
When the desired number appears, press the Set button and the value is set.
-4.How to Reset or Change Wheel Circumference
Get the stop state in O display, and press the Set button. The stored number flickers. Then
revise the number according to the above.
✪ Setting Clock Time
Hold down the left button for about 2 seconds. Get the stop state by the press of right button.
Then press the Set button; the digits for hours flicker. With each press of the right button, the
digits increase by one. (To increase rapidly, hold down the button.) Then, press the left button
and the digits for minutes flicker. After having increased the digits to the desired number, press
the Set button, and the time is set. For accurate time setting, display the number which is 1
minute ahead of the present time; then at the tone of the time signal, press the Set button.
L
Fig.3
Fig.4
Fig.5
Fig.6


