8
Creating a Dynamic Photo Image
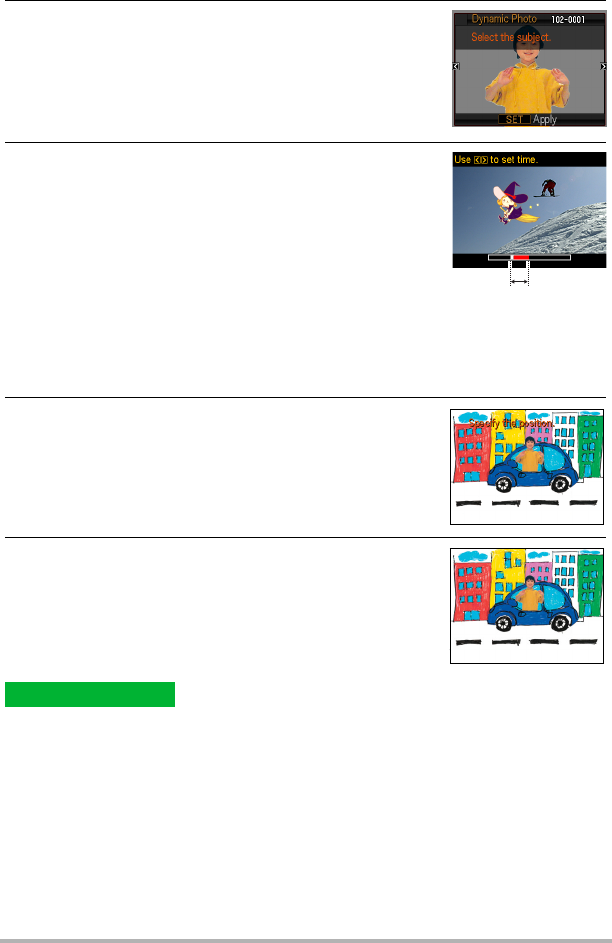
4. Use [4] and [6] to select the subject you want
to insert and then press [SET].
* Only subjects that can be inserted into other images will
appear at this time.
5. If you are inserting a subject into a movie an
image will appear on the monitor screen
showing the approximate location of the subject
in the movie. Use [4] and [6] to shift the
location to the position you want. After you are
finished, press [SET].
• If you insert a subject into a movie, the resulting
movie will be a maximum of 20 seconds long.
Everything before and after the insertion is cut off.
If the movie you are inserting into (original movie) is shorter than 20 seconds,
the resulting movie will be the same length as the original movie.
• If you are inserting a subject into a snapshot, skip directly to step 6.
6. Use the zoom controller to adjust the size of the
subject and use [8], [2], [4], and [6] to adjust
its position. When everything is the way you
want, press [SET].
This inserts the subject into another image and creates
a Dynamic Photo.
7. After creation of the Dynamic Photo image is
complete, the finished image with the moving
subject will appear on the monitor screen.
• Inserting an animated subject into a snapshot will save a Dynamic Photo that
consists of 20 still images of 2M size or smaller.
• Inserting a stationary subject into a snapshot will save a single still image of 6M
size or smaller.
• Inserting a subject into a movie will save the Dynamic Photo as a movie file.
Complete!
Insert location
