10
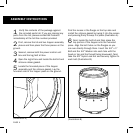
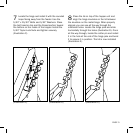
Once the hopper is assembled, make sure
that the latch is closed and lay the hopper
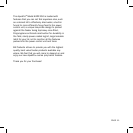
on its side. Next, locate the square tubing stub leg
kit (3 pieces) and unwrap. Take one stub leg and
locate the recessed cavities on the funnel portion of
the hopper. Place the stub leg into any cavity so as
it fits snug. Make sure that the stub leg is angled
outward away from the hopper. Repeat this step for
the remaining two stub legs. Note that there are
three cavities in the hopper and it does not matter
where you start (Illustration H).
11
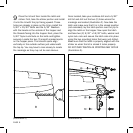
Again, make sure that the angled portion
of the stub leg extends out away from the
bottom of the drum. Next, locate the 12-piece
extension leg kit. Each of the 12-pieces contains a
crimped end (Illustration H).
12
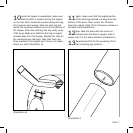
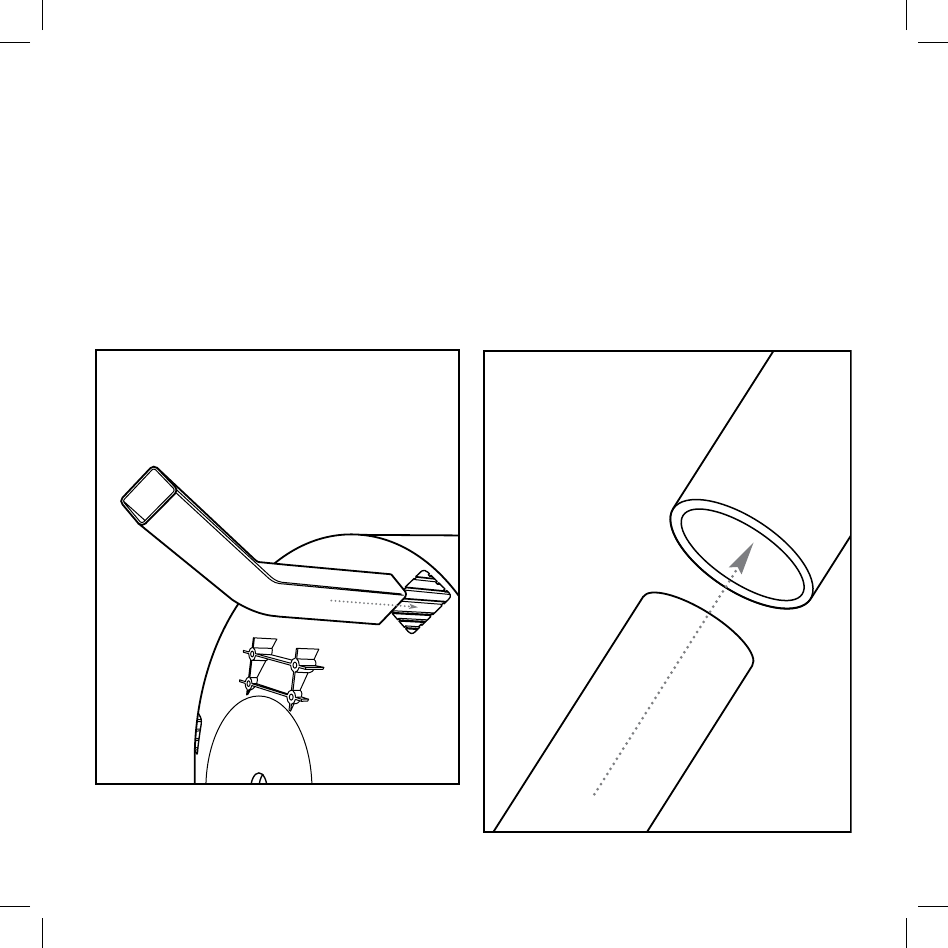
Now, take the piece with the round un-
crimped end and face it upward, slide 3
pieces into it in the same direction (Illustration I).
13
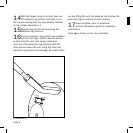
Repeat step #12 for the assembly of the
two remaining leg sections.
PAGE 7
(Illustration H)
(Illustration I)


