ASSEMBLY INSTRUCTIONS
1
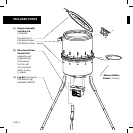
Verify the contents of the package against
the included parts list. If you are missing any
parts from the list, please contact BA Products
immediately at the toll-free number provided.
2
First, remove the lid and two hopper assembly
pieces and then place the three pieces on the
ground.
3
Second, remove both the power control unit
box and the leg/bolt kit box.
4
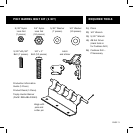
Open the leg kit box and locate the bolt kit and
silicone rubber gasket.
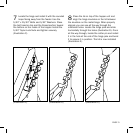
5
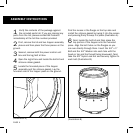
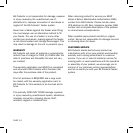
Locate the funneled piece of the hopper
assembly and the silicone gasket. Lay the
funneled side of the hopper piece on the ground.
Find the recess in the flange on the top side and
install the silicone gasket by laying it into the recess
and pressing firmly to keep it in place (Illustration A).
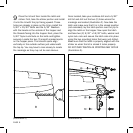
6
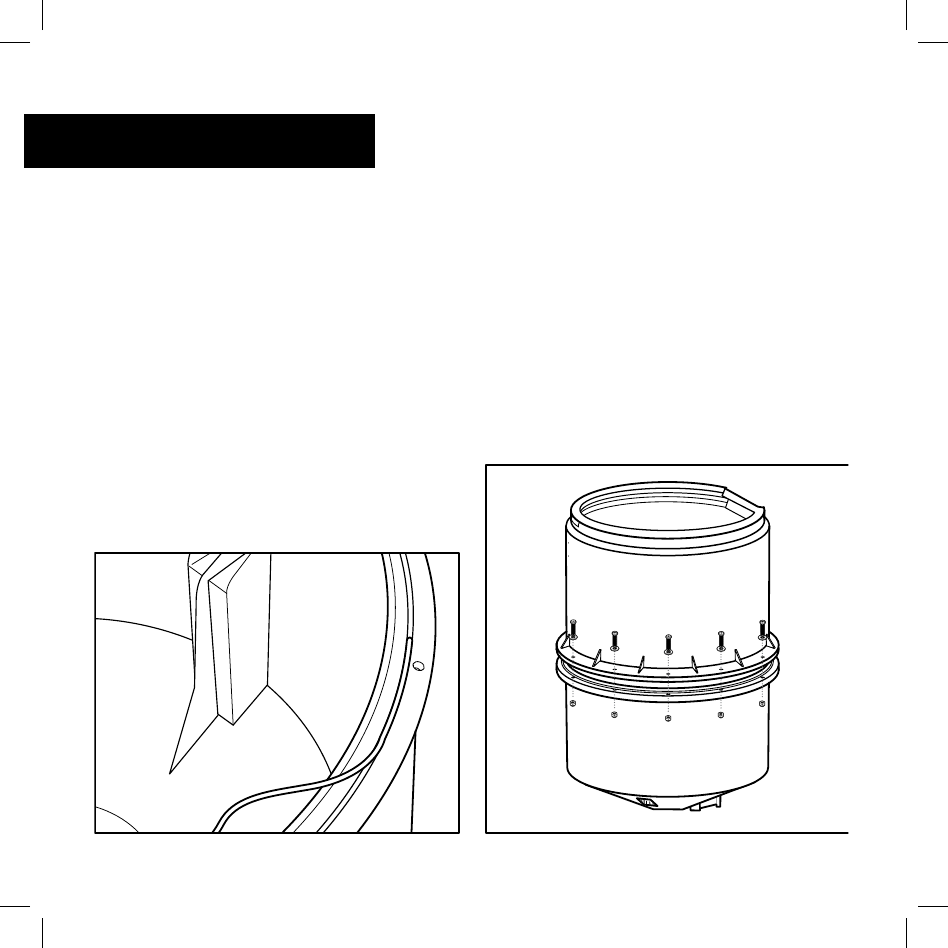
Next, locate the bolt kit and then place the
top portion of the hopper onto the funneled
piece. Align the bolt holes on the flanges so you
can see directly through them. Insert the 1⁄4” x 1”
Bolt and the 1⁄4” Washer into each hole with the
head on top and the thread facing downward. Next,
take the 1⁄4” Nylon Lock Nut and securely tighten to
each bolt (Illustration B).
(Illustration A)
PAGE 4
(Illustration B)


