Adjusting initial settings
Initial settings lets you perform initial setup of
different settings for this unit.
1 Function display
Shows the function status.
1 Press SOURCE and hold until the unit
turns off.
2 Press OPEN to open the front panel.
3 Press FUNCTION and hold until function
name appears in the display.
4 Press FUNCTION to select one of the in-
itial settings.
Press FUNCTION repeatedly to switch be-
tween the following settings:
Language select (language selection) Clock
(clock)AUX (auxiliary input)Dimmer
(dimmer)Brightness (brightness)
Digital ATT (digital attenuator)Mute (tel-
ephone muting/attenuation)
FM tuning step (FM tuning step)
AM tuning step (AM tuning step)
Warning tone (warning tone)
Face auto open (flap auto open)
Demonstration (feature demo)
Reverse mode (reverse mode)Ever-scroll
(ever scroll)
Use the following instructions to operate each
particular setting.
# Tocancel initial settings, pressBAND.
# You canalso cancel initial settings byholding
down FUNCTION untilthe unit turns off.
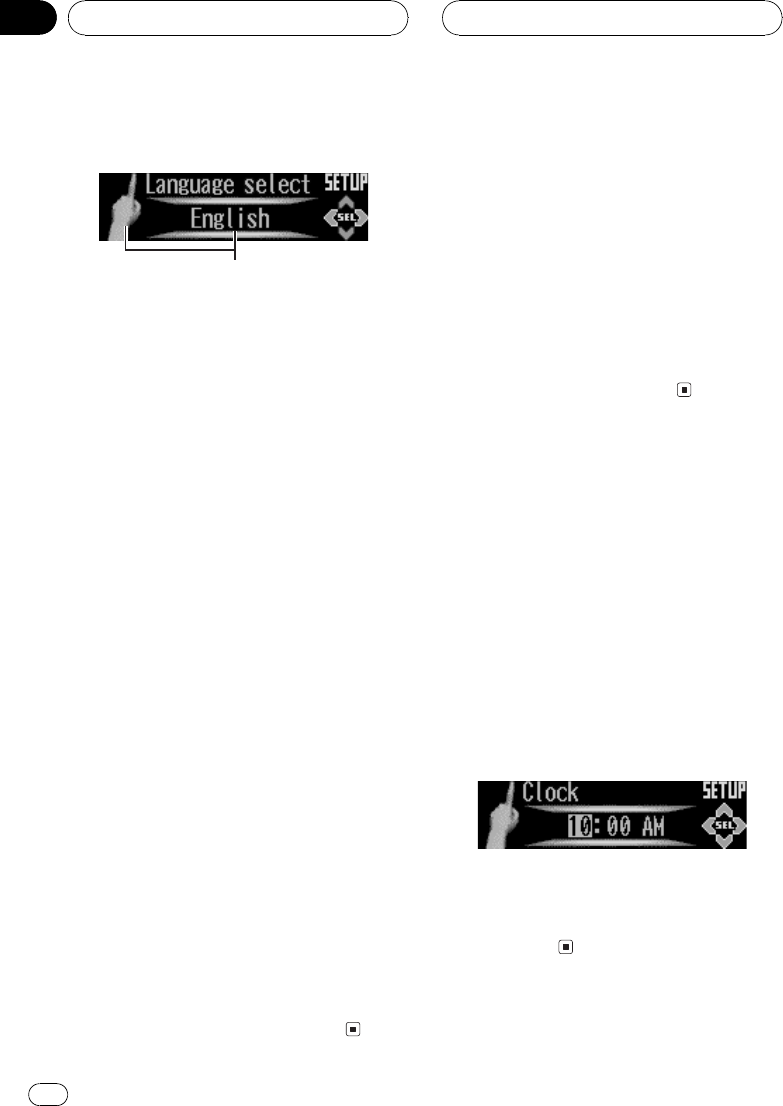
Selecting the display language
This unit allows you to select the display lan-
guage.
1 Press FUNCTION to select
Language select.
Press FUNCTION repeatedly until
Language select appears in the display.
2 Press c or d to select the language.
Each press of c or d selects languages in the
following order:
EnglishEspañolPortuguês
Setting the clock
Use these instructions to set the clock.
1 Press FUNCTION to select Clock.
Press FUNCTION repeatedly until Clock ap-
pears in the display.
2 Press c or d to select the segment of
the clock display you wish to set.
Pressing c or d will select one segment of the
clock display:
HourMinute
As you select segments of the clock display
the segment selected will be highlighted.
3 Press a or b to set the clock.
Pressing a will increase the selected hour or
minute. Pressing b will decrease the selected
hour or minute.
Initial Settings
En
52
Section
09


