3-11
Cisco uBR-3x10 RF Switch Hardware Installation and Cabling Guide
OL-1984-06
Chapter 3 Installing the Cisco RF Switch
Rack-Mounting the RF Switch with the Cisco uBR7246VXR CMTS
Installing the Brackets on the Cisco uBR 3x10 RF Switch Chassis
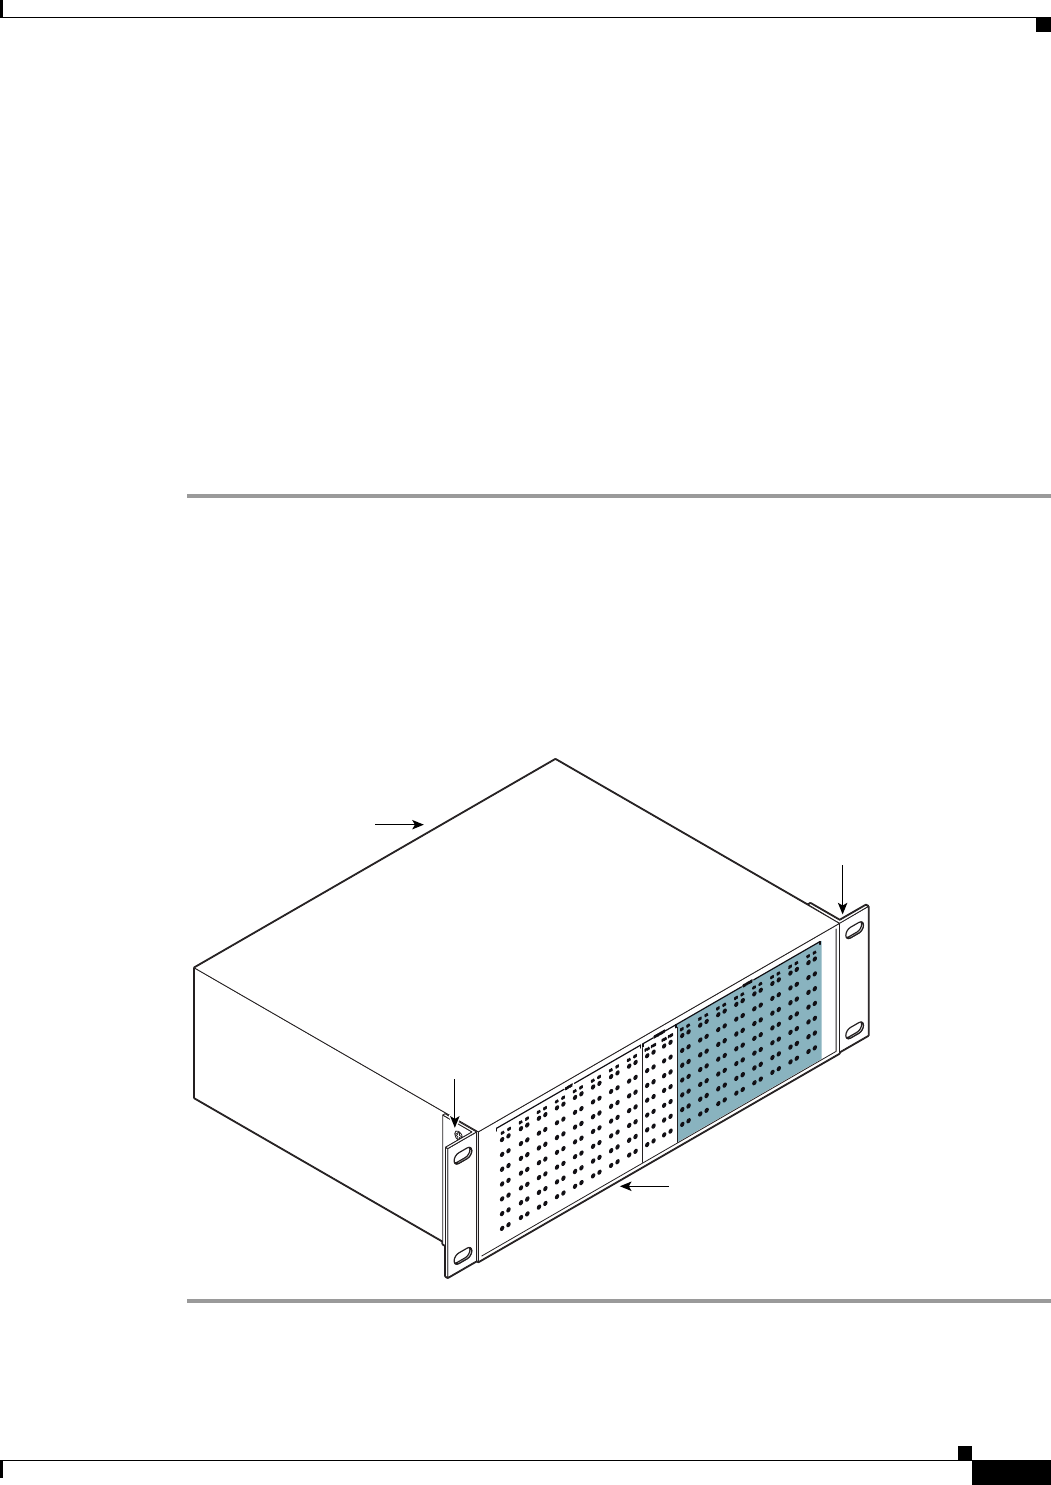
This section explains how to install the rack-mount brackets on a Cisco uBR 3x10 RF Switch for
flush-rear installations as shown in Figure 3-5 on page 3-10. We recommend that you install the
rack-mount brackets so that the MCX connector side of the RF switch (coinciding with the RF cable
interfaces on the Cisco uBR7246VXR CMTS) faces the rear of the rack.
Equipment
• Two Brackets (Cisco part number 74-2620-01)
• Four M5 x 8-mm Phillips countersunk screws
• Number 2 Phillips screwdriver
To install the rack-mount brackets on the chassis for a flush-rear configuration, complete the following
steps:
Step 1 Locate the threaded holes on the rear sides of the chassis.
Step 2 Align the first rack-mount bracket with the threaded holes in the rear right side of the chassis. See
Figure 3-6.
Step 3 Thread the M5 x 8-mm Phillips countersunk screws through the rack-mount bracket and into the side of
the chassis. Use a number 2 Phillips screwdriver to tighten the screws.
Step 4 Repeat Step 1 through Step 3 for the other rack-mount bracket.
Figure 3-6 Installing the Rack-Mount Brackets on the Cisco uBR 3x10 RF Switch (Rear Mount)
95640
Front
Rear
Rack-mount
bracket
Rack-mount
bracket


