INSTALLATION and SETUP INSTRUCTIONS
STEP 1: INSTALL THE SOFTWARE
Before connecting or operating the Transmitter or Receiver hardware,
you should install the Weather FXi software program on your PC, as
they will not function without the software. The software automatically
connects to a special weather data server on the internet, displays the
data on your PC screen (when the Weather FXi program window is
open), and transmits the data via the connected USB Transmitter to
the wireless Receiver unit. Before installation, ensure that:
• Your PC is connected to the Internet. Try browsing through a couple
of websites to make sure. An “always on” internet connection (not
via dialup or phone modem) is recommended.
• You are using Windows 2000, XP or Vista (Windows 98 and Macs are
not supported).
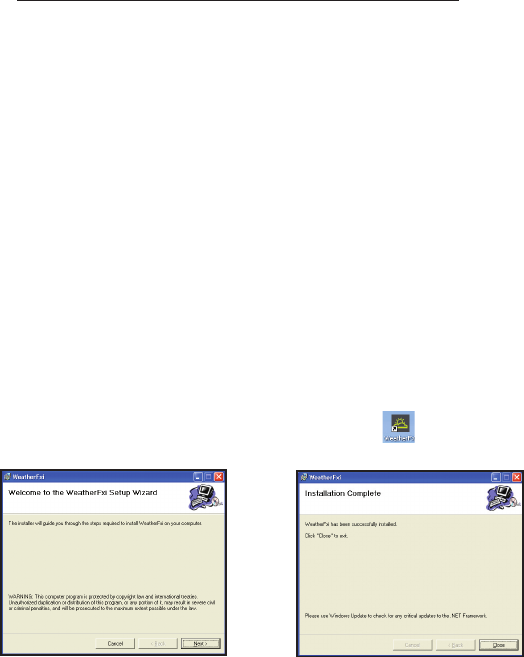
Insert the supplied CD into your CD ROM drive and click the “Weather
FXi Setup Wizard” button when it appears to start the installation (Fig.
1). Follow the on-screen directions, clicking “Next” until the installation
is complete (Fig. 2). A “Weather FXi” shortcut icon ( ) is added to
your PC desktop screen during the installation.
STEP 2: CONNECT THE USB Transmitter
Connect the USB Transmitter to your PC via one of its main USB ports.
As the Transmitter is powered by the USB port (it does not require
batteries), avoid connecting it to unpowered USB “hubs”, USB ports
located on a PC keyboard, or others that may not deliver adequate
power. When using the Transmitter with a laptop, power the computer
with its AC power supply to reduce battery drain and ensure reliable
USB power. Raise the Transmitter’s antenna to the upright position to
ensure maximum range and signal strength to the Receiver.
STEP 3: START THE WEATHER FXi APPLICATION and SET LOCATIONS
Double click the Bushnell “Weather FXi” icon on your desktop to start
the program. After it opens to the main weather data screen (this may
take a minute or so the rst time the program is launched), there are two
Fig. 1
Fig. 2


