


9
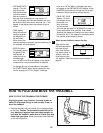
Note: There are two twenty-minute programs and
two thirty-minute programs. The graphs in the cen-
ter of the console show how the speed of the walk-
ing belt will change during the programs. During the
AEROBIC 1 program, for example, the speed will
gradually increase during the first ten minutes, and
then gradually decrease during the last ten minutes.
Each program begins with a two-minute warm-up
period, and ends with a two-minute cool-down period.
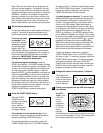
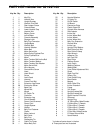
Set the desired speed setting.
To start the walking belt at default speed settings, go
to step 4. To adjust the speed setting before you
start the walking belt, follow the instructions below.
If the manual mode
is selected: Press
the SPEED
▲▲
button
repeatedly to select
the desired speed
setting. Note: The
TIME display will flash to indicate that the console
has been paused. The walking belt will not begin to
move until the START/PAUSE button is pressed
(see step 4). IMPORTANT: Select a low speed
setting when starting the walking belt.
If a workout program is selected: Press the
SPEED
▲▲
or
▼▼
button. The SPEED display will begin
to flash and a number will appear in the display. This
number is the maximum speed that the walking belt
will reach during the selected program. If desired,
press the SPEED
▲▲
button repeatedly to change the
maximum speed setting. If the maximum speed set-
ting is increased, the difficulty level of the entire pro-
gram will increase. If the maximum speed setting is
decreased, the difficulty level of the entire program
will decrease. Note: The TIME display will flash to in-
dicate that the console has been paused. The walk-
ing belt will not begin to move until the
START/PAUSE button is pressed (see step 4).
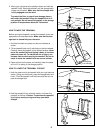
Press the START/PAUSE button.
After the START/
PAUSE button is
pressed, the walking
belt will begin to
move. Hold the
handrails and care-
fully begin walking.
If the console is in the manual mode: As you
exercise, change the speed of the walking belt as
desired by pressing the SPEED buttons.
To stop the walking belt momentarily, press the
START/PAUSE button once. The SPEED display
will begin to flash. To restart the walking belt, press
the START/PAUSE button again. To stop the walk-
ing belt and reset the displays, hold down the
START/PAUSE button for two seconds.
If a preset program is selected: The speed of the
walking belt will change automatically during the pro-
gram as shown by the graphs in the center of the
console. The time remaining in the program will be
shown in the TIME display. When the program is
completed, the walking belt will slow to a stop. Note:
If the program is too difficult or too easy, the difficulty
level of the program can be adjusted. Press the
SPEED
▲▲
or
▼▼
button. The SPEED display will flash
and a number will appear in the display. This number
is the maximum speed that the walking belt will reach
during the program. Press the SPEED
▲▲
or
▼▼
button
repeatedly to change the maximum speed setting.
When the maximum speed setting is increased, the
difficulty level of the entire program will increase.
When the maximum speed setting is decreased, the
difficulty level of the entire program will decrease.
To stop the program momentarily, press the
START/PAUSE button once. The SPEED display
will begin to flash. To restart the program, press the
START/PAUSE button again. To stop the program
and reset the displays, hold down the START/
PAUSE button for two seconds. Note: Pressing the
MODE button will also stop the program, reset the
displays, and select a different mode.
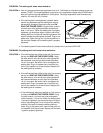
Change the incline of the treadmill, if desired.
To change the in-
cline, hold down one
of the incline buttons
until the desired in-
cline is reached.
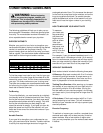
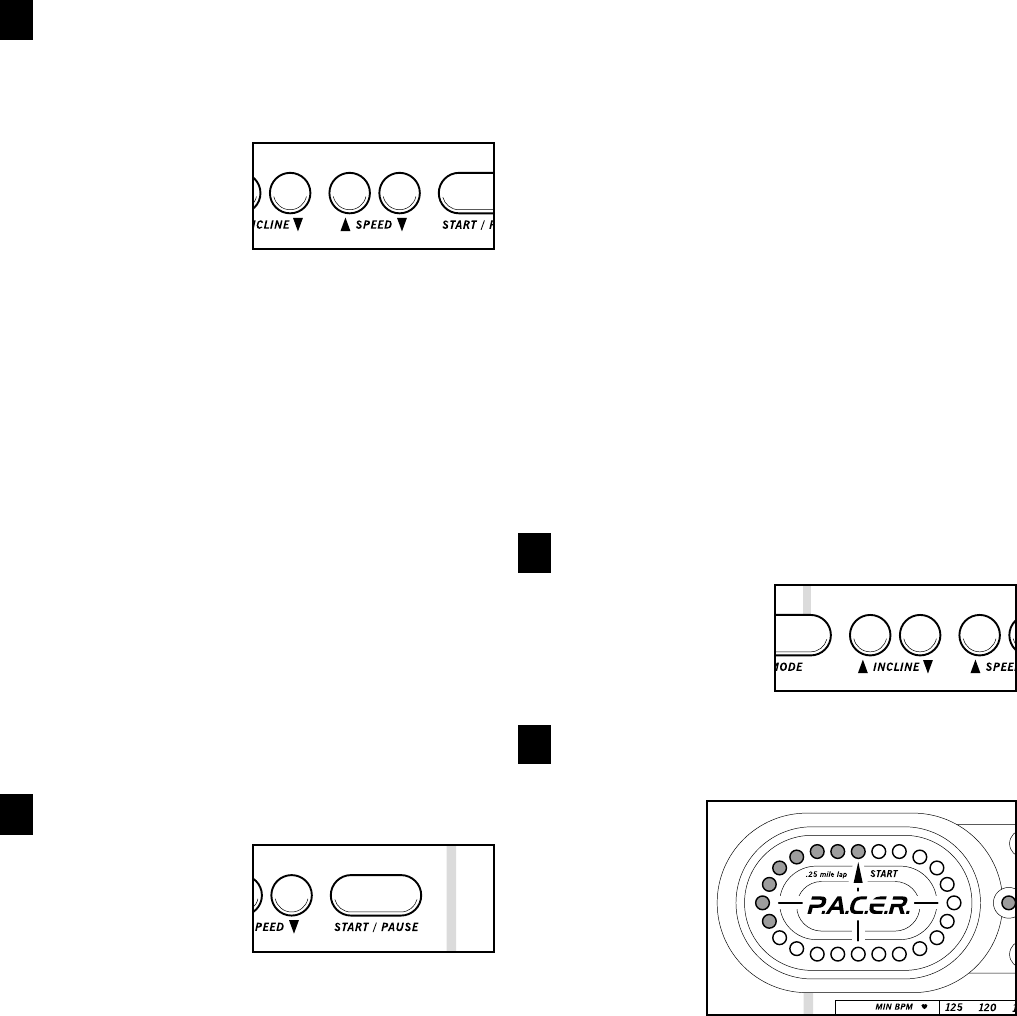
Follow your progress with the LED track and the
four displays.
The LED
Track—The
LED track
on the
console
represents
a distance
of 1/4 mile.
As you
exercise,
the indicators around the track will light one at a time
until you have completed 1/4 mile. The indicators will
then darken and another lap will begin.
3
4
5
6