


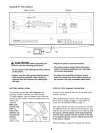
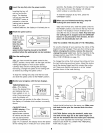
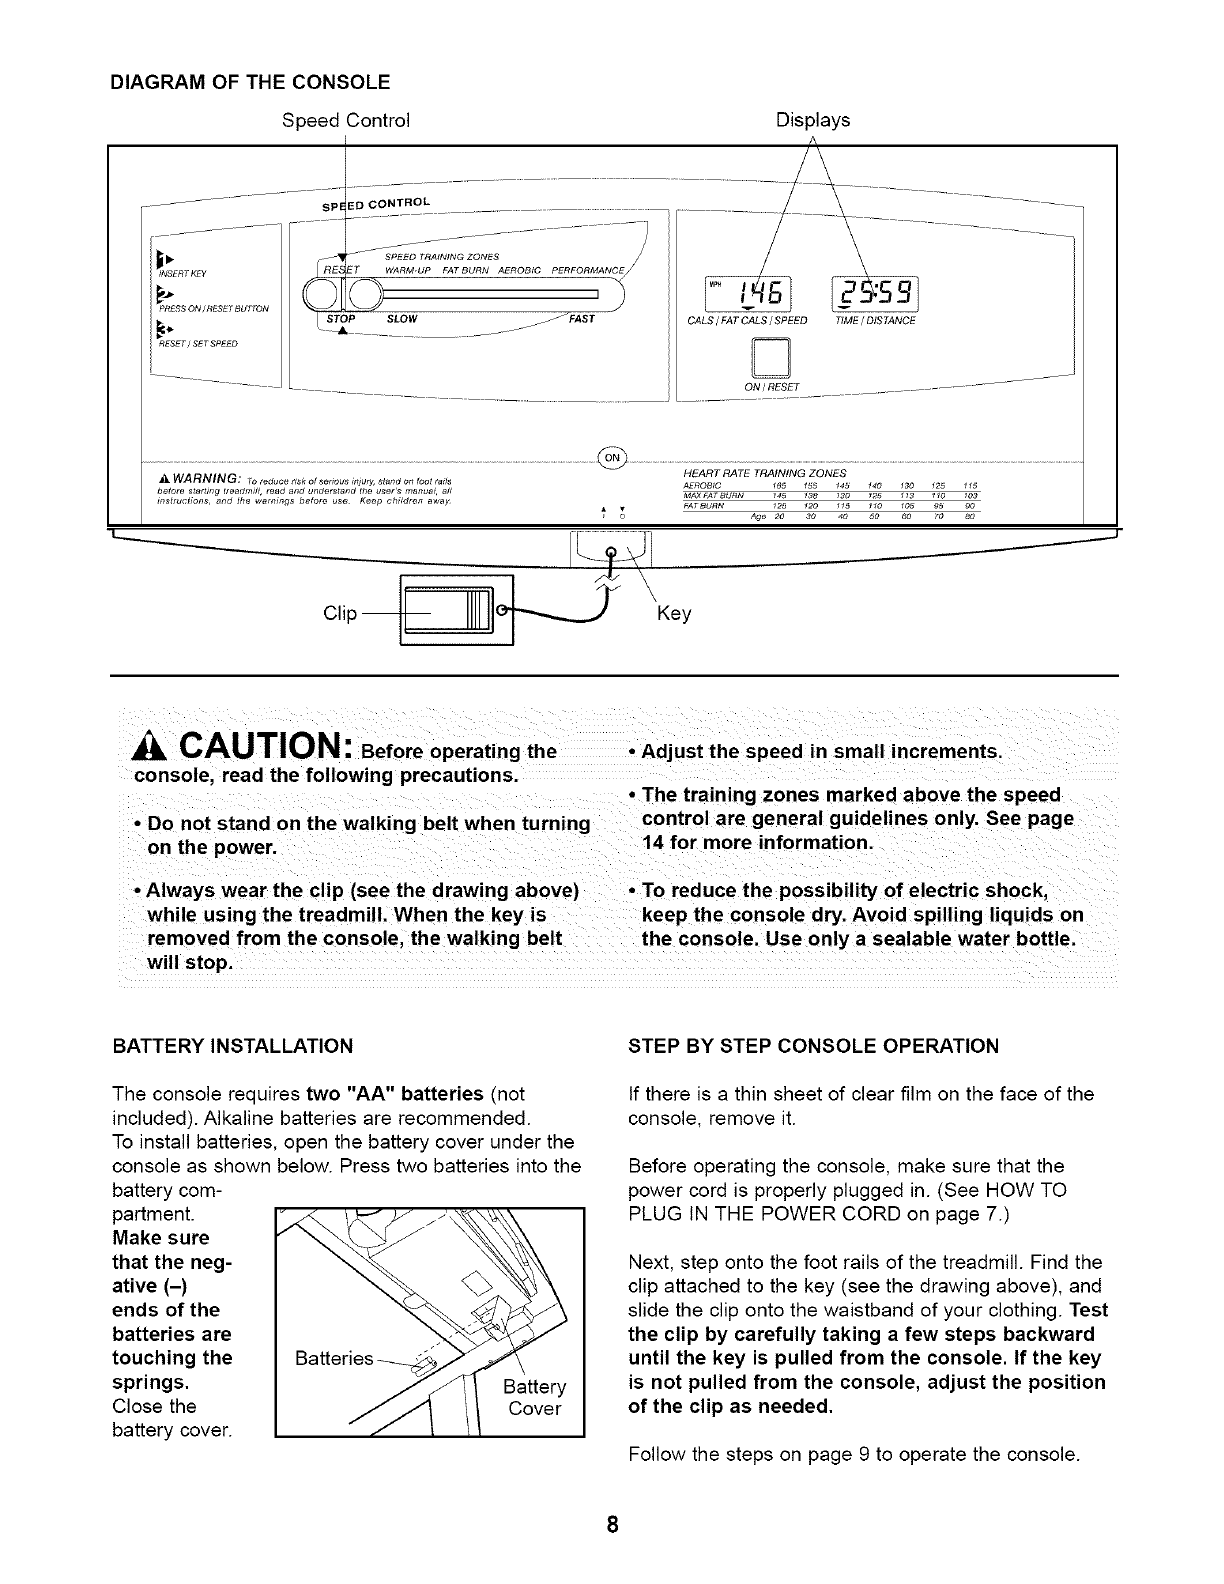
DIAGRAM OF THE CONSOLE
Speed Control
Displays
i,
iNSERT KEY
_S,£ ON I RESE7 BU ITON
RgSET / SET SpEEZ3
SPI
d
[ STOP
SLOW
CALS / FAT CALS / SPEED TIME / DISTANCE
L.._
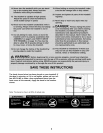
_. WARNING: To reduce risk of serious injur_4 stand on foot ra#s
before starfi_g treadmifl, read and unde_d _e user's manual _lJ
instructions, and the warnings before use Keep children awa_ FATBURN
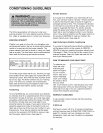
HEART RATE TRAINING ZONES
AEROBIC 165 15_ 145 140 130 125 115
MA,_?BURN 145 13R 130 12b 113 110 10.3
125 120 115 110 105 95 90
Age 2O 30 4O 50 _0 7O #tO
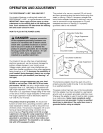
CAUTION: Beforeoperating the
console, read the following precautions.
• Do not stand on the walking belt when turning
on the power.
• Adjust the speed in small increments.
• The training zones marked above the speed
control are general guidelines only. See page
14 for more information.
• Always wear the clip (see the drawing above) • To reduce the possibility of electric shock,
while using the treadmill. When the key is keep the console dry. Avoid spilling liquids on
removed from the console, the walking belt the console. Use on ly a sealable water bottle.
will stop.
BATTERY INSTALLATION
The console requires two "AA" batteries (not
included). Alkaline batteries are recommended.
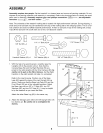
To install batteries, open the battery cover under the
console as shown below. Press two batteries into the
battery com-
partment.
Make sure
that the neg-
ative (-)
ends of the
batteries are
touching the
springs.
Close the
battery cover.
Battery
Cover
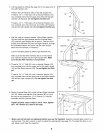
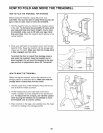
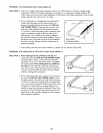
STEP BY STEP CONSOLE OPERATION
If there is a thin sheet of clear film on the face of the
console, remove it.
Before operating the console, make sure that the
power cord is properly plugged in. (See HOW TO
PLUG IN THE POWER CORD on page 7.)
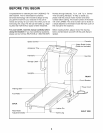
Next, step onto the foot rails of the treadmill. Find the
clip attached to the key (see the drawing above), and
slide the clip onto the waistband of your clothing. Test
the clip by carefully taking a few steps backward
until the key is pulled from the console. If the key
is not pulled from the console, adjust the position
of the clip as needed.
Follow the steps on page 9 to operate the console.