11
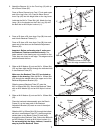
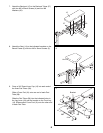
16. Make sure all parts are properly tightened before you use the weight bench. The use of all remaining
parts will be explained in Adjusting the Weight Bench starting below.
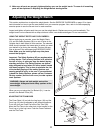
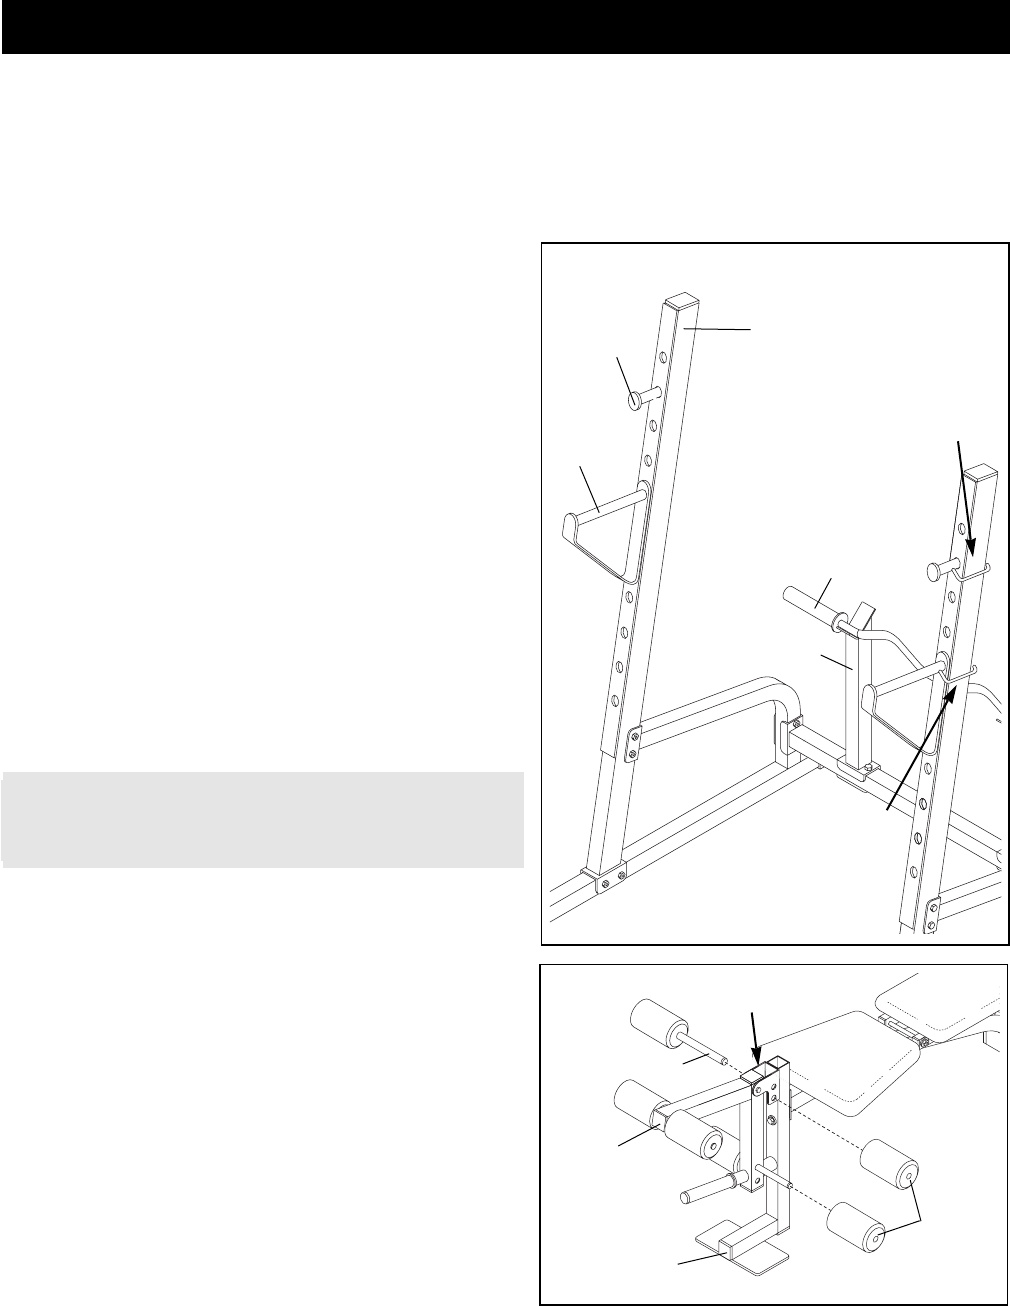
USING THE WEIGHT RESTS AND CURL BARBELL
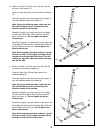
Before beginning an exercise, move the Weight Rests
(21) and the Safety Spotters (26) to a set of holes in the
Uprights that is best suited for that exercise. The selected
holes should represent the lowest point to which you want
your barbell to go during the exercise. Perform the exer-
cise as shown in the accompanying EXERCISE GUIDE.
Note: Make sure the locking clips snap into place
around the Uprights.
Important: The Safety Spotters (26) are engineered as
a safety device. Their primary function is to minimize
the risk of injury in case you drop the barbell during
standing exercises. The Safety Spotters are deliber-
ately designed to bend when hit with a barbell loaded
with heavy weights. This is done to minimize the risk
of the barbell jumping off the safety Spotters and
causing potential injury to the user. If you accidental-
ly bend the Safety Spotters, please call our Customer
Service number (see the front cover) to order replace-
ment Spotters.
When you are not using the Curl Barbell (31), it can be
stored in the Barbell Posts (35).
26
31
35
1
21
Locking
Clip
Locking
Clip
This section explains how to adjust the weight bench. See the EXERCISE GUIDELINES on page 13 for impor-
tant information on how to get the most benefit from your exercise program. Also, refer to the accompanying
exercise poster to see the correct form for each exercise.
Inspect and tighten all parts each time you use the weight bench. Replace any worn parts immediately. The
weight bench can be cleaned with a damp cloth and a mild, non-abrasive detergent. Do not use solvents.
Adjusting the Weight Bench
WARNING: Always set both weight rests at the
same height. Always set both safety spotters at the
same height.
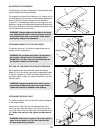
ADJUSTING THE FOAM PADS
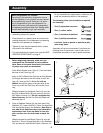
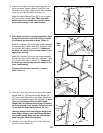
The Foam Pads (10) on both the Leg Lever (18) and the
Front Leg (19) can be adjusted to two different positions.
To do this, pull one Foam Pad off the Pad Tube (38).
Move the Pad Tube to the other hole in the bracket on the
Front Leg or in the Leg Lever. Push the Foam Pad back
onto the Pad Tube.
38
18
19
10
Bracket


