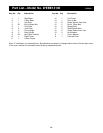
M10 x 80mm Bolt (4)Ð32
M10 x 75mm Bolt (15)Ð2
5
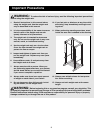
Before beginning assembly, carefully read the
following information and instructions:
¥ Assembly requires two people.
¥ Place all parts in a cleared area and remove the
packing materials. Do not dispose of the packing
materials until assembly is completed.
¥ Tighten all parts as you assemble them, unless
instructed to do otherwise.
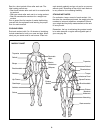
¥ As you assemble the weight rack, make sure all
parts are oriented as shown in the drawings.
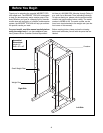
The following tools (not included) may be
required for assembly:
¥ Two (2) adjustable wrenches
¥ One (1) rubber mallet
¥ One (1) standard screwdriver
¥ One (1) phillips screwdriver
Assembly will be more convenient if you have the
following tools: A socket set, a set of open-end or
closed-end wrenches or a set of ratchet wrenches.
Assembly
2
1
2
19
19
515
4
9
9
3
8
8
Adjustment
Holes
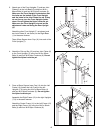
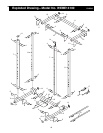
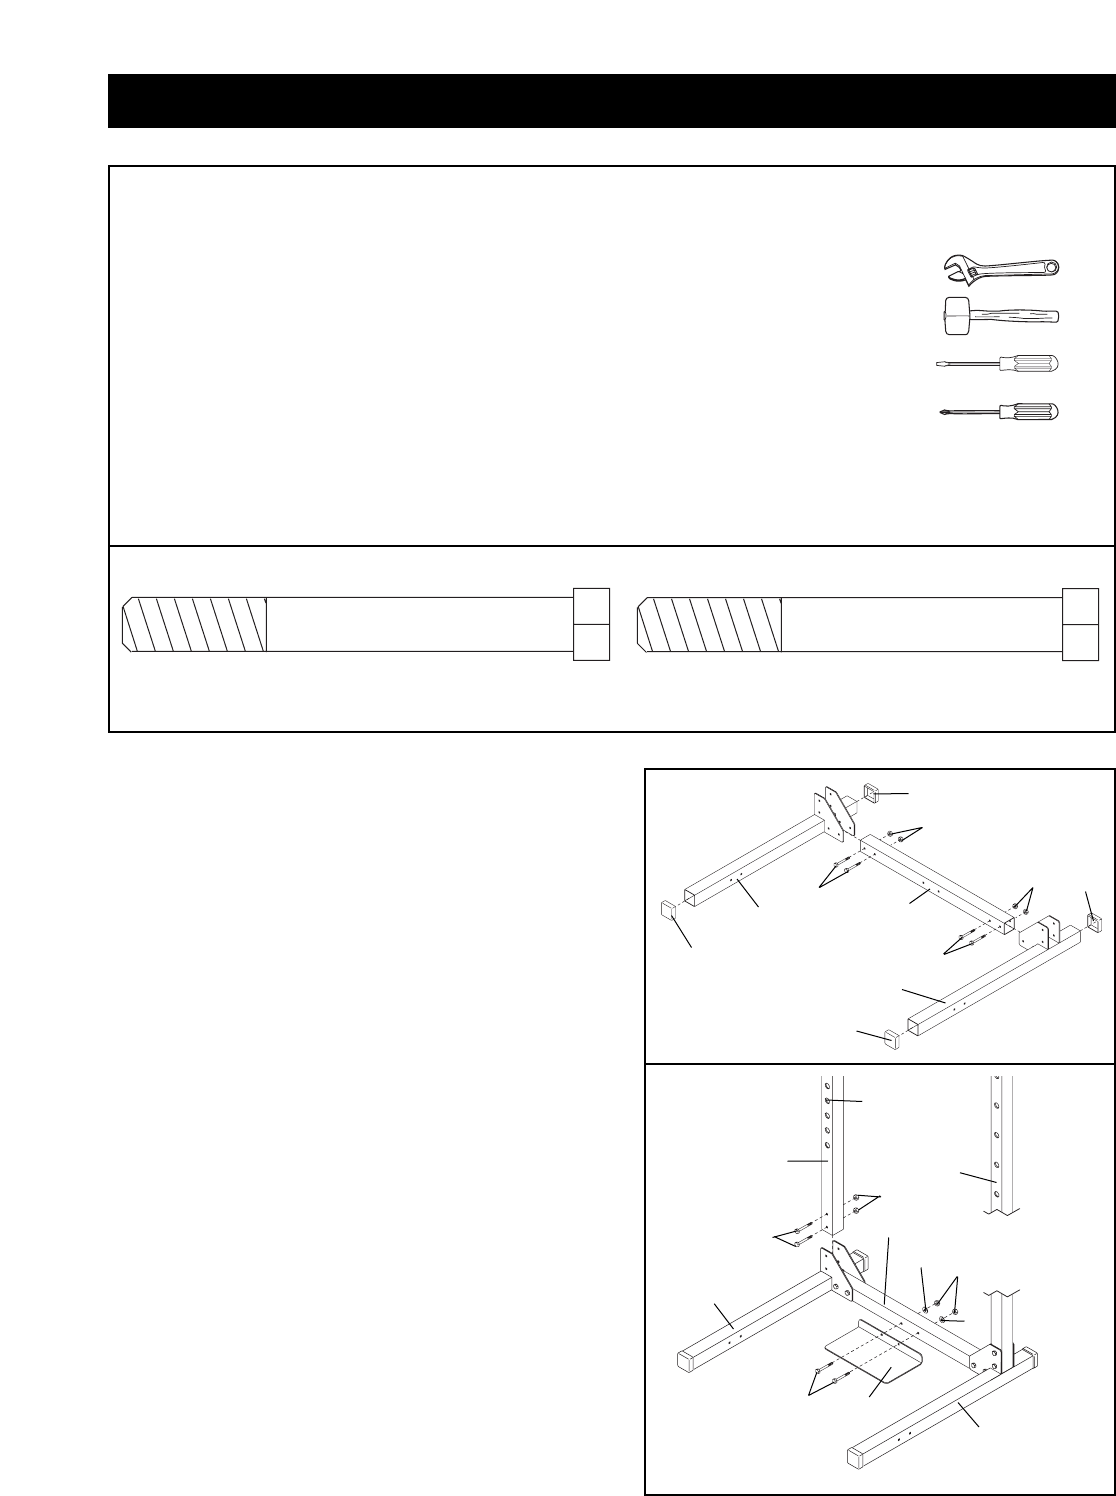
2. Identify the two Rear Uprights (8), which are slightly
shorter than the Front Uprights (not shown).
Attach the Rear Uprights (8) to the Left and Right
Bases (1, 3) using four M10 x 80mm Bolts (4) and
four M10 Nylon Locknuts (9). Do not tighten the
Nylon Locknuts yet. Make sure the Uprights are
oriented exactly as shown, with the adjustment
holes on the indicated side near the bottom.
Attach the Foot Plate (5) to the Center Base (2)
using two M10 x 75mm Bolts (15), two M10
Washers (19), and two M10 Nylon Locknuts (9). Do
not tighten the Nylon Locknuts yet.
1
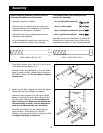
1. Press 60mm Square Inner Caps (14) onto the ends
of the Right and Left Bases (1, 3).
Attach the Right and Left Bases (1, 3) to the Center
Base (2) using four M10 x 80mm Bolts (4) and four
M10 Nylon Locknuts (9). Do not tighten the Nylon
Locknuts yet.
14
1
4
2
4
3
14
14
9
9
14


