7
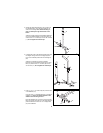
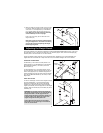
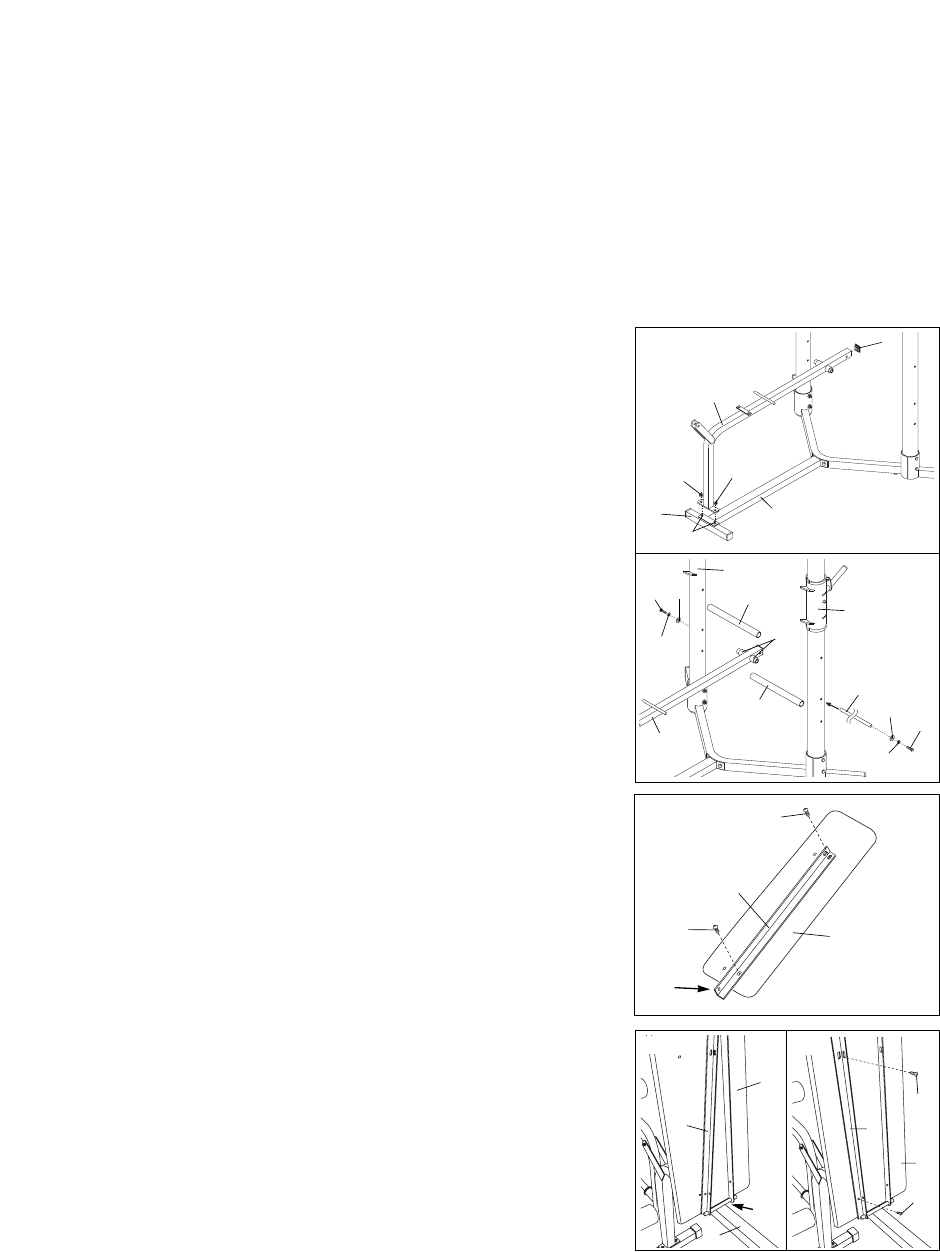
5. Press a 1 1/2Ó x 1 1/2Ó Inner Cap (7) into the end of
the Bench Frame (5). Place the bracket on the Bench
Frame over the 5/16Ó x 2Ó Carriage Bolts (22) in the
Stabilizer. Hand tighten two 5/16Ó Nylon Locknuts (15)
onto the Bolts. Do not tighten the Nylon Locknuts
yet.
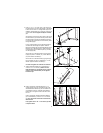
See drawing 5A. Have one person hold up the end of
the Bench Frame (5) while the second person slides
the Bench Rod (8) through the indicated hole in the
Lat Upright (34) until the end of the Rod barely sticks
through the Upright.
Line up a Bench Spacer (4) with the Bench Rod (8)
and slide the Rod through the Spacer. Slide the
Bench Rod through the pre-assembled Bench Frame
Bushings (6) on the Bench Frame. Slide the Bench
Rod through the second Bench Spacer (4) and then
into the Upright (49).
Secure the end of the Bench Rod (8) going into the
Upright (49) with a 1Ó Washer (51), a 5/16Ó Washer
(53) and a Bench Rod Bolt (41).
Secure the end of the Bench Rod (8) going through
the Lat Upright (34) with a 1Ó Washer (51), a 5/16Ó
Washer (53) and a Bench Rod Bolt (41).
Go back and tighten all Locknuts and Jamnuts
5
5A
15
5
7
50
34
49
4
4
5
6
8
51
41
53
41
51
53
22
21
15
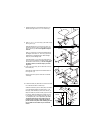
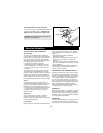
6. Attach a Backrest Bracket (2) to the Backrest (1)
with two 1/4Ó x 1/2Ó Screws (3). Make sure the
Backrest Bracket is oriented as shown (note the
position of the indicated hole). Do not tighten
the Screws yet.
6a. Refer to drawing 6a. Hold the Backrest (1) in a
vertical position as shown and slide the end of the
attached Backrest Bracket (2) onto the welded rod
on the Bench Frame (5). Hold the other Backrest
Bracket (2) at an angle as shown and slide it onto
the rod.
Refer to drawing 6b. Attach the Backrest Bracket
(2) to the Backrest (1) with two 1/4Ó x 1/2Ó Screws
(3). Note: The Screw nearest the rod should be
attached first.
Fully tighten all four 1/4Ó x 1/2Ó Screws (3) used
in steps 6 and 6a.
6a
1
6
1
3
3
2
1
3
2
5
Rod
Hole
2
6b


