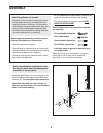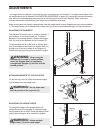
12. Make sure that all parts are properly tightened
before you use the weight bench.
The use of
all remaining parts will be explained in ADJUST-
MENTS, beginning on the following page.
8
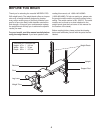
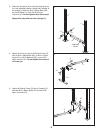
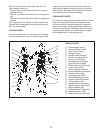
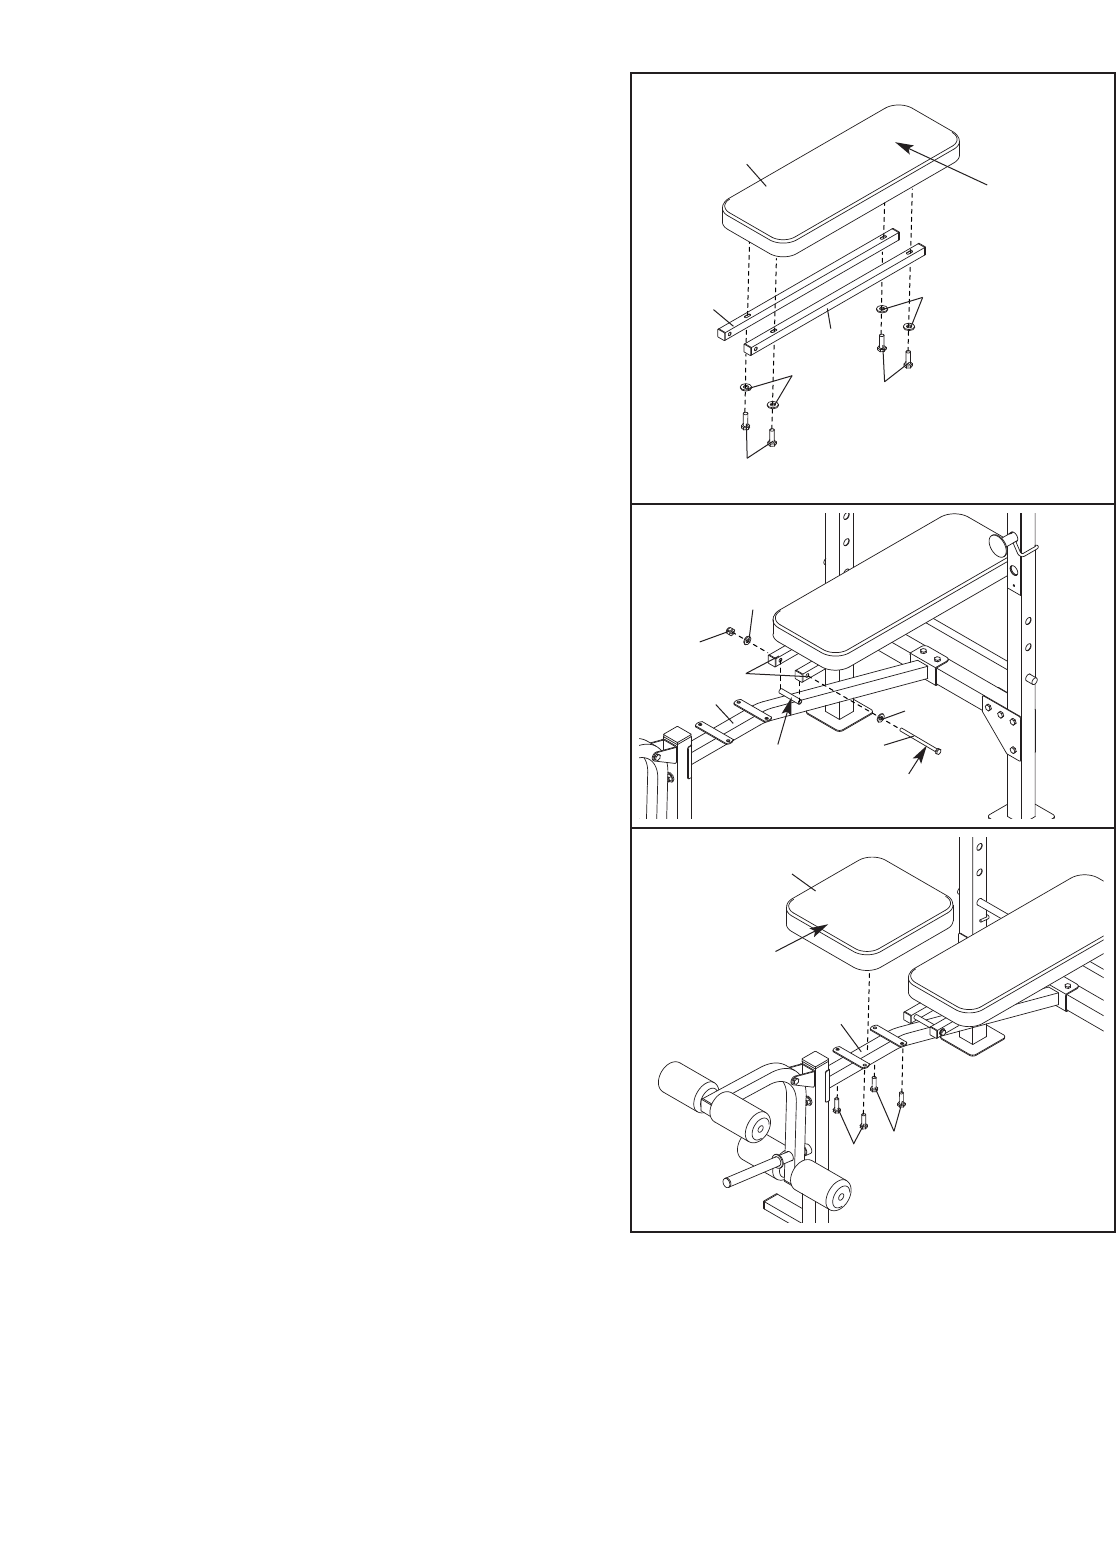
9. Attach the Backrest Tubes (7) to the Backrest (8)
with four M6 x 38mm Screws (32) and four M6
W
ashers (22). D
o not tighten the Screws yet.
Make sure that the name embroidery is in the
i
ndicated location.
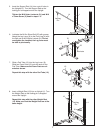
10. Lubricate an M10 x 142mm Bolt (23) with grease.
Attach the Backrest Tubes (7) to the welded tube
on the Bench Frame (3) with the Bolt, two M10
Washers (30), and an M10 Nylon Locknut (31).
Do not overtighten the Locknut; the Backrest
Tubes must be able to pivot easily.
Tighten the M6 x 38mm Screws (32) used in
step 10.
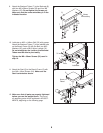
11. Attach the Seat (9) to the Bench Frame (3) with
four M6 x 16mm Screws (24).
Make sure the
Seat is oriented as shown.
8
7
7
22
32
22
32
31
30
7
3
9
3
24
24
Tube
23
Lubricate
Arrow
Decal
9
10
11
Name
E
mbroidery
30


