


TREADCLIMBER by STAR TRAC - OWNER’S MANUAL | Operating Instructions
51
Adjustments
The running belt and its headroller, drive belt, tailroller, and running deck are designed to be self-centering, slip-free, and smooth-oper-
ating without the need for frequent adjustments. Running belt sideward movement, slipping, or grinding after extended use, or
thump-ing during initial use, may be corrected by the following procedures. Note, each belt must be adjusted separately:
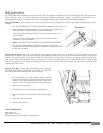
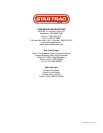
Adjust TRACKING: If the running belt is not centered on the tailroller and is either too far left or right, adjust tracking using the follow-
ing steps:
1.
Turn the TreadClimber
®
on. Increase TreadClimber speed to 3.0 mph (5.0 km/h).
2.
Adjust tracking by turning the left Allen screws (located at the front side of the
head roller) with a 1/4" Allen wrench in 1/4-turn increments.
If the running belt is tracking to the left, turn the screws clock-wise in 1/4
turn increments.
If the running belt is tracking to the right, turn the left screw counter-
clockwise in 1/4 turn increments.
3.
NOTE: ONLY USE THE LEFT SCREW FOR TRACKING ADJUSTMENT.
4.
After the running belt appears to be tracking properly, increase the
TreadClimber by STAR TRAC speed to 4.0 mph (6.7 km/h) and verify that
the belt stays centered.
R
UNNING
B
ELT
Slipping-Running Belt: Remove the motor shroud and operate the treadmill slowly at 1 to 2 mph (2 to 3 km/h). While observing the
tailroller, walk on the belt and try to slow it down by gently applying pressure with your feet while holding the handrails. If only the run-
ning belt, and not the tailroller, slows down, tighten the running belt by turning both the right and left tailroller adjustment bolts clock-
wise 1/4-turn. Repeat this adjustment until the running belt no longer slips, ensuring that you turn both tailroller bolts an equal number
of turns. Re-install the motor shroud. If the headroller and the running belt both slow down, tighten the drive belt as described under
“Slipping-Drive Belt”, below.
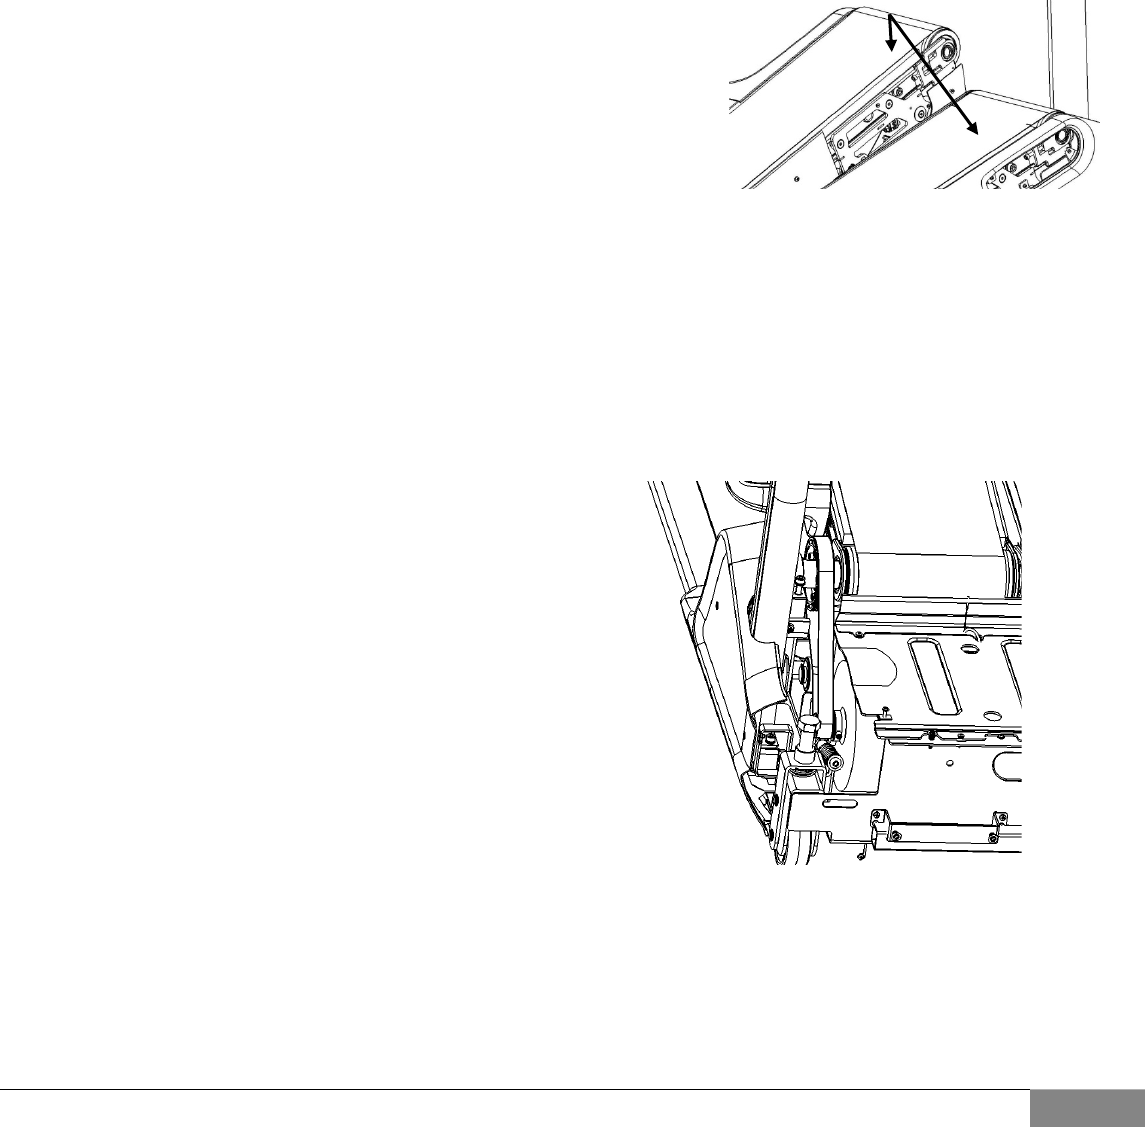
Slipping Drive Belt: The drive belt tensioning system is designed
for minimal adjustment throughout the life of the belt. To check if the
drive belt tension needs to be adjusted, do the following:
1.
Run TreadClimber at 2 mph (3km/h) and try and stop
the belt by applying foot pressure while holding onto the
handrails. If the running belt and roller stop, but the motor
continues to turn, the drive belt tension needs adjustment.
2.
Remove the motor shroud.
3.
Release belt tension by releasing the belt tensioner.
4.
Move the spring to the second hole on the tensioner swing
arm.
5.
Re-tension with the tensioner.
6.
Reinstall motor shroud.
TOOLS & MATERIALS
Clean Towel (1)
Paint Stick or Ruler (1)
Diluted All-purpose Cleaner (409), or Bristle Brush