Page 30 SPINNER
®
OWNER’S GUIDE
PARTS REPLACEMENT
BRAKE PAD REPLACEMENT
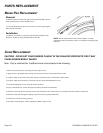
Removal
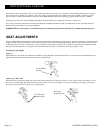
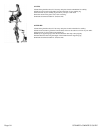
1. Remove tension from the brake pad by turning the Push Brake System
knob counterclockwise, until completely loose.
2. Using the Multi-Purpose Wrench, remove the two bolts supporting the
brake pad onto the frame.
Installation
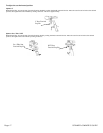
1. Carefully re-install the two bolts through the brake pad bracket onto
the frame. Tighten by using the Multi-Purpose Wrench.
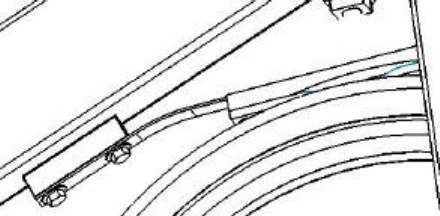
NOTE: The rear fender has been removed from Figure 3 to better
illustrate the brake pad assembly. This is not required when replacing the
brake pad.
CHAIN REPLACEMENT
CAUTION! : DO NO GET YOUR FINGERS CAUGHT IN THE CHAIN OR SPROCKETS FOR IT MAY
CAUSE SEVERE BODILY INJURY!
Note: Only a certified Star Trac® technician should perform the following:
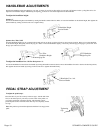
1. Remove the chain guard by unscrewing the chain guards screws.
2. Apply tension to the brake knob by turning it all the way clockwise so the flywheel does not turn.
3. Using the 16mm or 5/8” socket and socket wrench, loosen the axle nuts on both sides of the flywheel.
4. Using the 10mm open end wrench, loosen the lock nuts on the chain adjustment screws.
5. Loosen the adjustment screw to allow the slack in the chain.
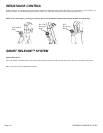
6. Using a chain break tool, cut the chain open and remove the chain from the brake.
7. Put the new chain on the front sprocket and over the crank arm but not onto the large rear sprocket if the chain contains a master link.
8. Insert the master link and tighten it making sure the two links are joined and flexible.
9. Lift chain up onto the rear large sprocket.
10. Proceed to chain doing the “Chain Adjustment” (Refer to pages 23-24)


