Page 26 SPINNER
®
OWNER’S GUIDE
MAINTENANCE _
This section provides the procedures to maintain the Spinner
®
indoor cycling bikes in serviceable condition. Differences between models are noted
where applicable.
MOVING AND LEVELING
To move the bike to a new location:
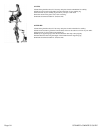
Lift the bike from the rear and use the front wheels (located on the front leg, below the handlebar) to roll the bike from one location to another.
To level the bike:
Use the four leveling adjusters (located on the underside of the front and rear legs) to compensate for uneven floor surfaces.
PREVENTIVE MAINTENANCE
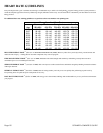
Perform regular scheduled preventive maintenance procedures to maintain your Spinner
®
indoor cycling bike in serviceable condition.
AINTENANCE
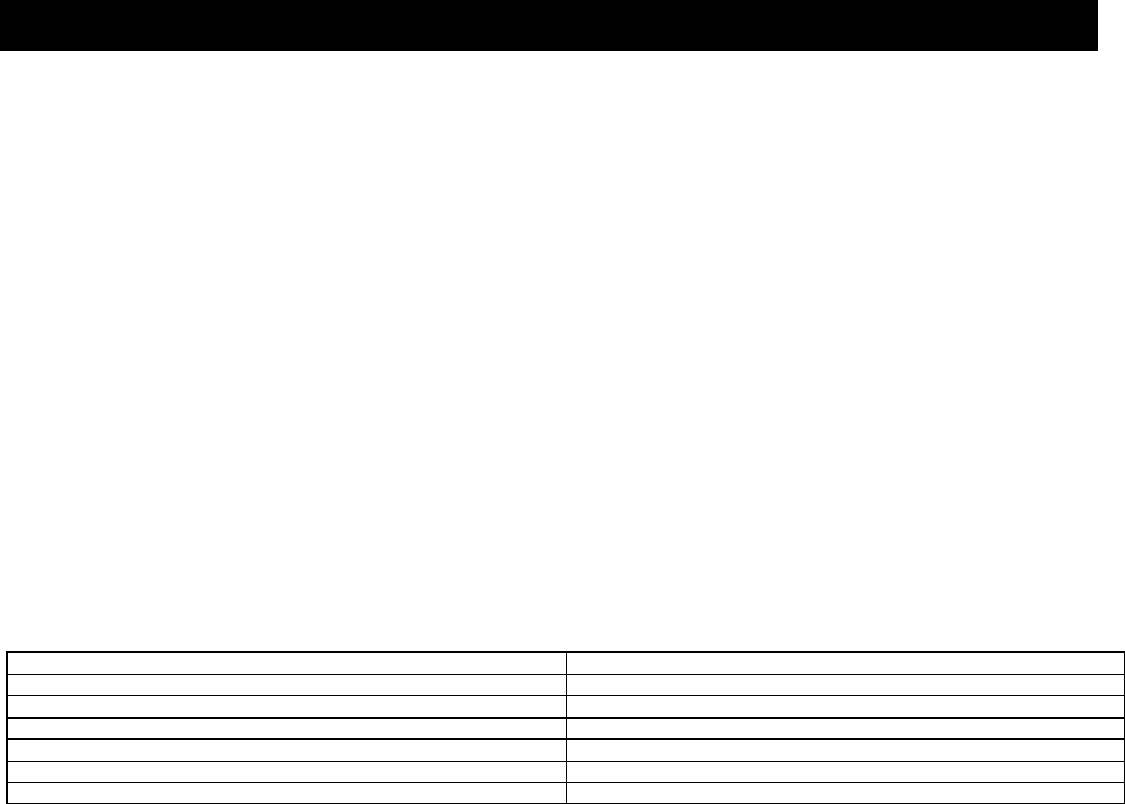
TOOLS
Tools required for service and maintenance of your Spinner
®
indoor cycling bike are listed below.
Tool Purpose
Pedal Wrench, 15mm* Remove and install pedals.
Shimano-compatible Bottom Bracket Tool* Remove, install and adjust the bottom bracket. (Spinner
®
V)
Cotterless Crank Puller* Remove crank.
Metric Allen Wrench Set and Metric Socket, 2mm ~ 6mm Install and adjust leg bolts, chain tensioner, brake pad and crank bolts.
Crescent (adjustable) Wrench Adjust chain tension.
Torque Wrench Adjust crank arm.
* Available at local bike or fitness-related stores.
DAILY MAINTENANCE
The service life of your Spinner
®
indoor cycling bike will be determined by how consistently you perform the daily maintenance procedures. Dry the
Spinner
®
indoor cycling bike after each use to remove sweat and moisture. It is best to use a liquid non-abrasive cleaner and water solution.
Wipe Down / Cleaning
To prevent the build-up of rust and other forms of corrosion, wipe down the bike at the end of each day (or preferably at the end of each class). Raise
all posts to the highest setting to expose moisture. Using an absorbent cloth, focus on all areas that perspiration can settle. Give particular attention to
the following areas:
o Handlebar
o Seat / adjustable slide for the seat
o Flywheel
o Back leg assembly
o Chain guard
o Brake knob and bolt assembly
o Pop-pins
o Leveling feet
NOTE: Never use abrasive cleaning liquids or petroleum-based solvents when wiping down the bike.
NOTE: Release all tension from the resistance knob after each use to allow for perspiration to evaporate. If bikes are used in a class setting, the
instructor may direct class participants to release all tension for the resistance knob after each use.
Inspection / Adjustment


