


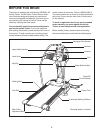
ASSEMBLY
Assembly requires two persons. Set the Incline Trainer in a cleared area and remove all packing materials. Do
n
ot dispose of the packing materials until assembly is completed.
Note: The underside of the Incline Trainer walking belt is coated with high-performance lubricant. During ship-
ping, a small amount of lubricant may be transferred to the top of the walking belt or the shipping carton. This is a
n
ormal condition and does not affect Incline Trainer performance. If there is lubricant on top of the walking belt,
simply wipe off the lubricant with a soft cloth and a mild, non-abrasive cleaner.
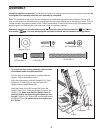
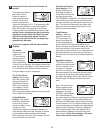
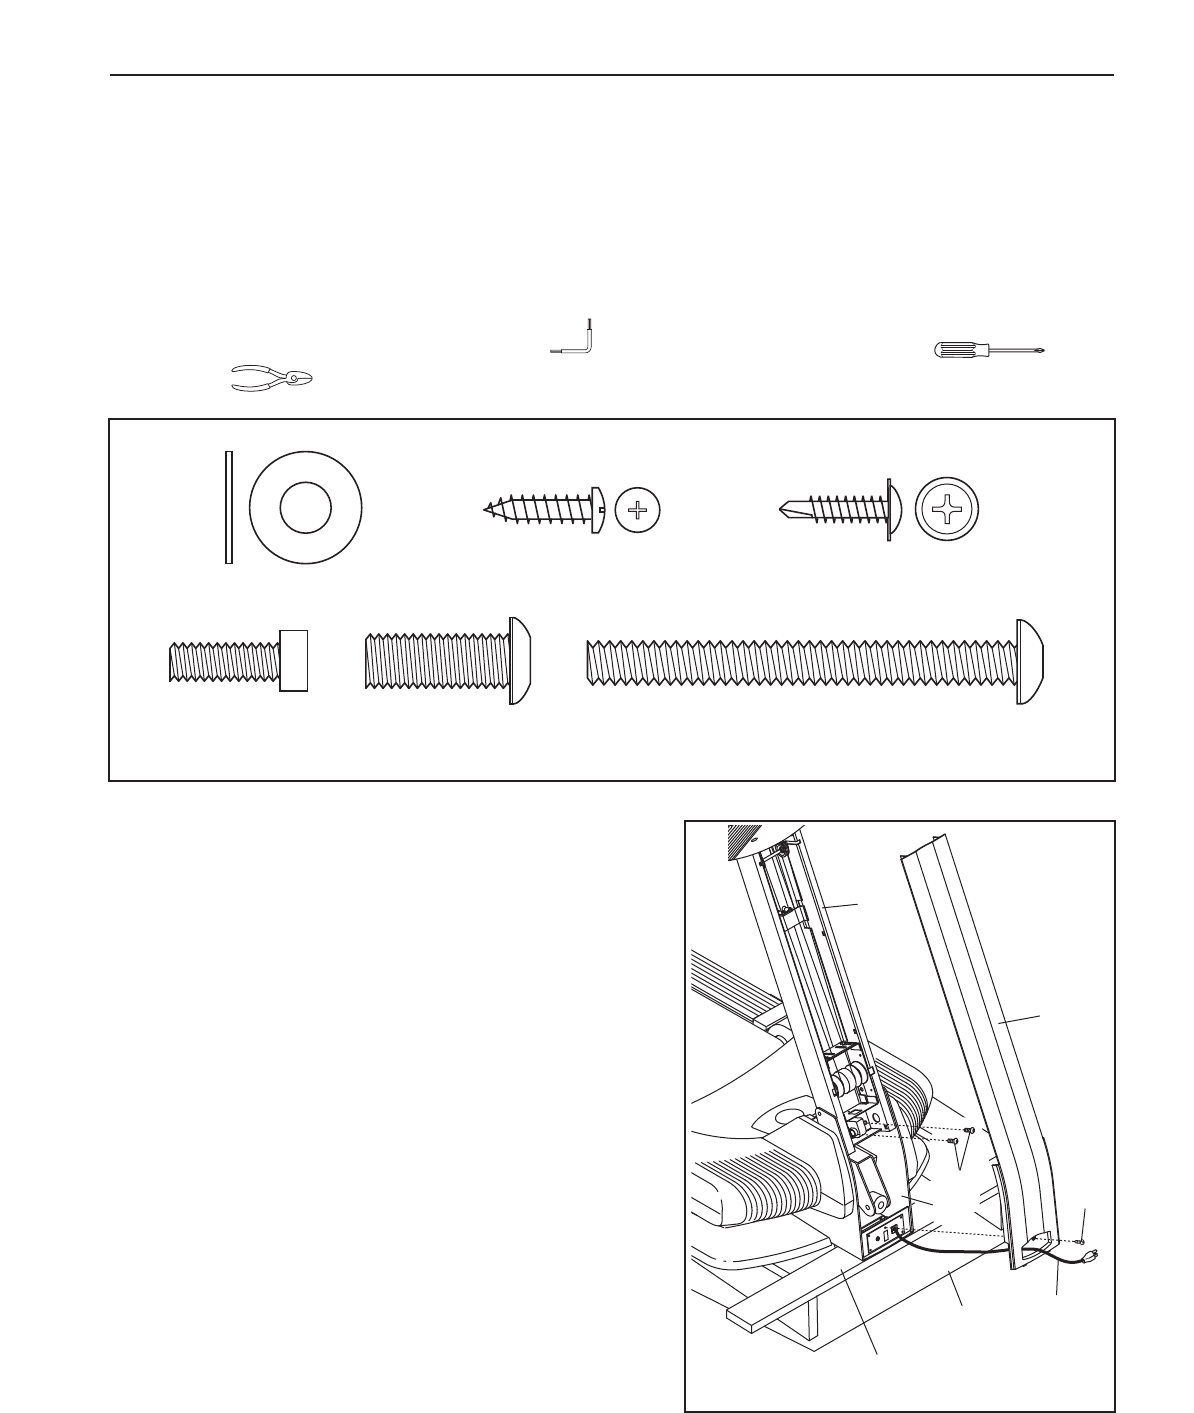
Assembly requires the included allen wrench and your own phillips screwdriver and
wire cutters . For help identifying the assembly hardware, see the hardware drawings below.
6
3/4” Screw (66)–5
3/4” Tek Screw (94)–10
1” Bolt (55)–6
3/4” Bolt (60)–4
Washer (97)–2
3” Bolt (98)–2
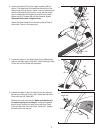
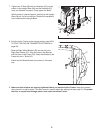
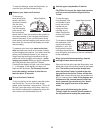
1. To protect the floor during assembly, place a sheet
of cardboard under the pallet as shown.
With the help of a second person, carefully raise the
Upright (110) to the position shown.
While the other person holds the Upright (110), firmly
tighten two 1” Bolts (55) into the lower end of the
Upright and the Upright Base (96).
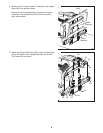
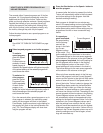
Insert the Power Cord (85) through the hole in the
Upright Cover (115). Press the Upright Cover onto the
Upright (110). Make sure that the Upright Cover is
securely held by the clips along the opening in the
Upright. Tighten a 3/4” Screw (66) into the lower end of
the Upright Cover. Be careful not to over tighten the
3/4” Screw.
115
Cardboard
Pallet
85
110
66
1
55
96