


9
HOW TO USE THE MANUAL PROGRAM
Begin pedaling to activate the console.
The exercise cycle requires no batteries or
external power source. Instead, power is sup-
plied by a generator as you pedal. To activate
the console, begin pedaling. After a few seconds,
the entire display will appear for a moment. The
console will then be ready for use. Note: Before
the resistance buttons can be operated, you
may have to pedal for up to five minutes.
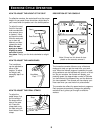
Set a heart rate goal, if desired.
If you do not wish to set a heart rate goal for
your workout, go to step 3.
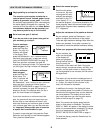
To set a maximum
heart rate goal, first
press the Pulse Set
button. The High (H)
indicator will appear
in the display. Next,
press the Resistance + and – buttons to set a
maximum heart rate goal, in beats per minute
(refer to EXERCISE GUIDELINES on page 13).
Each time a button is pressed, the goal will
change by 5 beats per minute. Five seconds after
you set a goal, the High indicator will disappear.
To set a minimum
heart rate goal,
press the Pulse Set
button twice. The
Low (L) indicator will
appear. Next, press
the Resistance + and – buttons to set a minimum
heart rate goal, in beats per minute (refer to
EXERCISE GUIDELINES on page 13). Each time
a button is pressed, the goal will change by 5
beats per minute. Five seconds after you set a
goal, the Low indicator will disappear.
If you set a maximum or minimum heart rate
goal, the console will sound a tone to alert you
and the High or Low indicator will flash if your
heart rate is above your maximum goal or below
your minimum goal when you use the pulse sen-
sor. Important: Always make sure to exercise
at a pace that is comfortable for you.
To cancel a heart rate goal, first press the Pulse
Set button until the High or Low indicator appears.
Then, press the Reset button.
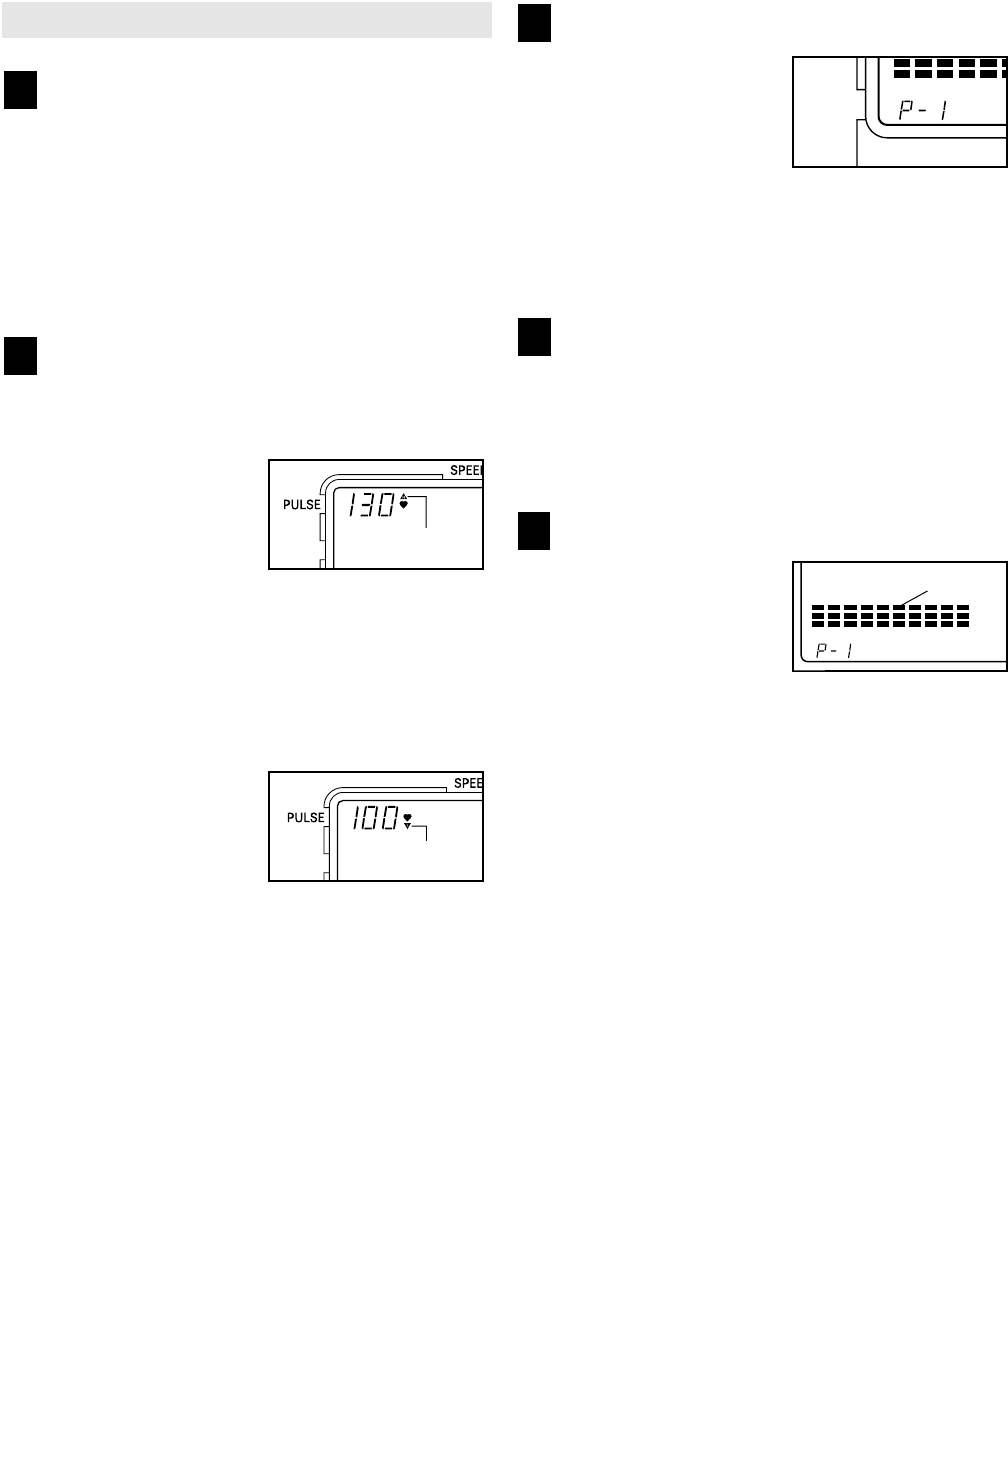
Select the manual program.
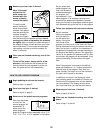
Each time the power
is turned on, the man-
ual program will auto-
matically be selected,
as shown by the “P-1”
in the display. (P-1 is
the manual program.) If you have selected a dif-
ferent program, select the manual mode again by
pressing the Program button repeatedly until the
“P-1” reappears.
Adjust the resistance of the pedals as desired.
As you exercise, press the Resistance + and –
buttons to adjust the resistance of the pedals.
There are eight resistance settings. Note: After the
buttons are pressed, it may take a moment for
the pedals to reach the selected resistance setting.
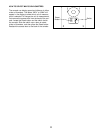
Follow your progress with the console display.
As you exercise, the
matrix on the left side
of the display will
show your progress.
During the first minute
that you pedal, the
first column of the matrix will flash. During the
second minute, the second column will flash, and
so forth, until the tenth column is flashing. After
you have pedaled for ten minutes, the first column
will again flash.
The matrix will also show the resistance level of
the pedals. Each time you press the Resistance +
or – button, the height of the columns in the
matrix will increase or decrease.
In addition to the matrix, the display will show
your pedaling speed, the number of Calories you
have burned, the elapsed time, and the distance
you have pedaled. The display will also show
your heart rate when you use the pulse sensor
(refer to the first step 6 on page 10).
Note: The console can display speed and dis-
tance in either miles or kilometers. The letters
“MPH” or “KMH” will appear in the display to show
which unit of measurement is selected. To change
the unit of measurement, refer to HOW TO
SELECT MILES OR KILOMETERS on page 11.
To reset the display, press the Reset button for
three seconds.
5
4
3
2
1
Matrix
Indicator
Indicator