12
Inspect and tighten all parts of the recumbent cycle
regularly. To clean the recumbent cycle, use a soft,
damp cloth. To prevent damage to the console, keep
liquids away from the console and keep the console
out of direct sunlight.
TIGHTENING THE PEDALS
For best performance, the pedals must be kept prop-
erly tightened. Regularly tighten both pedals.
BATTERY REPLACEMENT
If the console does not function properly, the batteries
should be replaced. To replace the batteries, refer to
HOW TO REPLACE THE BATTERIES on page 9.
HOW TO ADJUST THE REED SWITCH
If the console does not display correct feedback, the
reed switch should be adjusted. In order to adjust the
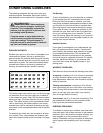
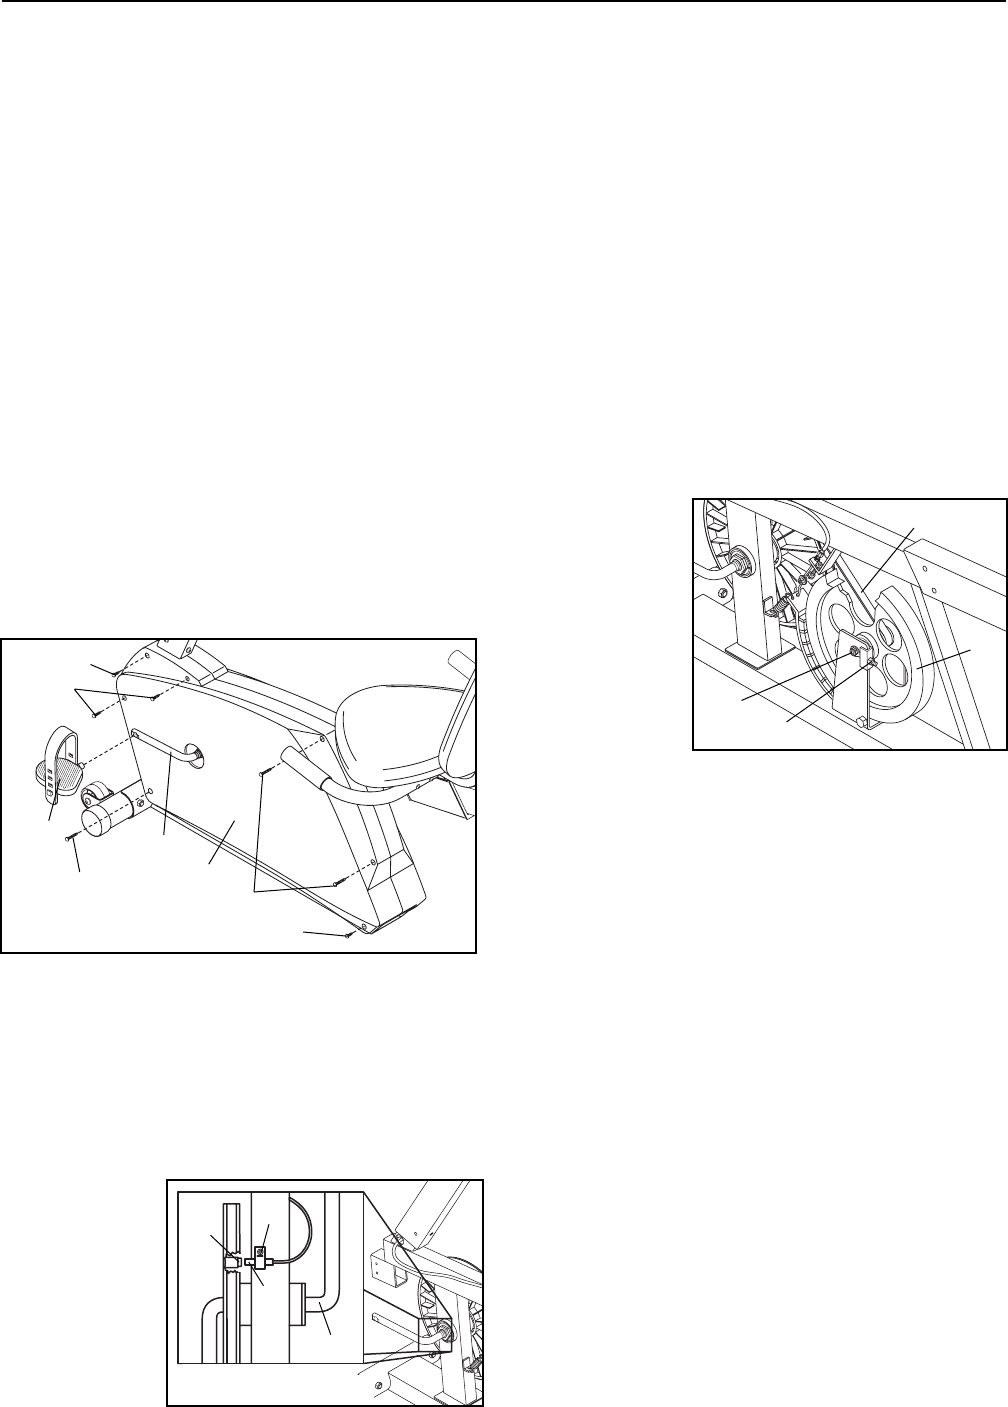
reed switch, the Left Side Shield (4) must be removed.
Using an adjustable wrench, turn the Left Pedal (40)
clockwise and remove it from the Crank (19). Next,
remove the two M4 x 16mm Screws (21) and the five
M4 x 38mm Screws (62) from the Left Side Shield (4).
Make sure that the left arm of the Crank is in the posi-
tion shown above and carefully slide the Left Side
Shield forward off the arm of the Crank.
Next, locate
the Reed
Switch (18).
Turn the Crank
(19) until the
Magnet (31) is
aligned with
the Reed
Switch. Loosen
but do not
remove the M4 x 16mm Screw (21). Slide the Reed
Switch slightly closer to or away from the Magnet.
Retighten the Screw. Turn the Crank for a moment.
Repeat until the console displays correct feedback.
When the Reed Switch is correctly adjusted, reattach
the left side shield and the pedal.
HOW TO ADJUST THE BELT
The recumbent cycle features a precision belt that
must be kept properly adjusted. If the belt causes
excessive noise or slips as you pedal, the belt should
be checked. To do this, the side shields must first be
removed. Refer to the instructions at the left and
remove the left side shield. Remove the right side
shield in the same way.
Press down on
the center of
the Belt (68)
between the
front and rear
pulleys. There
should be
from 1/4Ó to
1Ó of vertical
movement in
the center of
the Belt.
If the Belt (68) is properly adjusted, reattach the side
shields and pedals. If the Belt needs to be adjusted,
loosen the M8 Nylon Locknut (56) on each side of the
Flywheel (70). To tighten the Belt, turn the two
Adjustment Nuts (67) clockwise; to loosen the Belt,
turn the Nuts counterclockwise. Make sure that the
Flywheel is straight and tighten the M8 Nylon Locknuts
(56). Reattach the side shields and pedals.
PULSE SENSOR TROUBLE-SHOOTING
¥ Avoid moving your hands while using the pulse sen-
sor. Excessive movement may interfere with heart
rate readings.
¥ Do not hold the metal contacts too tightly; doing so
may interfere with heart rate readings.
¥ For the most accurate heart rate reading, hold the
metal contacts for about 15 seconds.
¥ For optimal performance of the pulse sensor, keep
the metal contacts clean. The contacts can be
cleaned with a soft clothÑnever use alcohol,
abrasives, or chemicals.
MAINTENANCE AND TROUBLE-SHOOTING
4
31
21
18
19
68
70
56
67
19
21
21
62
62
40
62
Front View


