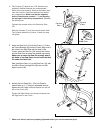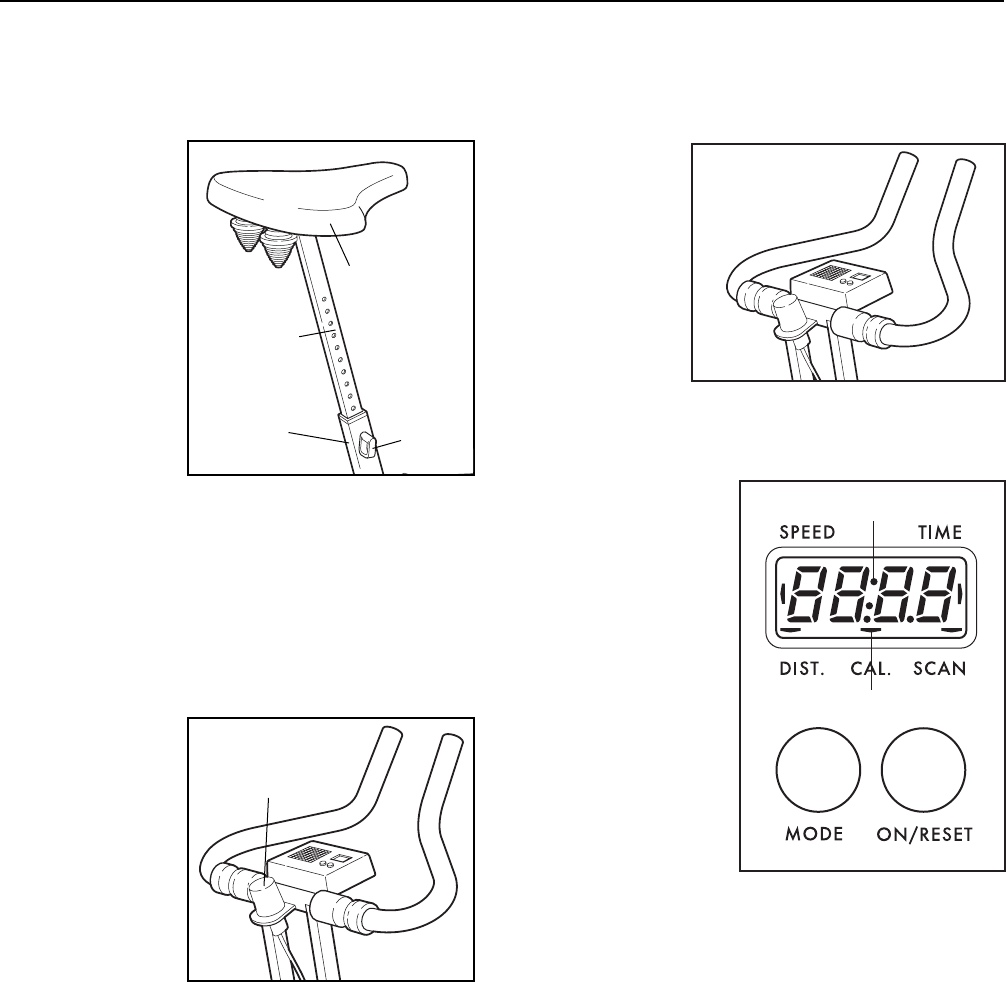
HOW TO ADJUST THE SEAT
For effective
exercise, the
Seat (11) should
be at the proper
height. As you
pedal, there
should be a
slight bend in
your knees
when the pedals
are in the lowest
position. To
adjust the Seat,
first hold the
Seat and
remove the Seat
Pin (35). Align one of the holes in the Seat Post (10)
with the hole in the Frame (1). Insert the Seat Pin into
the Frame and the Seat Post. Caution: Make sure to
insert the Seat Pin through one of the holes in the
Seat Post; do not insert the Seat Pin under the
Seat Post.
HOW TO ADJUST THE PEDALING RESISTANCE
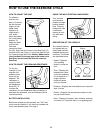
To vary the
intensity of your
exercise, the
pedaling resis-
tance can be
adjusted. The
resistance is
controlled with
the Resistance
Knob (25). To
increase the
resistance, turn the Resistance Knob clockwise; to
decrease the resistance, turn the Resistance Knob
counterclockwise.
BATTERY INSTALLATION
Before the console can be operated, two Ò"AA"Ó bat-
teries must be installed. If you have not installed bat-
teries, see assembly step 4 on page 5.
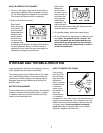
USING THE MULTI-POSITION HANDLEBARS
Your exercise
cycle features
padded, multiple-
position handle-
bars. They are
designed to offer
a maximum
amount of com-
fort while exer-
cising.
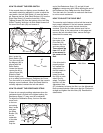
DESCRIPTION OF THE CONSOLE
The console features
five modes that pro-
vide instant exercise
feedback during your
workouts. The modes
are described below.
¥ SpeedÑDisplays
your pedaling
speed, in miles per
hour.
¥ TimeÑDisplays the
elapsed time. Note:
If you stop pedaling
for ten seconds or
longer, the time
mode will pause
until you resume.
¥ DistanceÑDisplays the total distance you have ped-
aled, in miles.
¥ CalorieÑDisplays the approximate number of calo-
ries you have burned.
¥ ScanÑDisplays the speed, time, distance, and calo-
rie modes, for 5 seconds each, in a repeating cycle.
6
HOW TO USE THE EXERCISE CYCLE
11
10
1
35
25
Mode Indicators
Display


