


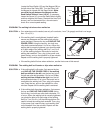
17
When the first period is completed,
all speed set-
tings will move one column to the left
. The speed
s
etting for the second period will then be shown in
the flashing Current Period column and the tread-
m
ill will automatically adjust to the speed and in-
cline settings for the second period. Note: If all five
of the indicators in the Current Period column are
lit,
the speed settings may move downward
so that
only the highest indicators appear in the matrix.
The program will continue in this way until the
speed setting for the last period is shown in the
Current Period column and the last period ends.
The walking belt will then slow to a stop.
If the speed or incline setting for the current period
is too high or too low for you, you can manually
override the setting by pressing the Speed or
Incline buttons. Every few times a Speed button is
pressed, an additional indicator will appear or dis-
appear in the Current Period column; if any of the
columns to the right of the Current Period column
have the same number of lit indicators as the
Current Period column, an additional indicator
may appear or disappear in those columns as
well.
Important: When the current period of the
program ends, the treadmill will automatically
adjust to the speed and incline settings for the
next period.
To stop the program temporarily, press the Stop
button. The time will begin to flash in the display.
To restart the program, press the Start button or
the Speed increase button. The walking belt will
begin to move at 2 Km/H. When the next period of
the program begins, the treadmill will automatically
adjust to the speed and incline settings for the
next period. To end the program, press the Stop
button, remove the key, and then reinsert the key.
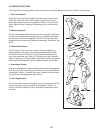
Follow your progress with the display.
See step 5 on page 15.
Measure your heart rate if desired.
See step 6 on page 16.
When the program is completed, remove the
key from the console.
See step 7 on page 16.
THE INFORMATION MODE/DEMO MODE
T
he console features an information mode that keeps
track of treadmill usage information and allows you to
s
elect a unit of measurement for the console.
To select the information mode, insert the key into the
console while holding down the Stop button. Then, re-
lease the Stop button. When the information mode is
selected, the following information will be shown:
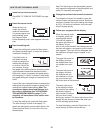
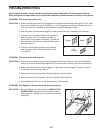
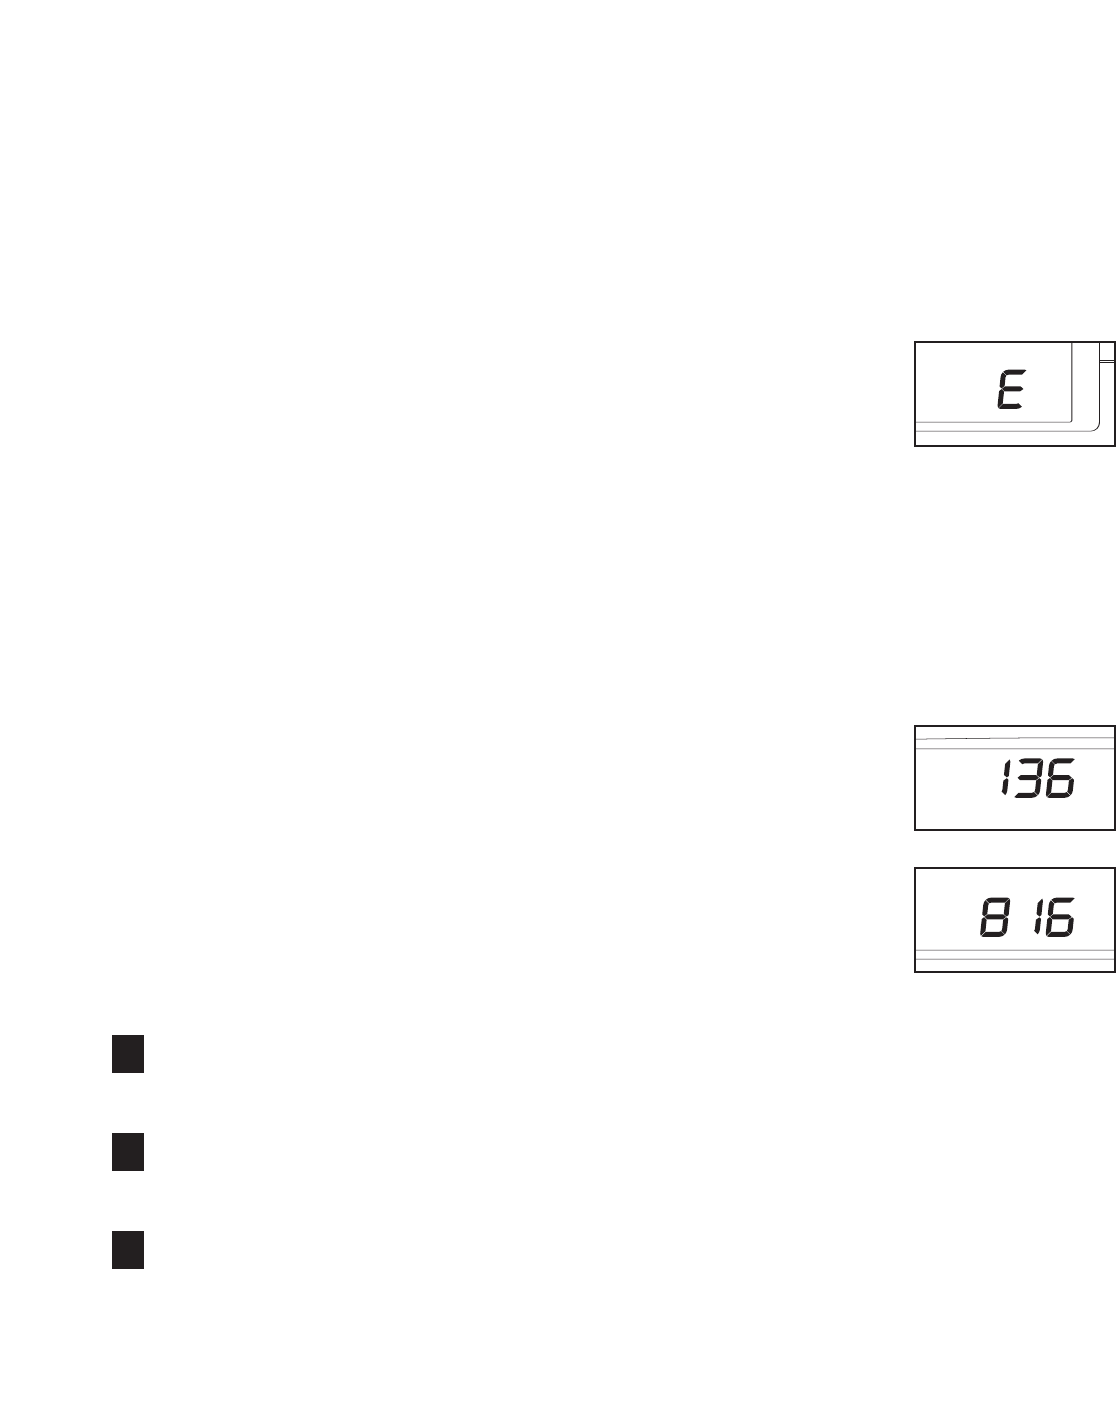
An “E” (for English) or an “M”
(for metric) will appear in the
lower right corner of the dis-
play. Press the Speed in-
crease button to change the
unit of measurement, if de-
sired.
IMPORTANT: If a “d” appears in the display, the
console is in the “demo” mode. This mode is intended
to be used only when a treadmill is displayed in a store.
When the console is in the demo mode, the power cord
can be plugged in, the key can be removed from the
console, and the display will remain lit; the buttons will
not operate.
If a “d” appears when the information
mode is selected, press the Speed decrease button
so the “d” disappears.
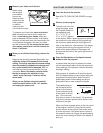
The upper left corner of the
display will show the total
number of hours that the
treadmill has been used.
The lower left corner of the
display will show the total
number of kilometers (or
miles) that the walking belt
has moved.
To exit the information mode, remove the key from the
console.
6
5
4