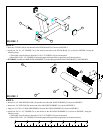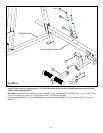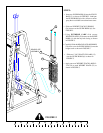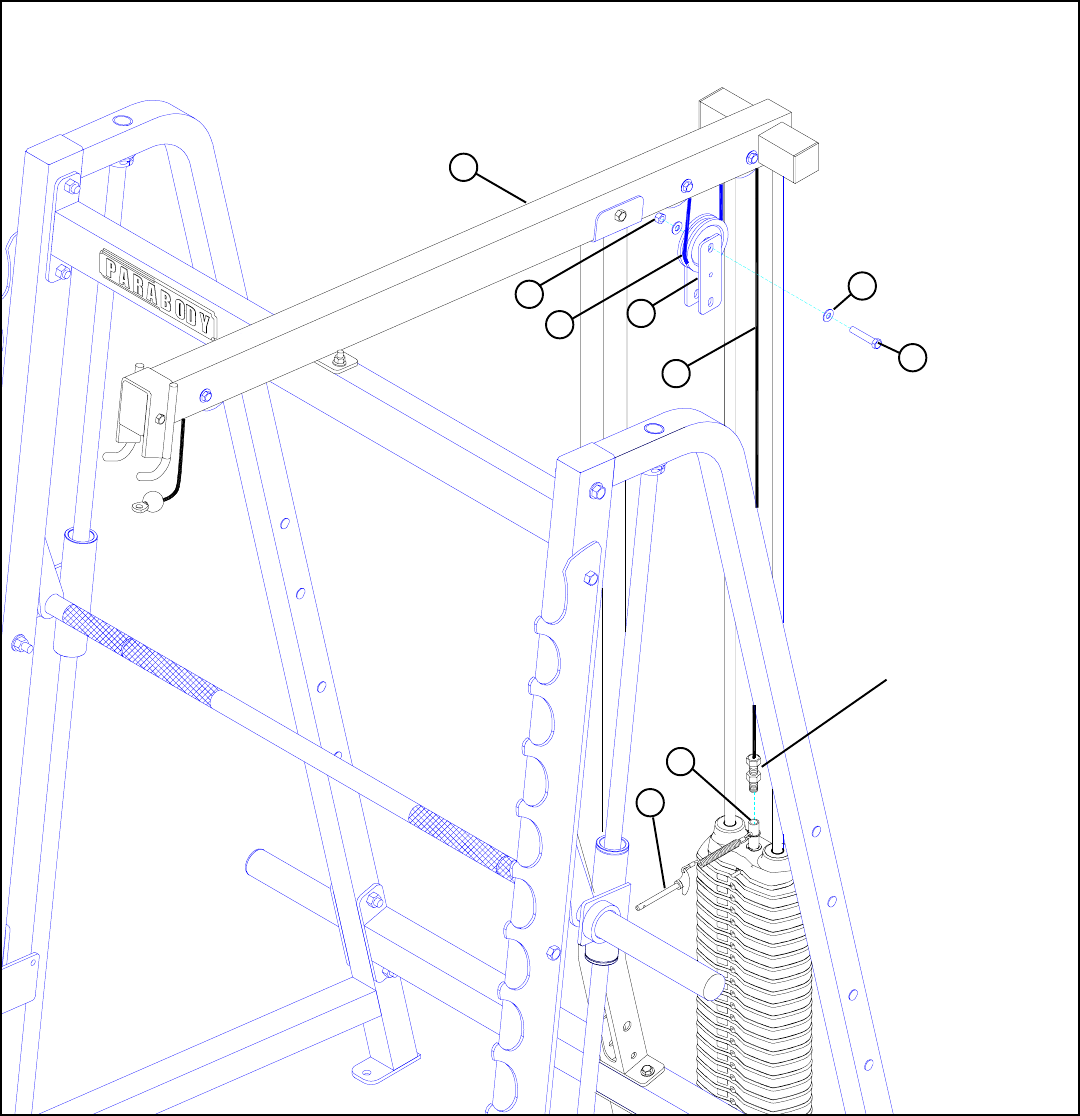
STEP 9:
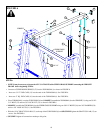
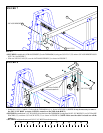
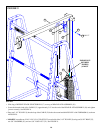
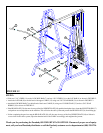
FIGURE 9
10
31
• Place one 3-1/2” PULLEY (9) into the loop of the CABLE (12) below the second and third PULLEY of the TOP BOOM (4) as shown
in FIGURE 9.
• LOOSELY assemble two 3/16 X 1-3/4 X 5-1/4” PLATES (23) to each side of the 3-1/2” PULLEY (9) using one 3/8 X 2” BOLT (35),
two 3/8” WASHERS (30), and one 3/8” LOCK NUT (31). See FIGURE 9.
!IMPORTANT!
SECURELY
TIGHTEN
JAM NUT
35 3/8 X 2”
4
30
23
12
9
36
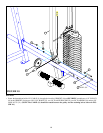
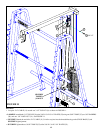
• Screw the threaded end of the CABLE (12) approximately 3/4” into the end of the HEAD PLATE ASSEMBLY (36) and tighten
jam nut securely. See FIGURE 9.
17
• Slide ring of WEIGHT STACK SELECTOR PIN (17) over top of HEAD PLATE ASSEMBLY (36)


