7
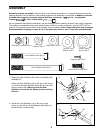
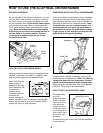
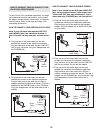
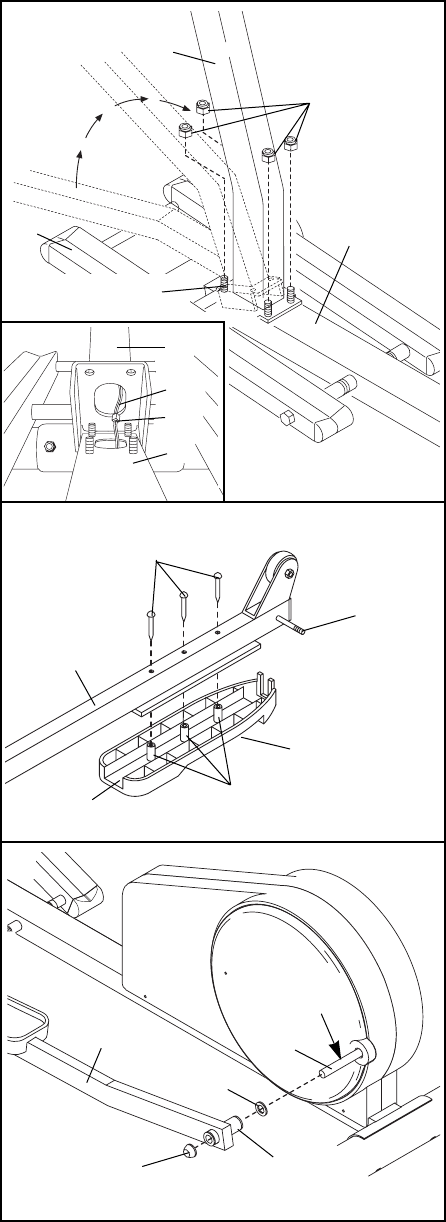
7. Identify the Left Pedal Arm (3), which has an ÒLÓ sticker
on it. Next, identify the Left Pedal (41), which has the
letter ÒLÓ molded onto the bottom.
Turn over the Left Pedal Arm (3) as shown. Insert the
three plastic posts on the Left Pedal (41) into the three
indicated holes in the Left Pedal Arm. Make sure that
the Left Pedal is turned as shown. Attach the Left
Pedal with three Pedal Screws (43).
Attach the Right Pedal (not shown) to the Right Pedal
Arm (not shown) in the same way.
7
43
3
41
Open Side
Plastic Posts
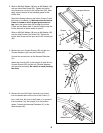
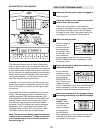
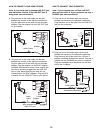
6. Align the two holes in the front of the Upright (2) with
the two welded bolts on the front of the Frame (1).
Next, pivot the Upright (2) about halfway to a vertical
position. Refer to the inset drawing. As you raise
the Upright, look into the lower end and make sure
that the Harness Extension (51) and the Wire
Harness (25) do not get pinched between the
Upright (2) and the Frame (1). In addition, feed the
slack in the Harness Extension and the Wire
Harness into the Upright. Continue to raise the
Upright until the four welded bolts are inserted through
the bracket at the bottom of the Upright.
Lift the front of the Incline Frame (5). Tighten an M10
Nylon Locknut (26) onto each welded bolt.
6
2
5
1
26
1
25
51
2
Welded Bolts
Welded
Bolt
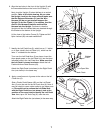
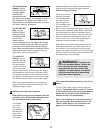
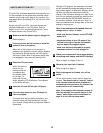
8. Apply a small amount of grease to the axle on the left
Crank Arm (6).
Side a Plastic Pedal Spacer (85) and the Left Pedal
Arm (3) onto the axle on the left Crank Arm (6). Note: It
may be helpful to use a rubber mallet to tap these parts
on. Be careful not to confuse the Left Pedal Arm
with the Right Pedal Arm (not shown); look at the
position of the round tube to identify the Left Pedal
Arm. Next, tap a 3/4Ó Axle Cap (61) onto the axle.
Attach the Right Pedal Arm (not shown) in the same way.
6
Grease
85
61
3
8
Round
Tube


