6
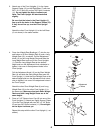
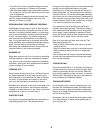
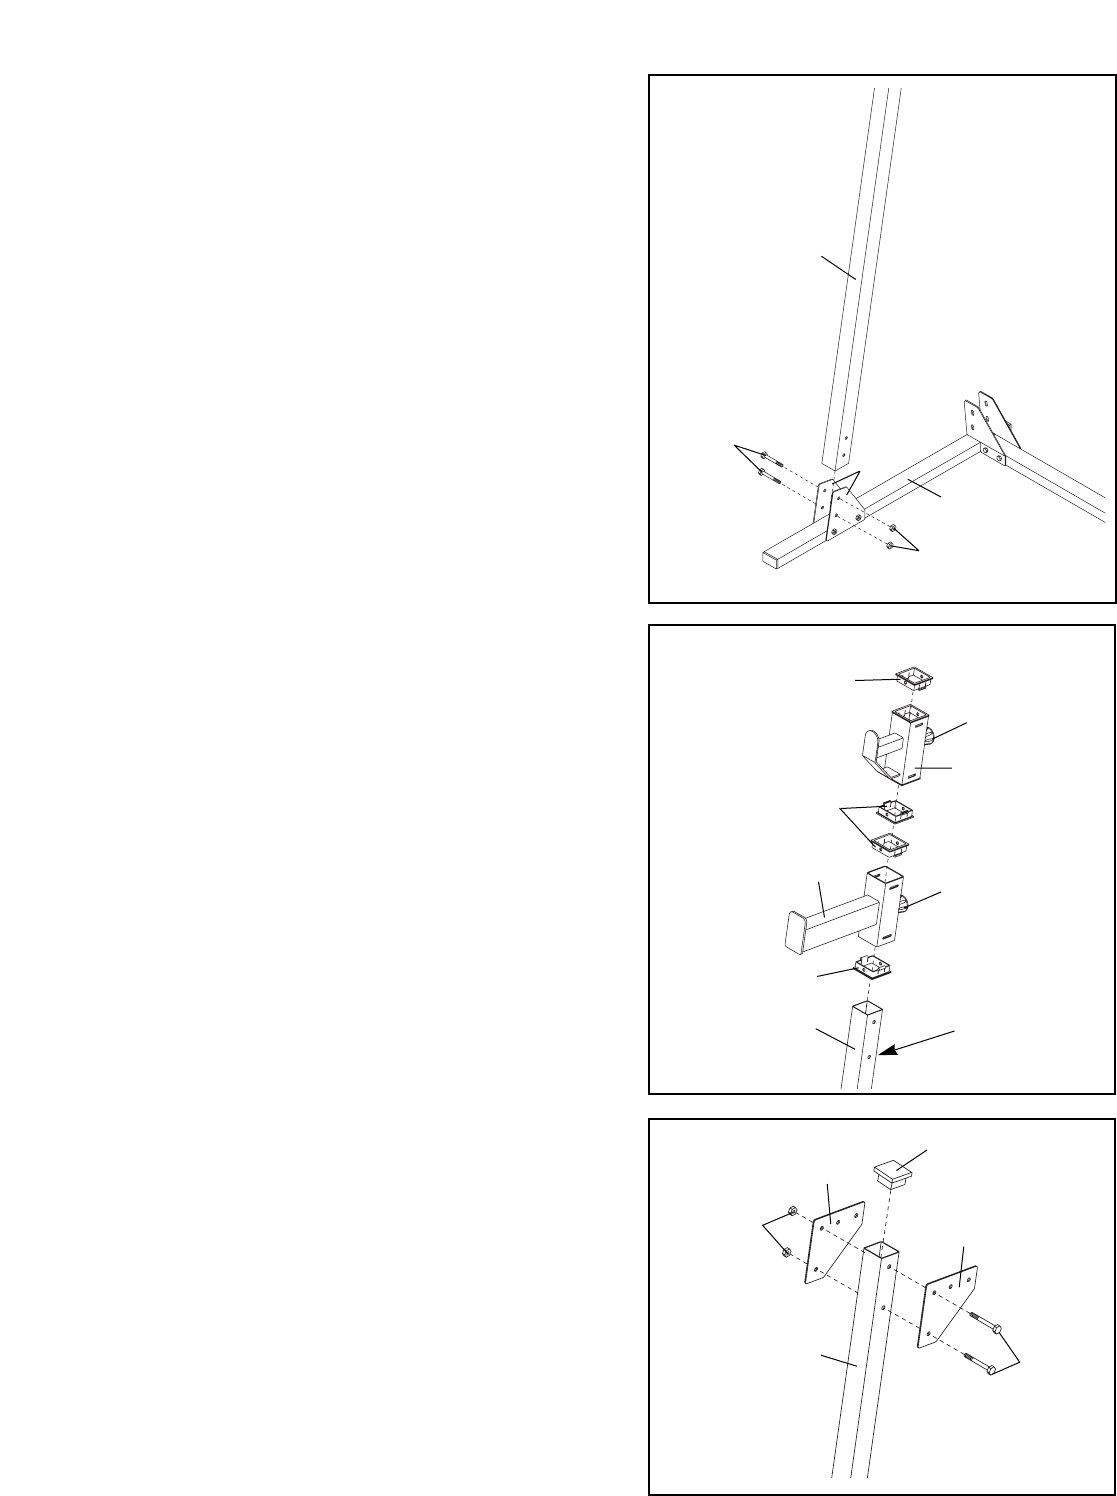
3. Attach one of the Front Uprights (1) to the Lower
Support Plates (13) on the Right Base (7) with two
3/8Ó x 3 1/2Ó Bolts (6) and two 3/8Ó Nylon Locknuts
(11). Do not tighten the Nylon Locknuts yet.
Note: The Front Upright will slant backward
slightly.
Be sure that the holes in the Front Upright (1)
line up with the holes in the Support Plates (13).
If they do not line up, turn the Front Upright
over.
Attach the other Front Upright (1) to the Left Base
(2, not shown) in the same manner.
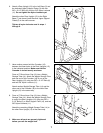
4. Press four Weight Rest Bushings (17) into the top
and bottom of a Short Weight Rest (4) and a Long
Weight Rest (19), as shown. Pull the Adjustment
Knob (12) on the Long Weight Rest and slide the
Long Weight Rest onto one of the Front Uprights
(1). Hold the Long Weight Rest at the desired
height and turn the Adjustment Knob clockwise to
tighten it into one of the adjustment holes in the
Front Upright.
Pull the Adjustment Knob (12) on the Short Weight
Rest (4) and slide the Short Weight Rest onto the
Front Upright (1). Hold the Short Weight Rest at the
desired height and turn the Adjustment Knob clock-
wise to tighten it into one of the adjustment holes in
the Front Upright.
Attach the other Short Weight Rest (4) and Long
Weight Rest (19) to the other Front Upright (1) in
the same way. Make sure that both Short Weight
Rests and both Long Weight Rests are at the
same height.
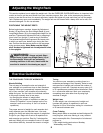
5. Press a 2 1/2Ó Square Inner Cap (9) into one of the
Front Uprights (1). Attach two Upper Support Plates
(3) to the Front Upright with two 3/8Ó x 3 1/2Ó Bolts
(6) and two 3/8Ó Nylon Locknuts (11). Do not tight-
en the Nylon Locknuts yet.
Repeat this step with the other Front Upright (1, not
shown).
9
1
3
6
11
3
4
19
17
12
12
Adjustment
Holes
1
17
17
4
5
1
6
7
13
11
3


