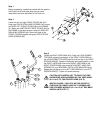
Step 1
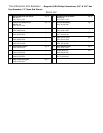
Before proceeding, familiarize yourself with the parts of
the Cross-Trainer and make sure that you have
received all the items described in the Parts List.
Step 2
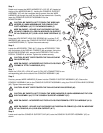
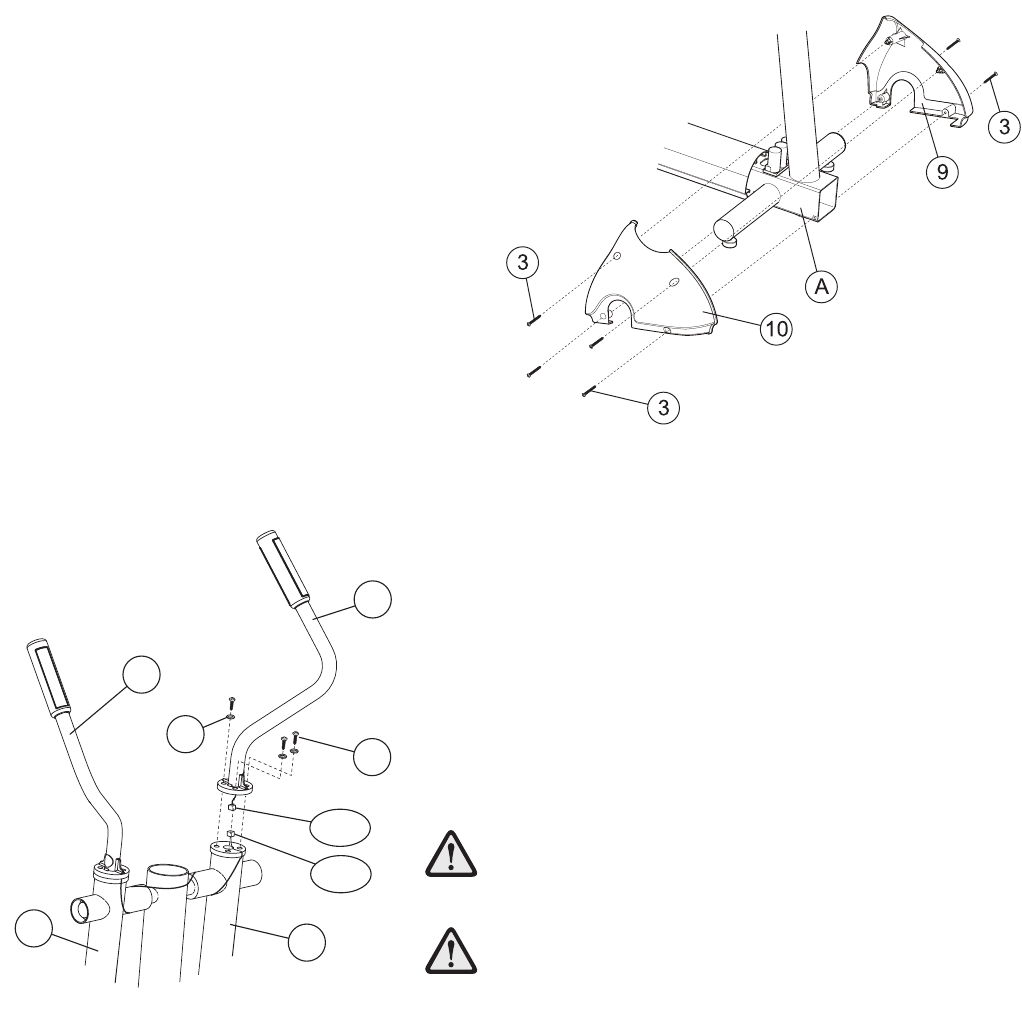
Locate the left and right FRONT COVER (#9, #10).
Usign two PHILLIPS PAN HEAD SCREWS (#3), mount
the USER LEFT FRONT COVER (#9) to the FRAME
(A). Attach the USER RIGHT FRONT COVER (#10) to
the FRAME in the same manner using two PHILLIPS
PAN HEAD SCREWS (#3). Secure the tops of the
FRONT COVERS together using two PHILLIPS PAN
HEAD SCREWS (#3).
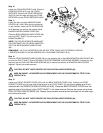
Step 3
Locate the RIGHT USER ARM (#12). Snap the 2-PIN CONNEC-
TOR (2PA) located at the bottom of the RIGHT USER ARM into
the 2-PIN CONNECTOR (2PB) positioned at the top of the RIGHT
ROCKER ARM (B). Feed the connectors and excess cable up into
the RIGHT USER ARM. Secure the RIGHT USER ARM to the
RIGHT ROCKER ARM using three HEX SOCKET HEAD CAP
SCREWS (#1) and INTERNAL TOOTH LOCK WASHERS (#18).
Repeat the procedure for the LEFT USER ARM (#11) and LEFT
ROCKER ARM (C). Tighten all screws securely.
CAUTION: BE CAREFUL NOT TO PINCH THE WIRE
HARNESSES WHEN ASSEMBLING THE USER ARMS
(#11 & #12) TO THE ROCKER ARMS (B & C).
MISE EN GARDE : VEILLEZ À NE PAS PINCER LE
FAISCEAU DE CÂBLES LORS DE L'ASSEMBLAGE
DES POIGNÉES MOBILES (Nº 11 et 12) ET DES BRAS
BASCULANTS (B ET C).
B
12
11
18
1
C
2PA
2PB


