


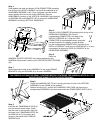
Step 10
Open the WAX KIT (#20) and install the WAX according to the directions provided on the Instruction Sheet enclosed
within the WAX KIT.
WARNING: DO NOT OPERATE THE LIFE FITNESS 8500 TREADMILL PRIOR TO INSTALLING THE WAX
ACCORDING TO THE INSTRUCTIONS ENCLOSED WITHIN THE WAX KIT. FAILURE TO INSTALL THE WAX
PRIOR TO USE MAY CAUSE DAMAGE TO THE UNIT AND VOID YOUR WARRANTY.
MISE EN GARDE: VOUS DEVEZ METTRE DE LA CIRE CONFORMÊMENT AUX INSTRUCTIONS COMPRISES
AVEC LE NÊCESSAIRE DE CIRE AVANT DE FAIRE FONCTIONNER L’EXERCISEUR DE MARCHE LIFE
FITNESS 8500. LE FAIT DE NE PAS METTRE DE CIRE AVANT D’UTILISER L’APPAREIL POURRAIT
ENDOMMAGER L’EXERCISEUR ET ANNULER LA GARANTIE.
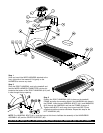
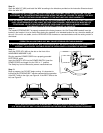
Step 11
The treadmill STRIDING BELT is properly centered at the factory however, the Life Fitness 8500 treadmill must be
leveled in the location it is to be used. After placing the treadmill in its intended location for use, check the stability of
the unit. If the unit is not stable, turn the LEVELING LEGS clockwise or counterclockwise until the rocking motion is
diminished.
IT IS EXTREMELY IMPORTANT THAT THE TREADMILL BE CORRECTLY LEVELED FOR PROPER
OPERATION. AN UNSTABLE UNIT MAY CAUSE STRIDING BELT MISALIGNMENT.
IL EST EXTRÊMEMENT IMPORTANT QUE L'EXERCISEUR SOIT DE NIVEAU POUR UN FONCTIONNEMENT
ADÉQUAT. UN APPAREIL INSTABLE RISQUE DE DÉSALIGNER LA COURROIE DE MARCHE.
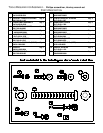
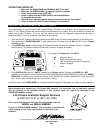
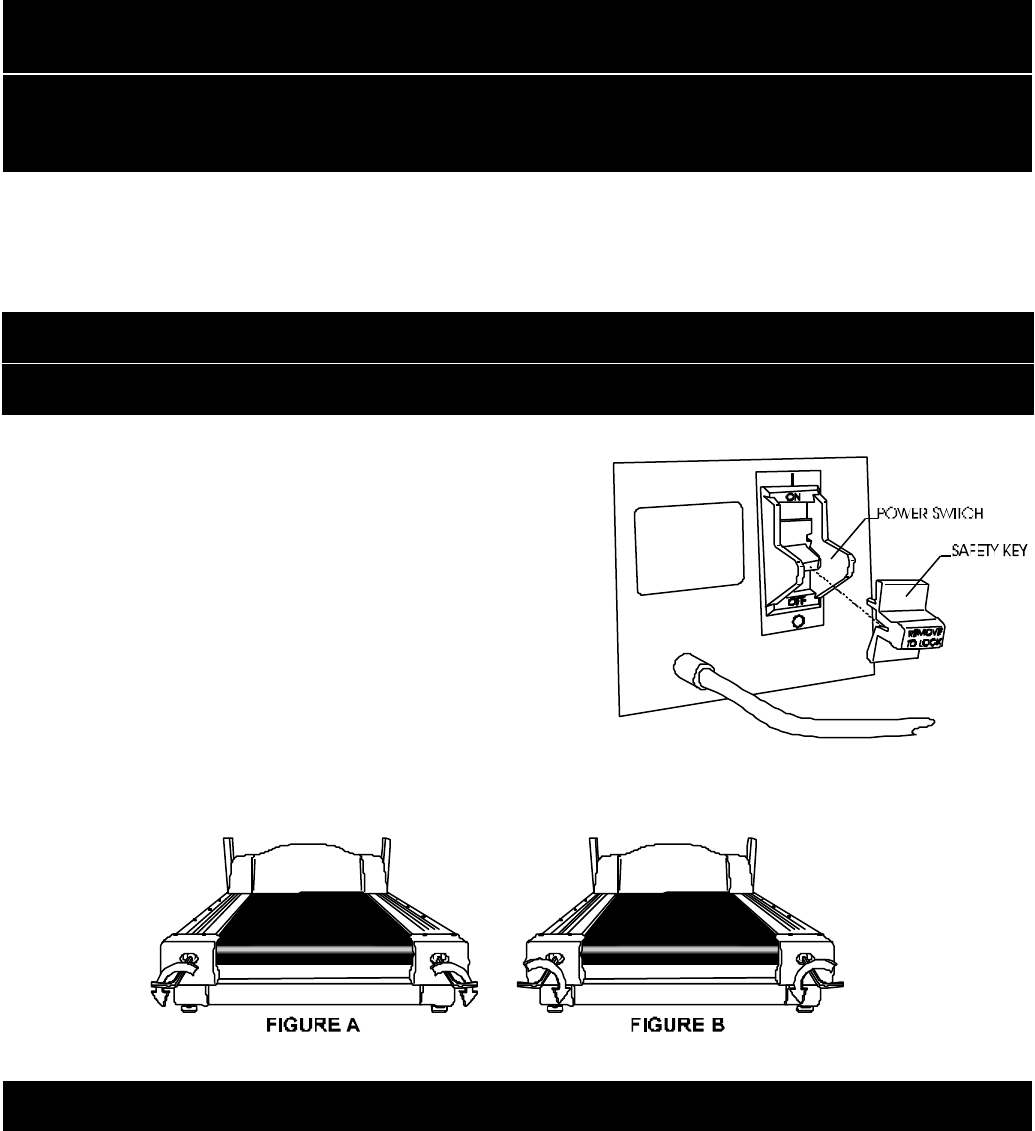
Step 12
Insert the STOP KEY (#8) into the slot on the front of the
HANDLEBAR ASSEMBLY (#5).
Plug the machine POWER CORD into a properly grounded
ELECTRICAL outlet.
Insert the SAFETY KEY into the POWER SWITCH (near the
POWER CORD) and toggle it to the “ON” or “I” position.
The Safety key can be removed to prevent unauthorized use.
Step 13
Begin a program, but DO NOT begin running. It is important to
insure that the STRIDING BELT remains centered during operation.
If the BELT drifts to the right, see Figure A. If the BELT drifts to the
left, see Figure B.
NOTE: WHEN ADJUSTING THE STRIDING BELT YOU MUST ADJUST BOTH SIDES EQUALLY.
(E.G. ADJUST THE LEFT SIDE 1/4 TURN CLOCKWISE AND THE RIGHT SIDE 1/4 TURN COUNTER-CLOCKWISE)