


Page
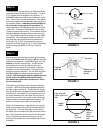
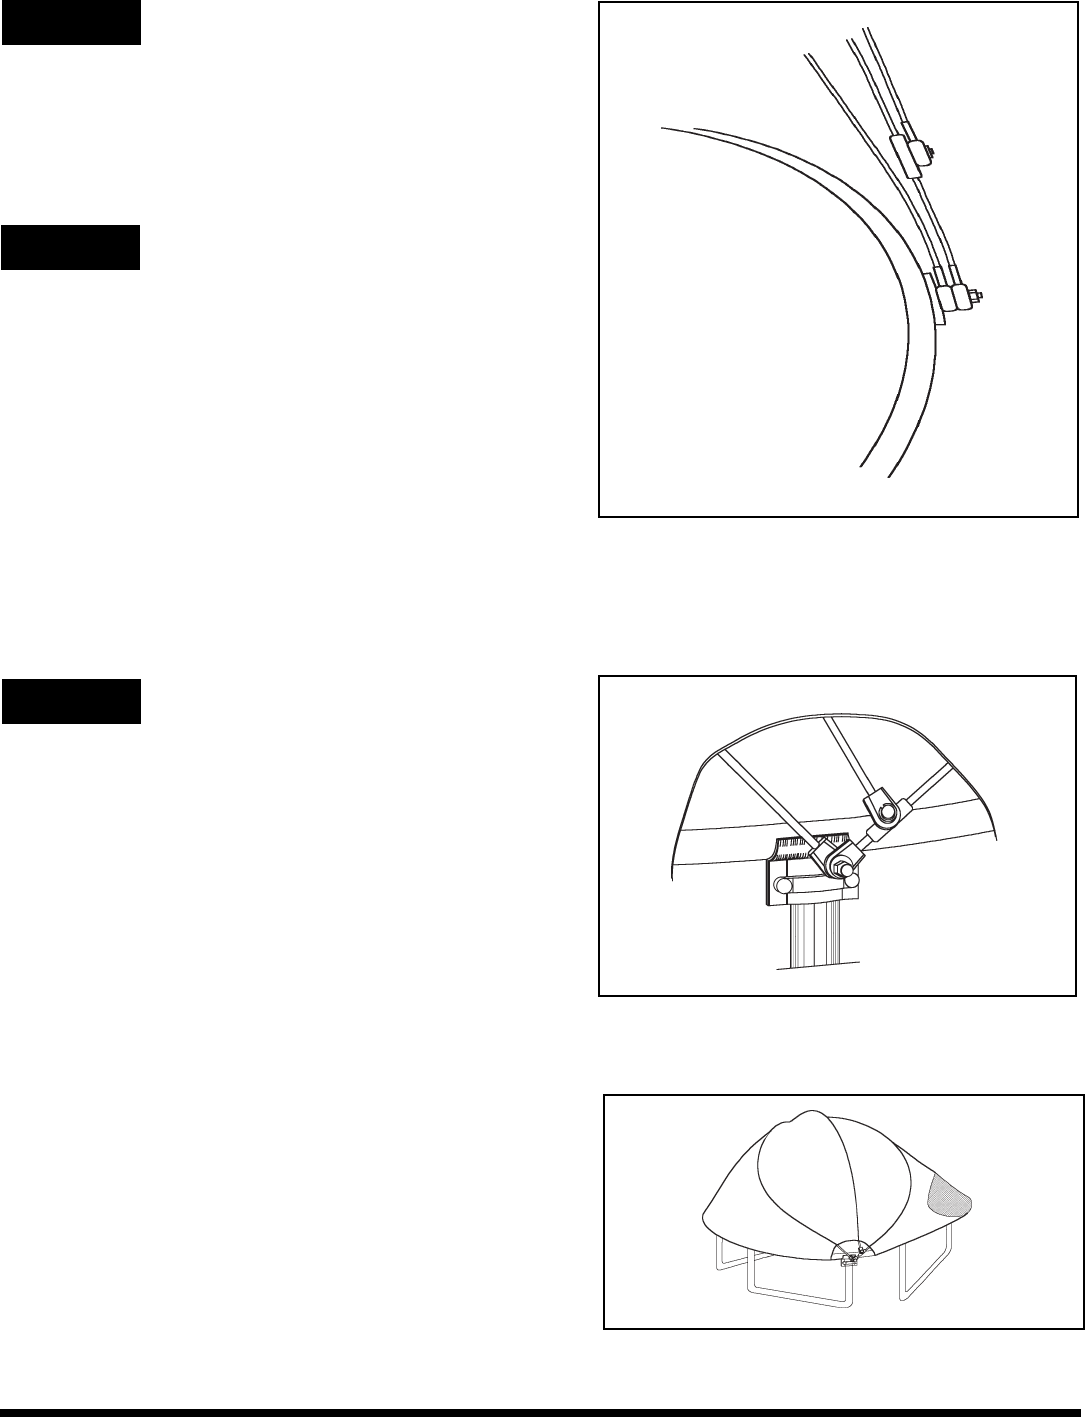
Take the end of the middle/short pole and place into the pole
dowel of the sliding bracket on the yellow marked 12 o'clock
pole.
Then attach the 6 o'clock pole to the inside bracket pole
dowel. Do the same - at the other bracket at the 9 o'clock
position. This should be the last pole to attach. Remember to
bow the pole towards 12 o'clock as you attach it to the inside
pole dowel.
You should now have all three poles attached to what is now
called the combination pole bracket assembly (main
bracket with two poles attached - both outside poles - 12
o'clock/yellow marked to outside, 6 o'clock to inside, MID pole
attached to the sliding piece on 12 o'clock/yellow marked
pole) - (see Fig. 9).
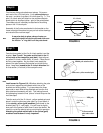
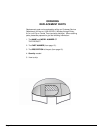
Now gently erect the tent by lifting all three poles (both sides)
towards the 6 o'clock - door position.
You should have a three pole assembly centered at each
bracket (see Fig. 10) with the edges of the tent evenly distrib-
uted around the circumference of the top trampoline frame.
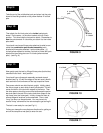
One person should now hold the tent upright. Initially attach
the velcro straps on each side of each pole bracket. This will
center the fabric of the tent with respect to the frame. Then
the other person should go around the tent/trampoline perim-
eter and attach the rest of the velcro hold down straps to the
top frame (over the frame pad). Initially a loose tie down at
several diagonal locations is recommended. Then a total
"snug" tie down can be performed. You may have to try
several "wrap" schemes for the velcro straps to get a snug fit.
The tent is now ready for use (see Fig 11).
Follow your trampoline manufactures directions for getting on
and off the trampoline mat (bed) to enter the tent.
Step 9:
FIGURE 11
FIGURE 10
Yellow
MID
FIGURE 9
MID
Bracket
3 o'clock
Top of frame
Sliding piece
11
Step 10:
Yellow
Step 11:
6 o'clock
pole
12 o'clock
6 o'clock