


5
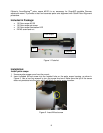
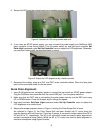
5. Secure the LED onto the control board using supplied screw and nut sets.
Figure 8. Secure the LED using screws and nuts
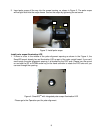
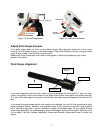
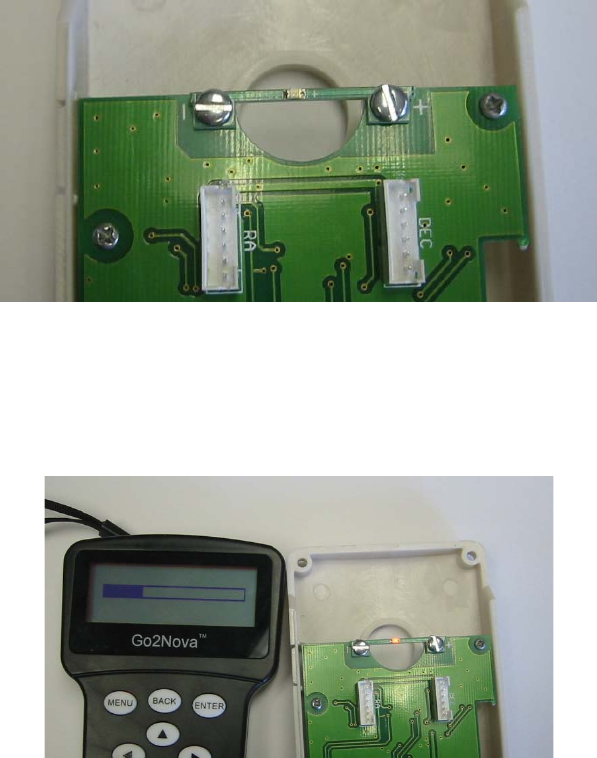
6. If you have an AC/DC power supply, you may connect the power supply and Go2Nova 8408
hand controller to the control board. Turn the power switch on and use hand controller Set
Polar Light command under Set Up Controller menu to adjust the LED brightness. Otherwise,
you may test it after install the face plate back to mount.
Figure 9. Adjust the LED brightness by a hand controller
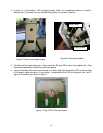
7. Reconnect the battery plugs and R.A. and DEC motor controller cables. Place the face plate
back to the mount and screw it onto the mount.
Quick Polar Alignment:
1. Insert 8 AA batteries into the battery packs or connect the mount with an AC/DC power adapter.
Plug the Go2Nova hand controller into the mount HBX port. Turn the power switch on.
2. Make sure that the DEC axle is not blocking the polar scope view by turn the DEC axle using
UP or DOWN button. Press the Number key to change the speed.
3. Use hand controller Set Polar Light command under Set Up Controller menu to adjust the
LED brightness to a comfort level.
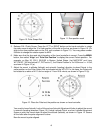
4. Adjust polar scope eyepiece shown in Figure 1 to bring the Polar Scope Dial in focus.
As indicated in Figure 10, the Polar Scope Dial has been divided into 12 hours along the
angular direction with half-hour tics. There are 2 groups, 6 concentric circles marked from 36’ to
44’ and 60’ to 70’, respectively. The 36’ to 44’ concentric circles are used for polar alignment in
northern hemisphere using Polaris. While the 60’ to 70’ circles are used for polar alignment in
southern hemisphere using Sigma Octantis.