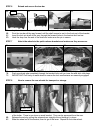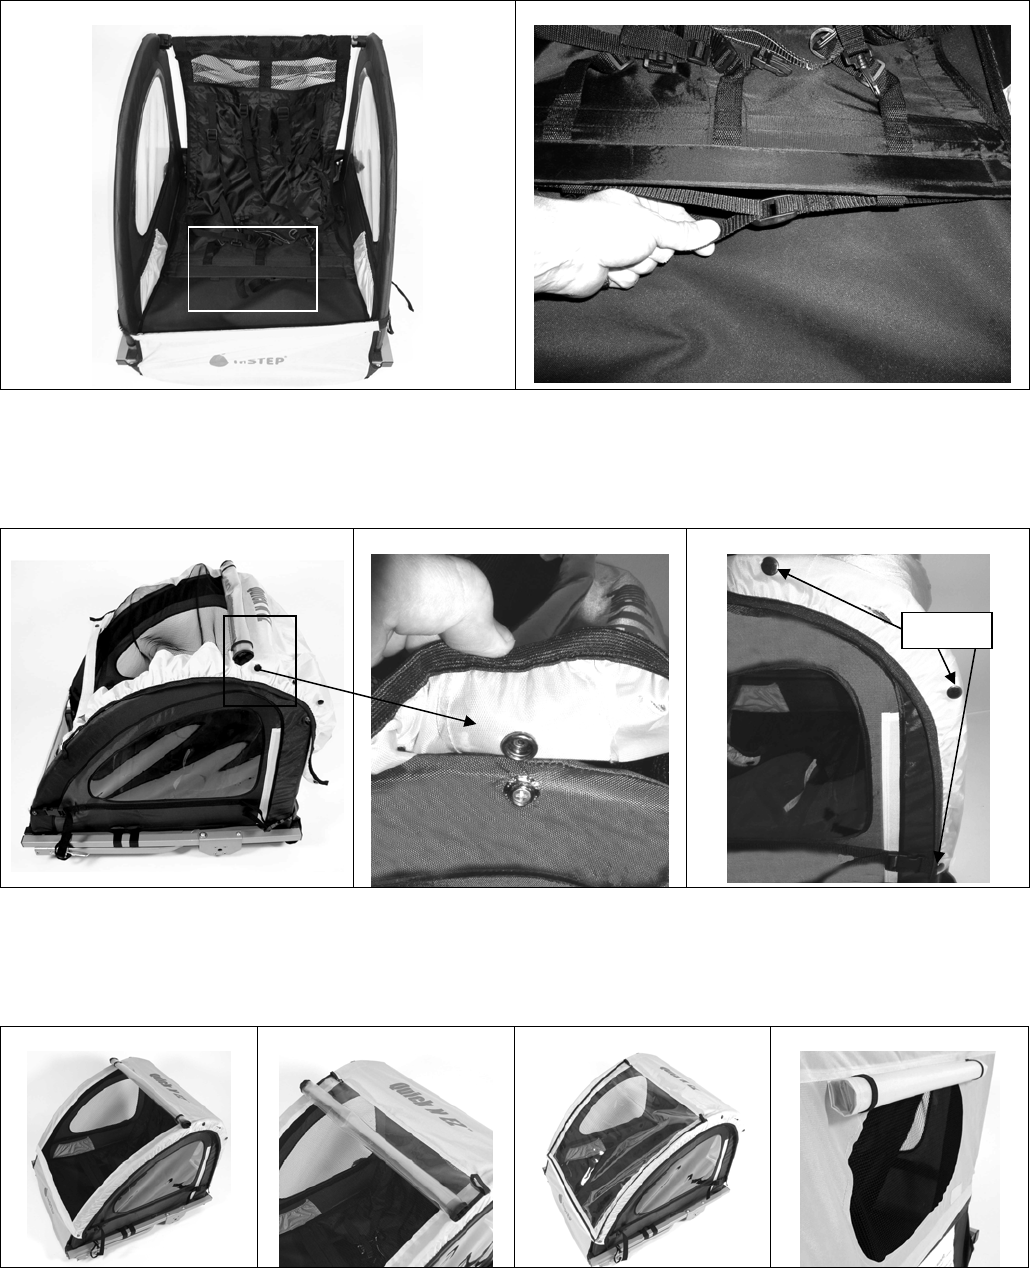
STEP 3 Adjust the sling seat
3A
3B
Area of
detail in
photo 3B
3A. Front view of the trailer with the crossbar secured in place.
3B. To provide more comfort, the sling seat can be adjusted by pulling on one or both sets of straps
that run underneath the bottom of the seat. Loosen the straps to allow the trailer to fold flat.
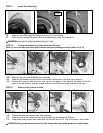
STEP 4 Attach the 2-in-1 canopy
4A
4B
4C
Sna
p
s
4A. Lay the 2-in-1 canopy over the top of the trailer frame with the large window toward the front.
4B. Fold back the top edge of the 2-in-1 canopy and attach both snaps on each side of the frame.
4C. Attach the two rear snaps and join the 2-in-1 canopy to the rear flap with the hook & loop tape.
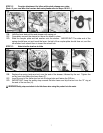
STEP 5 Complete the 2-in-1 canopy attachment
5A
5B
5C
5D
5A. Attach the two snaps at the front corners of the canopy, and joint the front flaps.
5B. The rain shield may be rolled down by undoing the elastic loops.
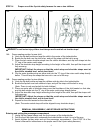
5C. Secure the rain shield along the bottom edge of the 2-in-1 canopy.
4
5D. The rear window cover can be rolled up to provide more air flow through the trailer.


