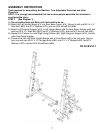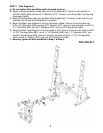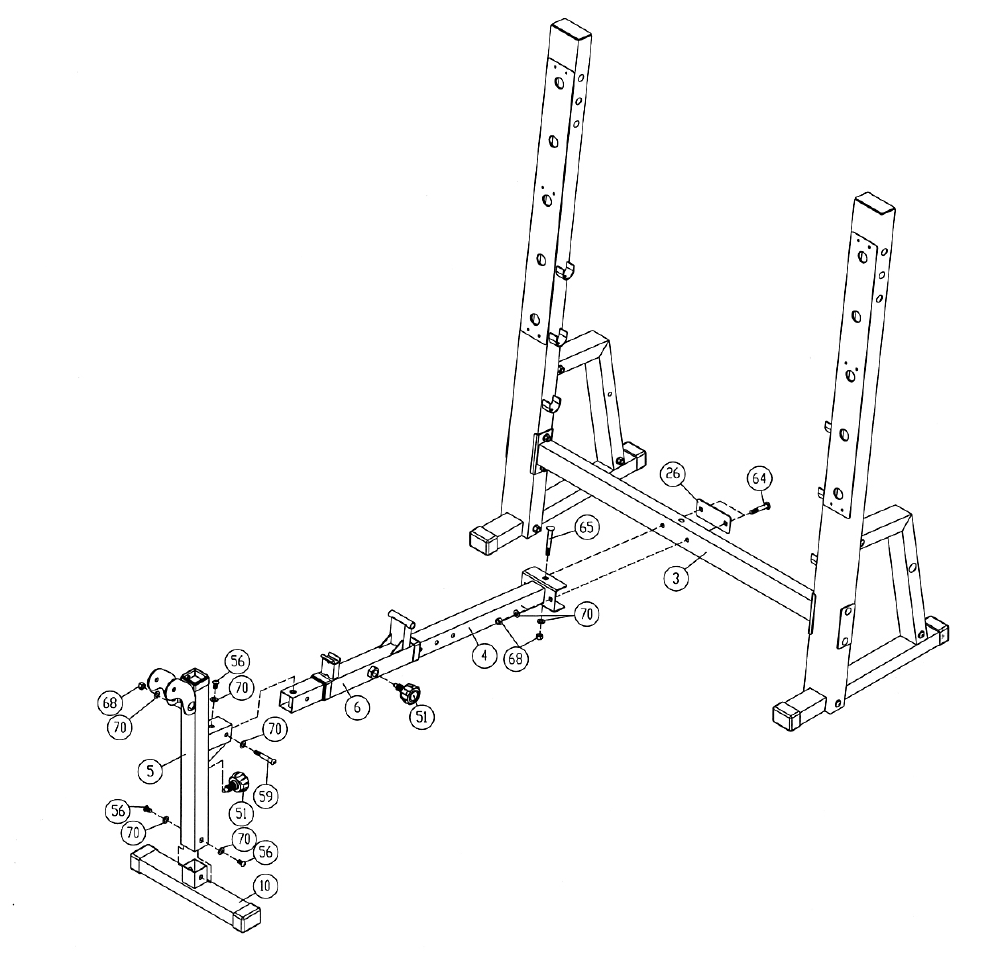
STEP 2 (See Diagram 2)
A.) Do not tighten Nuts and Bolts until instructed to do so.
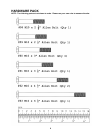
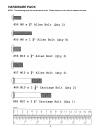
B.) Attach the Leg developer Holder (#5) to the Front Base (#10). Secure it with two M10 x
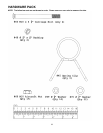
5/8”Allen Bolts (#56) and two Ø ¾” Washers (#70). Thread a Lock Knob (#51) into the Leg
Developer Holder.
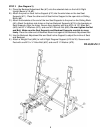
C.) Slide the Sliding Block (#6) onto the Main Seat Support (#4). Thread a Lock Knob into the
selected hole to hold the Sliding Block in position.
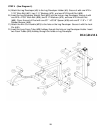
D.) Attach the Main Seat Support to the Leg Developer Holder. Secure it from top with one
M10 x 5/8” Allen Bolt (#56) and one Ø ¾” Washer (#70). Secure it with side with one M10 x
2 ½” Allen Bolt (#59), two Ø ¾” Washers (#70), and one M10 Aircraft Nut (#68).
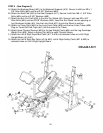
E.) Attach the Main Seat Support to the Cross Brace (#3). Secure it from the rear with two M10
x 2 3/8” Carriage Bolts (#64), one 4 ¾” x 2” Bracket (#26), two ¾” Washers (#70), and
two M10 Aircraft Nuts (#68). Secure it from the top with one M10 x 3 1/8” Carriage Bolt
(#65), one Ø ¾” Washer (#70), and one M10 Aircraft Nut (#68).
F.) Securely tighten all Nuts and Bolts in Step-1 & Step-2.
DIAGRAM 2
8


