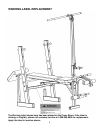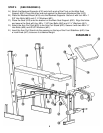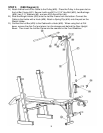
STEP 2 (SEE DIAGRAM 2)
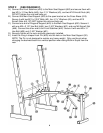
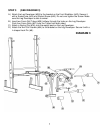
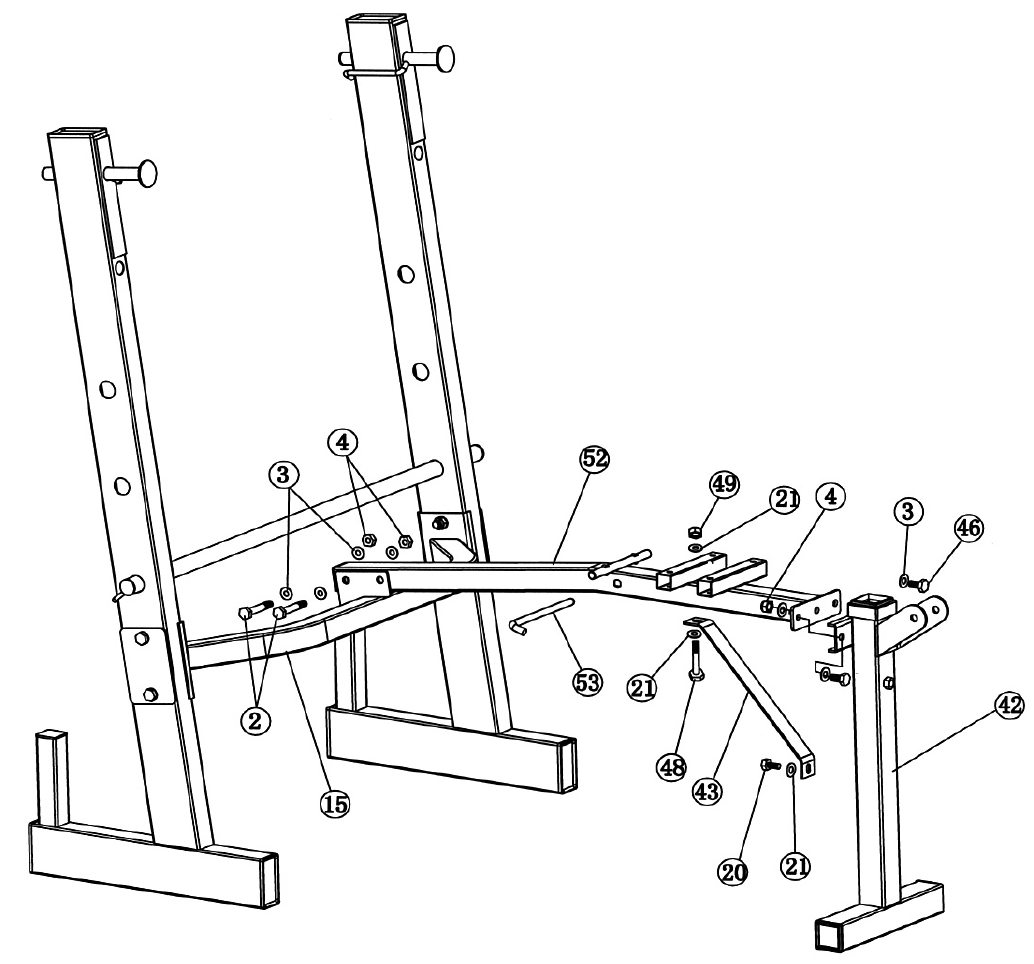
A.) Connect the Front Stabilizer (#42) to the Main Seat Support (#52) and secure them with
two M10 x ¾” Hex Bolts (#46), four ∅ ¾” Washers (#3), and two M10 Aircraft Nuts (#4).
DO NOT tighten the nuts and bolts yet.
B.) Connect the Main Seat Support (#52) to the open bracket on the Cross Brace (#15).
Secure it with two M10 x 2 3/8” Bolts (#2), four ∅ ¾” Washers (#3), and two M10
Aircraft Nuts (#4). DO NOT tighten the nuts and bolts yet.
C.) Connect one end of Diagonal Support (#43) to the Main Seat Support (#52). Secure it
with one M8 x 2 1/8” Hex Bolt (#48), two ∅ 5/8” Washers (#21) and one M8 Aircraft Nut
(#49). Connect the other end to the Front Stabilizer (#42). Secure it with one M8 x ¾”
Hex Bolt (#20) and ∅ 5/8” Washer (#21).
D.) Securely tighten all the nuts and bolts previously installed.
E.) Insert the Long L-shaped Lock Pin (#53) into the hole on the Main Seat Support (52).
NOTE: The Pin is not designed to sustain any heavy weight. Only use the pin when
changing the backrest board to a vertical position when doing Walk-in-Squat from the
rear.
6


