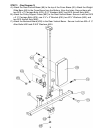
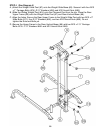
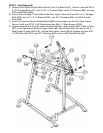
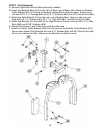
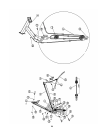
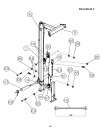
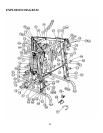
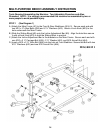
STEP 9 (See Diagram 9 & Cable Loop Diagram)
A.) Attach one end of the 138” Sliding Weight Post Cable (#102) to the open bracket on the
Sliding Weight Post (#14). Secure it with one M10 x 1” Allen Bolt (#68), two Ø ¾” Washers
(#66), and one M10 Aircraft Nut (#86).
B.) Draw the Cable upward to the Pulley on the top of the Rear Upper Frame (#9) previously
installed in Step-5.
C.) Draw the Cable around the Pulley then downward. Install a Small Pulley (#103) to a Double
Floating Pulley Bracket (#18).
D.) Draw the Cable around the Pulley then to the Triple Floating Pulley Bracket (#96) previously
installed in Step-8.
E.) Install a Small Pulley to the Bracket. Draw the Cable around the Small Pulley then
downward to the open bracket on the Pulley Support Frame (#97).
F.) Install a Small Pulley to the bracket. Draw the Cable around the Small Pulley then upward.
G.) Connect the Cable to a Short Chain (#63) with a C-clip (#61). Connect the Short Chain to
the Single Floating Pulley Bracket (#19) previously installed in Step-7. Secure the Chain
with one M10 x 1” Allen Bolt (#68), two Ø ¾” Washers (#66), and one M10 Aircraft Nut
(#86).
H.) After completing the entire cable installations, come back to this Short Chain to adjust the
tension of the Cable system by adjusting the length of the Chain.
I.) Install two Olympic Sleeves (#43) and Spring Clips (#60) onto the Sliding Weight Post (#14).
17


