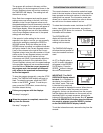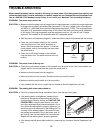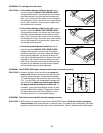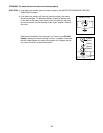
The program will continue in this way until the
speed setting for the last segment is shown in the
Current Segment column and no time remains in
the TIME/INCLINE display. The walking belt will
then slow to a stop.
Note: Each time a segment ends and the speed
settings move one column to the left, if all of the
indicators in the Current Segment column are lit,
the speed settings will move downward so that only
the highest indicators in the columns will appear in
the program display. When the speed settings
move to the left again and not all of the indicators
in the Current Segment column are lit, the speed
settings will move back up.
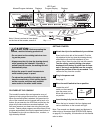
If the speed or incline setting for the current
segment is too high or too low, you can manually
override the setting by pressing the SPEED or
INCLINE buttons. Every few times one of the
SPEED buttons is pressed, an additional indicator
will light or darken in the Current Segment column.
If any of the columns to the right of the Current
Segment column have the same number of lit indi-
cators as the Current Segment column, an addi-
tional indicator may light or darken in those
columns as well. Note: If you manually adjust the
speed setting so that all of the indicators in the
Current Segment column are lit, the speed settings
in the program display will not move downward as
described above. When the current segment of
the program ends, the treadmill will automati-
cally adjust to the speed and incline settings
for the next segment.
To stop the program temporarily, press the STOP
button. The TIME/INCLINE display will begin to
flash. To restart the program, press the START
button or the SPEED
▲▲
button. To end the pro-
gram, press the STOP button, remove the key,
and then reinsert the key.
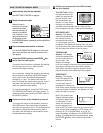
Follow your progress with the displays.
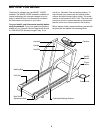
See step 6 on page 9.
When the program is completed, remove the
key from the console.
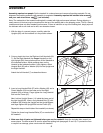
See step 7 on page 10.
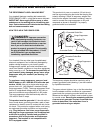
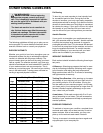
THE INFORMATION MODE/DEMO MODE
The console features an information mode that keeps
track of the total number of hours that the treadmill has
been operated and the total number of miles that the
walking belt has moved. The information mode also
allows you to switch the console from miles to kilome-
ters and to turn the demo mode off and on.
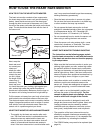
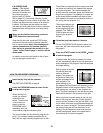
To select the information mode, hold down the STOP
button, insert the key into the console, and continue
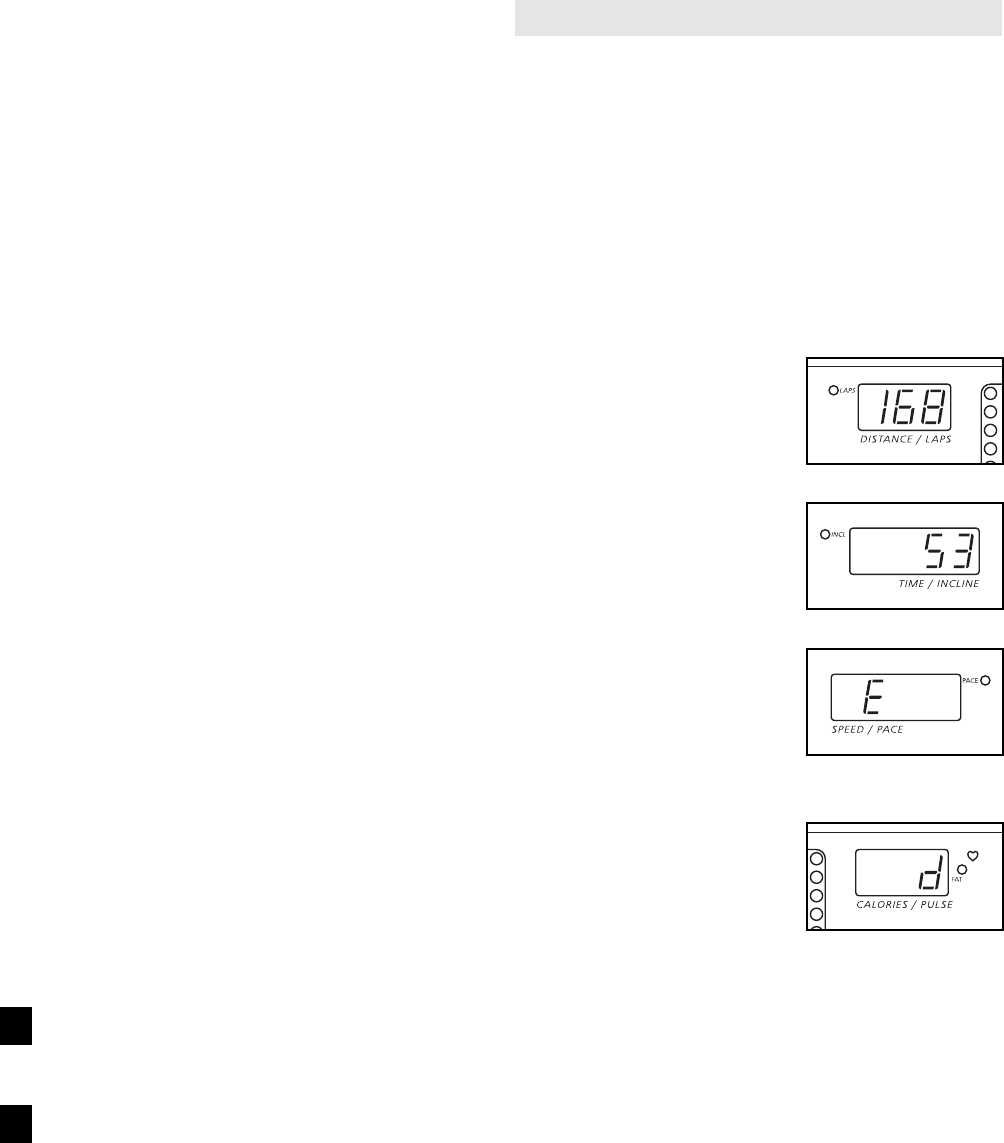
pressing the STOP button for a moment. The following
information will be shown:
The DISTANCE/LAPS
display will show the total
number of miles that the
walking belt has moved.
The TIME/INCLINE display
will show the total number of
hours the treadmill has been
used.
An ÒEÓ for English miles, or
an ÒMÓ for metric kilometers,
will appear in the SPEED/
PACE display. Press the
SPEED
▲▲
button to change
the unit of measurement.
IMPORTANT: The CALO-
RIES/PULSE display should
be blank. If a ÒdÓ appears in
the display, the console is in
the ÒdemoÓ mode. This mode
is intended to be used only
when a treadmill is displayed in a store. When the con-
sole is in the demo mode, the power cord can be
plugged in, the key can be removed from the console,
and the displays and indicators on the console will au-
tomatically light in a preset sequence, although the
buttons on the console will not operate. If a ÒdÓ appears
in the CALORIES/PULSE display when the informa-
tion mode is selected, press the SPEED
▼▼
button
so the CALORIES/PULSE display is blank.
To exit the information mode, remove the key from the
console.
6
5
11


