


9
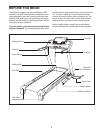
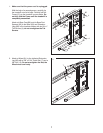
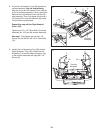
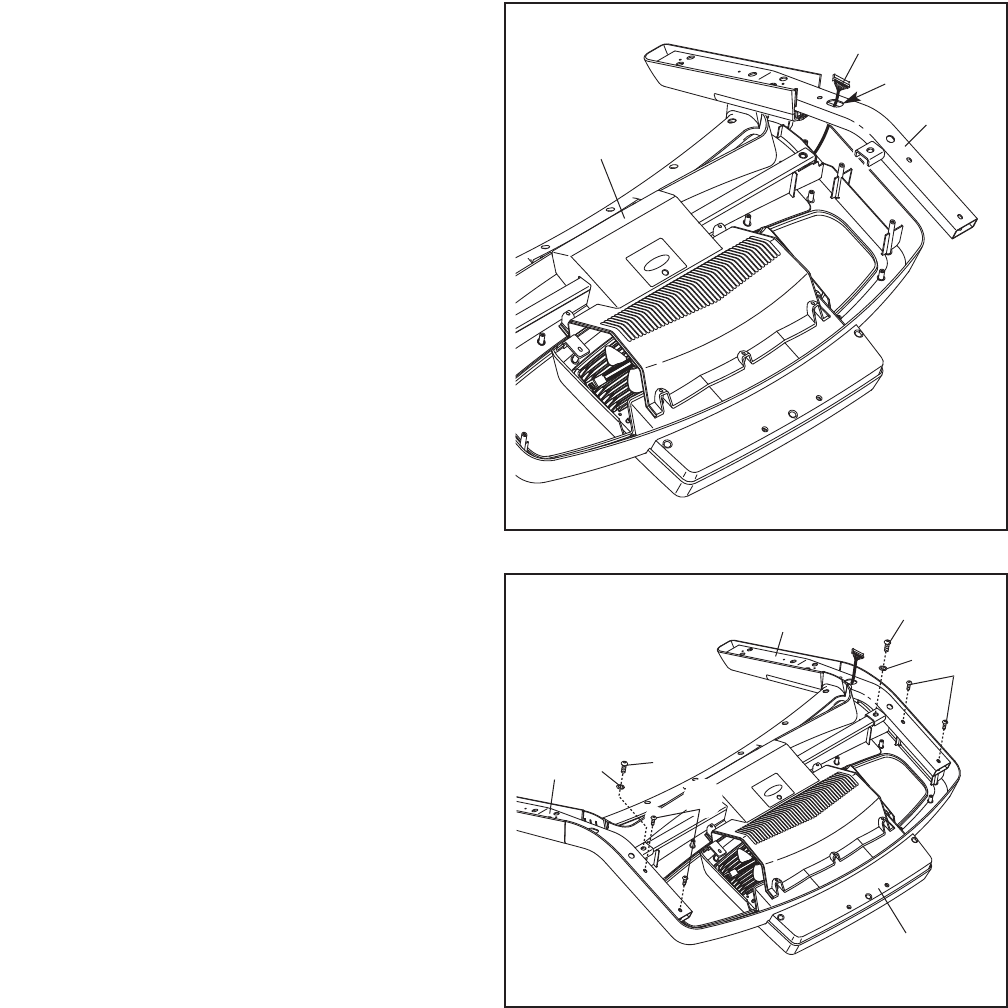
6. Set the console assembly face down on a soft
surface to avoid scratching the console assem-
bly. Identify the Right Handrail (102), which is
m
arked with a sticker. Hold the Right Handrail
near the console assembly.
Next, insert the console wire through the holes
in the Right Handrail (102) as shown.
6
1
02
C
onsole Wire
Holes
C
onsole
Assembly
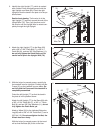
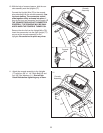
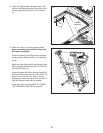
7. Attach the Left Handrail (94) and the Right
Handrail (102) to the console assembly with four
#8 x 1/2" Screws (2), two 3/8" x 3/4" Patch Bolts
(10), and two 3/8" Star Washers (11). Do not
fully tighten the Screws or Patch Bolts yet.
7
2
11
10
94
Console
Assembly
2
10
11
102