


SKU 94142 For technical questions please call 1-800-444-3353. Page 4
CAUTION: Make certain that the Stem (8) and Handlebar (1) are set at an appropriate height for
the rider. Make certain that the Stem (8) is not raised beyond where it is secure in the
Frame (13). Make certain it is stable and tightly in place before riding the Tricycle.
4. To raise or lower the Stem (8), use a hex wrench to loosen the Lock Bolt (3). Gently pull up
on the Stem (8) or push it down until it is at the desired height. Make certain that it is
centered with the frame and Front Wheel (26). Tighten the Lock Bolt (3) into place-see
Figure 1.
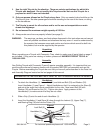
Attaching the Seat and Seat Bracket
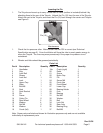
1. Line up the Seat Bracket (11) with one of the two sets of holes in the frame-see Figure 2.
Insert Bolt (9) and thread on Lock Nut (34).
2. If desired, the Seat (10) can be rotated up and down or moved forward or backward by
loosening the Nut located directly under the Seat (10).
Figure 2-Seat and Seat Bracket
Seat
Bracket (11)
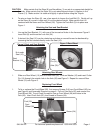
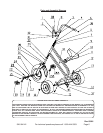
Attaching Rear Wheels
1. Slide one Rear Wheel (15) onto the Rear Axle (35). Slide on Washer (16) and insert Cotter
Pin (14) through the outside hole in the Axle (35)-see Figure 3. Repeat for second Rear
Wheel (15)-see Figure 3.
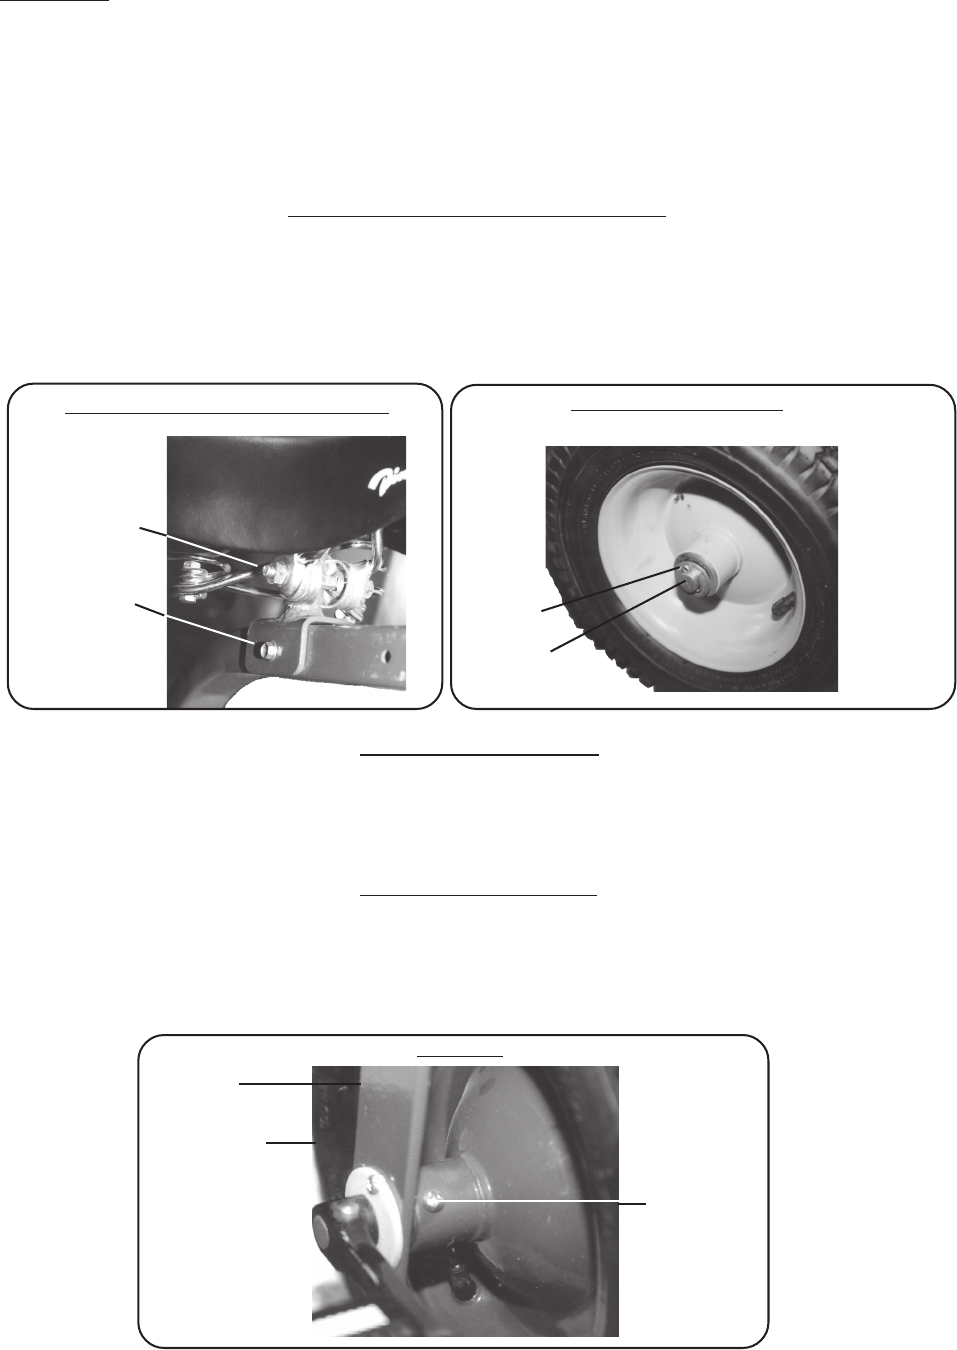
Replacing Front Wheel
1. To fix or replace the Front Wheel (26), first remove Screws (24) from Front Wheel (26) rim-
see Figure 4 and Assembly Diagram on page 6. Pull out Front Axle (25) and remove the
Front Wheel (26). To put it back in position, line up Front Wheel (26) with holes in the
Fork (29). Insert Front Axle (25), and thread in Screws (24).
Nut under
Seat (10)
Axle (35)
Cotter
Pin (14)
Figure 3-Rear Wheel
Screw (24)
Front
Wheel (26)
Fork (29)
Figure 4