6
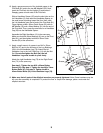
1.
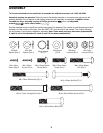
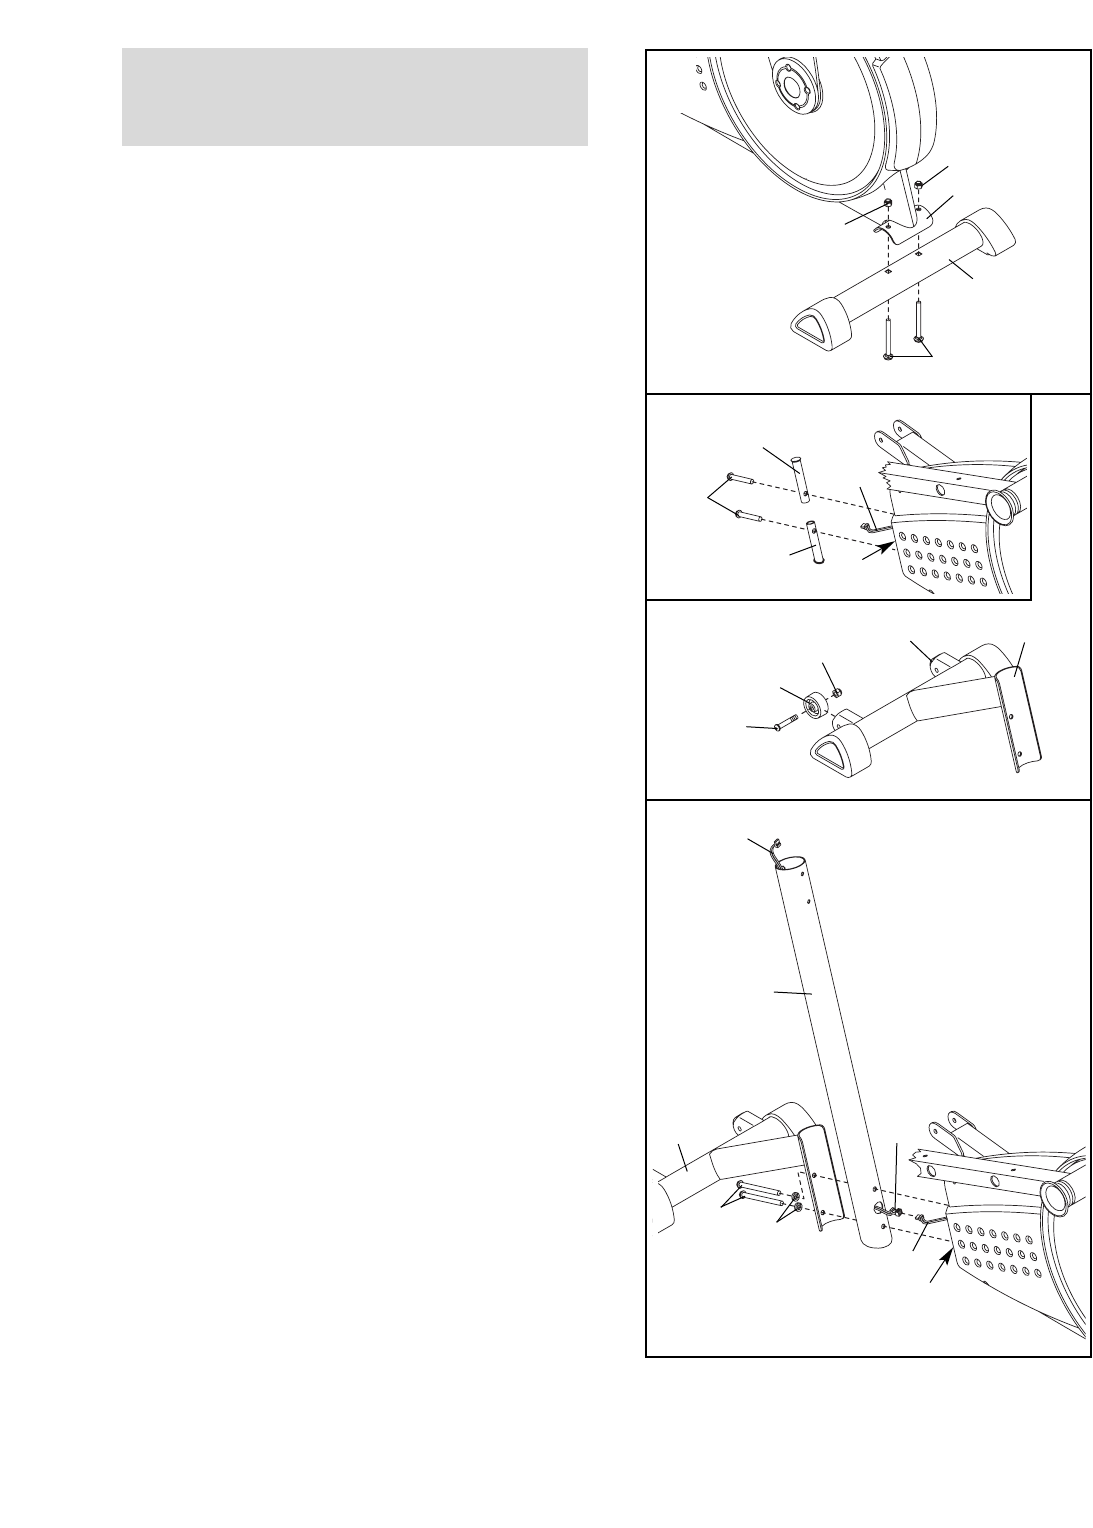
Identify the Rear Stabilizer (4). While another person
lifts the rear of the Frame (1), attach the Rear
Stabilizer to the Frame with two M10 x 75mm
Carriage Bolts (34) and two M10 Nylon Locknuts (29).
4
34
29
29
1
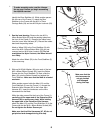
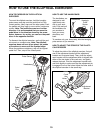
2. See the inset drawing. Remove the two M10 x
45mm Button Bolts (33) and the packing tubes from
the front of the Frame (1). Remove the rubber band
from the Lower Wire Harness (87). Discard the rubber
band and the packing tubes.
Attach a Wheel (32) to the Front Stabilizer (3) with
one of the M10 x 45mm Button Bolts (33) you just
removed and an M10 Nylon Locknut (29). Do not
overtighten the Nylon Locknut; the Wheel should
turn freely.
Attach the other Wheel (32) to the Front Stabilizer (3)
in the same way.
29
33
32
3
32
1
33
2
Packing Tube
Packing
Tube
1
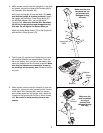
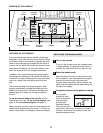
3. Slide an M10 Split Washer (94) onto each of the two
M10 x 83mm Button Screws (63). Insert the Button
Screws into the Front Stabilizer (3). Next, slide the
Mast (15) onto the Button Screws and against the
Front Stabilizer.
Make sure that the Mast is oriented
as shown.
While another person holds the Mast (15) and the
Front Stabilizer (3) near the Frame (1), connect the
Extension Wire Harness (95) to the Lower Wire
Harness (87). Insert the connectors on the Wire
Harnesses into the Mast.
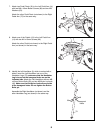
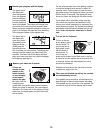
While the other person lifts the front of the Frame (1),
carefully pull the upper end of the Extension Wire
Harness (95) to remove any slack. While holding
the upper end of the Extension Wire Harness,
attach the Mast (15) and the Front Stabilizer (3) to the
Frame with the two M10 x 83mm Button Screws (63).
Do not tighten the Button Screws yet.
Make sure that the Wire Harnesses (87, 95) do not
get pinched and damaged during this step.
94
3
1
63
3
15
95
87
Pull
Make sure that the
wire harnesses do
not get pinched
and damaged
during this step
87
To make assembly easier, read the informa-
tion on page 5 before you begin assembling
the elliptical exerciser.


