


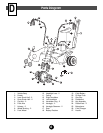

10
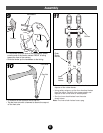
7
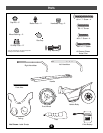
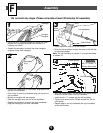
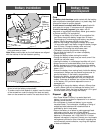
• Position the vehicle body upright.
• Fit the dashboard onto the top of the swivel bracket.
• Align the screw holes in the dashboard and
swivel bracket.
• Insert two #8 x 1
1
/
2
" screws into the dashboard.
• Tighten each screw with a Phillips screwdriver. Do not
over-tighten.
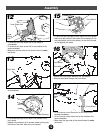
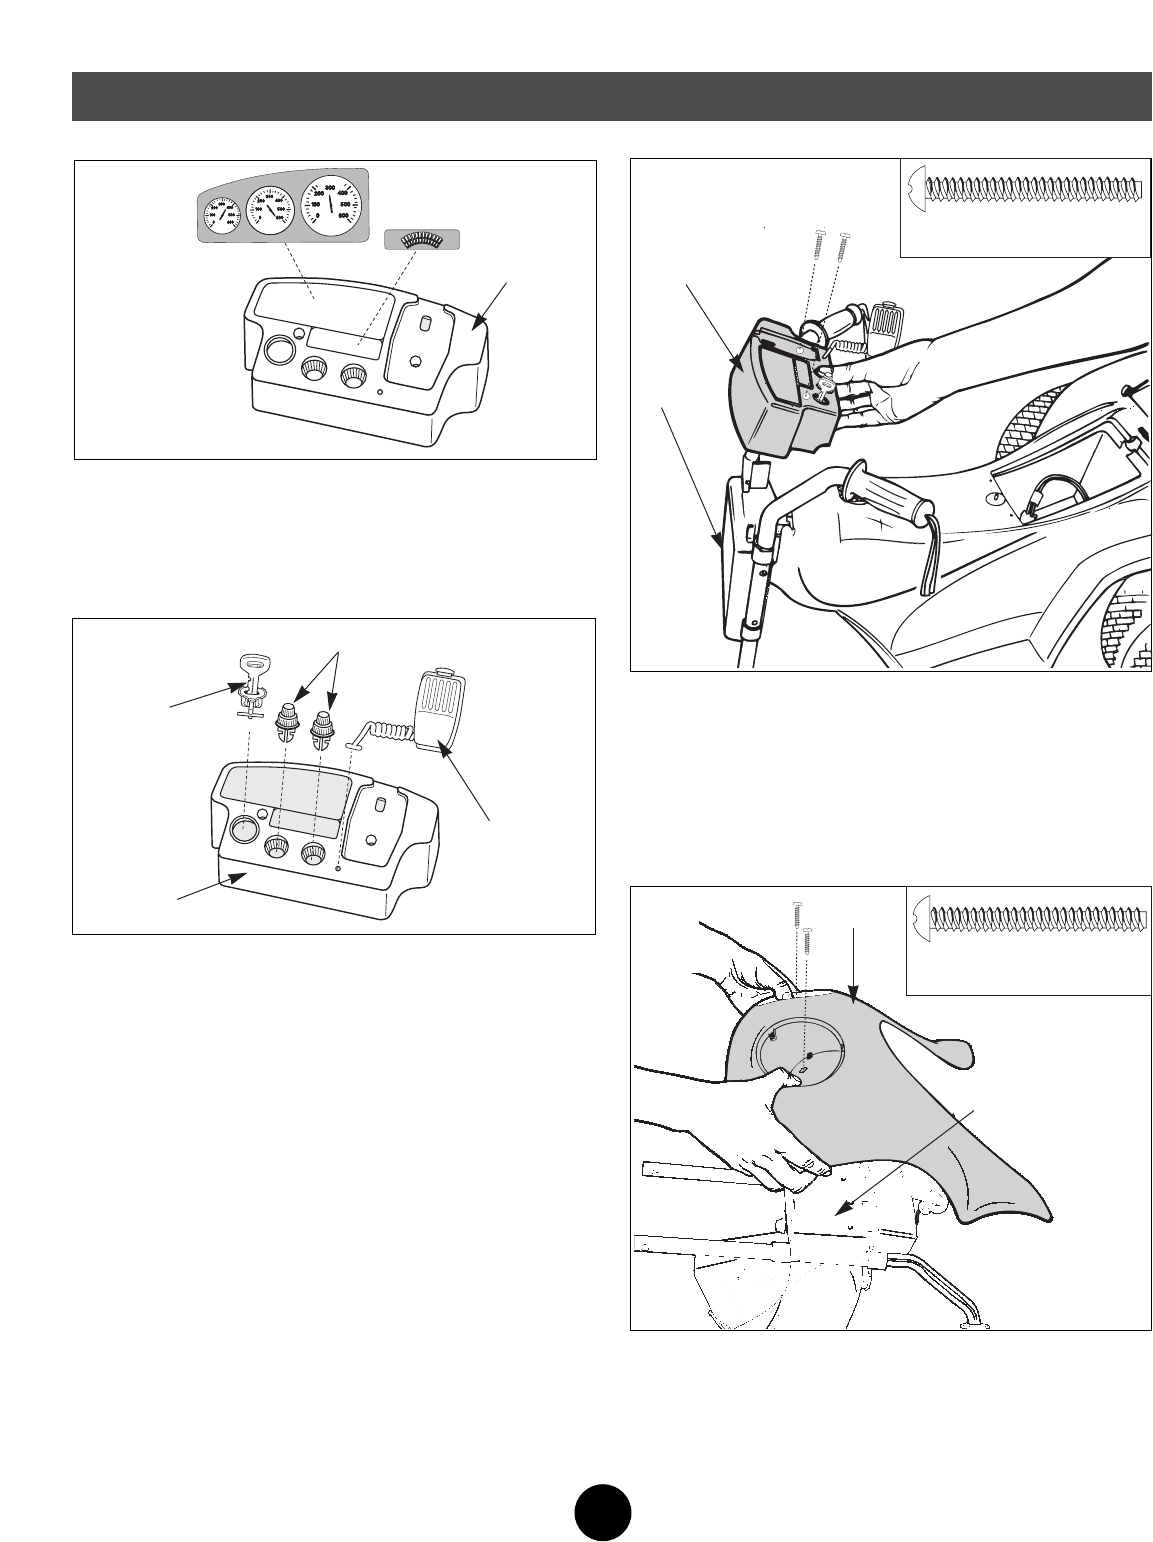
• Stand the vehicle body on its rear wheels.
• Fit the fairing onto the front of the swivel bracket.
• Align the screw holes in the front of the fairing with the
holes in the swivel bracket.
• Insert two #8 x 1
1
/
2
" screws into the fairing.
• Tighten the screws with a Phillips screwdriver. Do not
over-tighten.
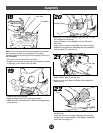
8
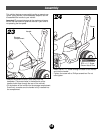
• Apply labels to the dashboard as shown.
• Make sure the areas where the labels will be applied are
clean and dry.
• For best adhesion, avoid repositioning a label once it
has been applied to the vehicle.
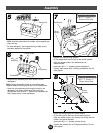
5
6
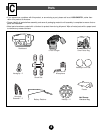
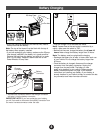
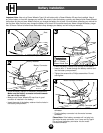
• Snap the key assembly and radio knobs into the
dashboard.
Note: Gently squeeze the tabs on the radio knobs
together before inserting the knobs into the dashboard.
• Insert the microphone cord through the hole in the
dashboard, as shown. Make sure the end of the
microphone cord forms a “T” behind the dashboard so
that it stays secure in the dashboard.
Assembly
6
4
Dashboard
Microphone
Dashboard
Radio Knobs
Key
Assembly
Dashboard
Swivel
Bracket
#8 x 1
1
/
2
" Screw – 2
Shown Actual Size
Swivel
Bracket
Fairing
#8 x 1
1
/
2
" Screw – 2
Shown Actual Size