


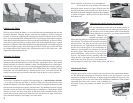
7
Housing
FF
FF
F
rr
rr
r
ont Brakeont Brake
ont Brakeont Brake
ont Brake
Handlebar
Steerer
Tube
Cable
Chapter 2: Assembly and Setup
Your Vision™ Recumbent dealer should have put your bike together and set the adjust-
ments for you. Your warranty is void, and you could suffer serious injury unless the
following procedures have been accomplished or checked by a qualified bicycle me-
chanic. We will review the assembly instructions here, and also point out some areas that
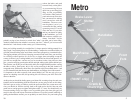
need continuing inspection. Refer to the "Anatomy of a Metro" section for part names
and locations.
Unpacking the Metro
Your Metro comes shipped from the factory in one large cardboard box, approximately
60" x 22" x 12.5". This box is UPS shippable. We have never had any problem taking
our Vision™ recumbents with us on the air-
lines - as long as the bike is in its box.
The bike comes packed with all compo-
nents installed except the handlebars,
crankset, chain, pedals and seat. Remove
your Metro from the box and remove the
packing straps. Install the crankset, using
no grease on the spindle tapers, and tighten
the crank nut. Install the pedals— the right
pedal (as you sit on the bike) has a right
hand thread, and the left pedal has a left hand thread. Grease the threads before instal-
lation, then tighten with a 15mm wrench.
Install the chain now. The front idler (used on the 7 speed
R30NT and R30NTX only) is spring loaded -- install it by turning it
counterclockwise to engage the tension spring.
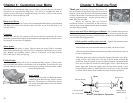
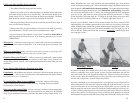
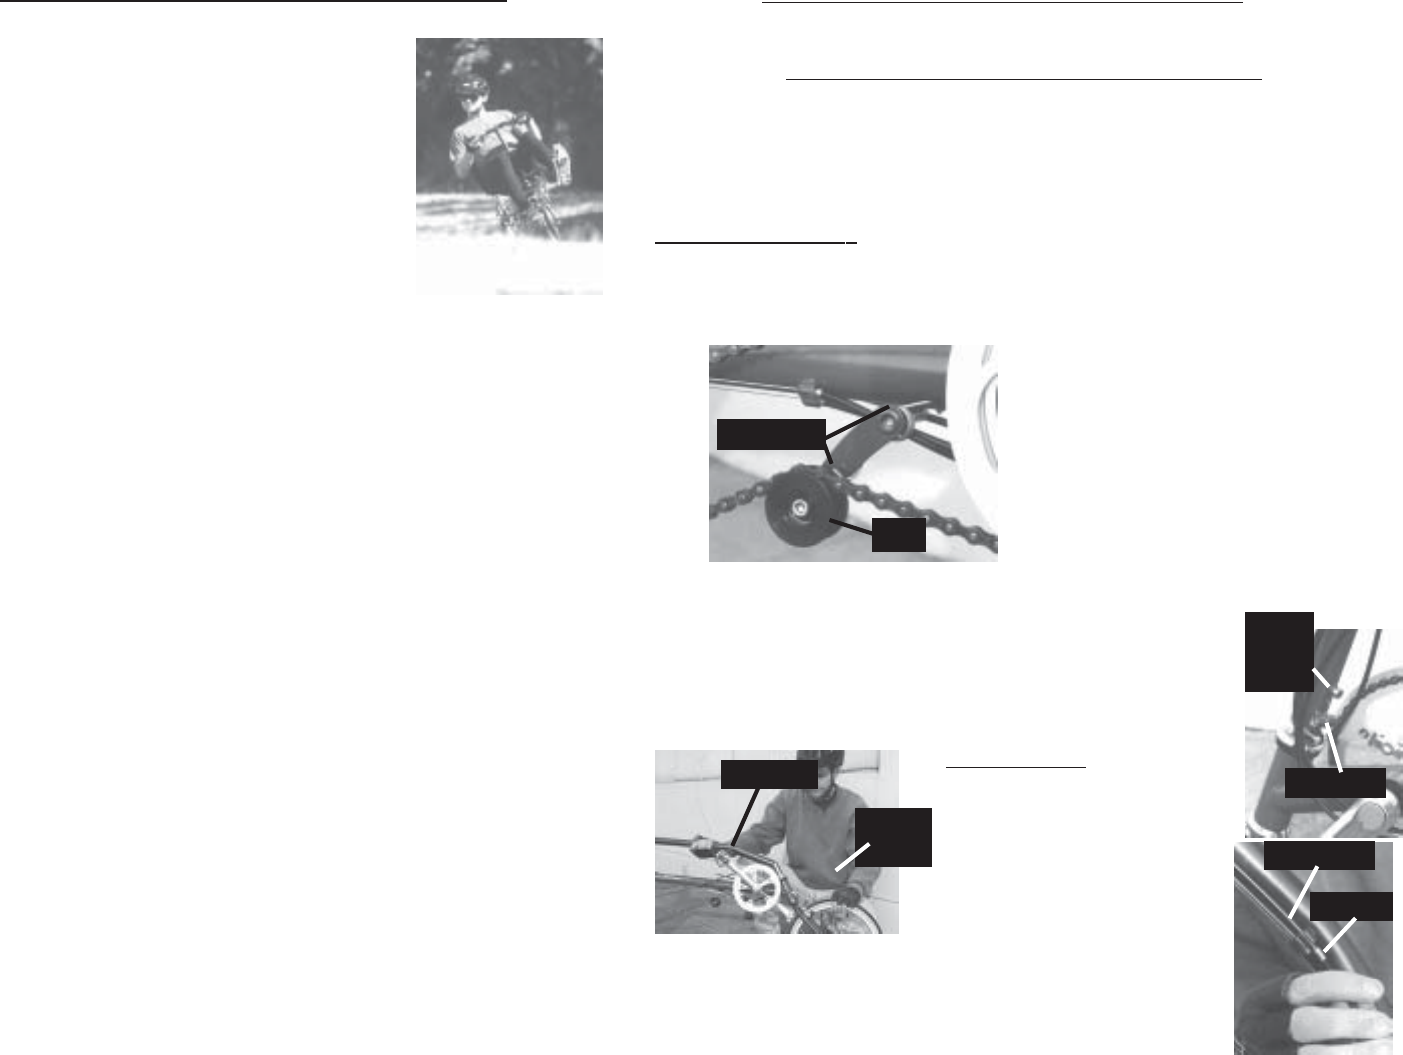
The Handlebar
The Metro comes packed in the box
with the front fork facing back-
wards. Turn the wheel around un-
til the arms on the front brake cali-
per are on the right side of the bike.
Insert the handlebar onto the
steerer. Make sure the control cables are not tangled, and slide the
handlebar down onto the headset completely. Make sure the handle-
bars are aligned correctly with the fork, line up the anti-rotate hole by
looking in the nut hole, and insert and tighten the anti-rotate bolt. Tighten
the pinch bolt to the torque specifications in the general information
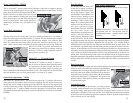
Idler
SpringSpring
SpringSpring
Spring
Idler
anti-
rotate
bolt
Pinch Bolt
14
Chapter 3: Riding the VISION
Riding a Vision recumbent is no more difficult than riding a
traditional diamond frame bicycle, just slightly different. If
you are new to cycling, you’ll find it easy to learn to ride on a
Vision. If you are an experienced rider, you’ll have to learn
some new habits, but the benefits of riding a recumbent far
outweigh the small learning curve involved. Either way, it’s
important to spend a little time adjusting to your new bike be-
fore riding in traffic or committing to a long ride. In this chap-
ter I’m going to discuss some things that will make the transi-
tion to recumbents, or learning to ride on a recumbent, easier.
First of all, be sure to read the previous chapter about set up of the bike. To ride well you
have to be comfortable, and to be comfortable you need to be sure that your Vision is
adjusted to fit you properly.
If you’re comfortable on your bike, it’s time to go riding. First and foremost, the most
important part of riding any bike is to wear proper safety equipment. We discussed safety
equipment in Chapter 1, but I will repeat it here. It is essential to wear a helmet, all the
time, anytime you ride. It’s also very important to wear gloves when you ride. If you do
have an accident and fall over, you’ll probably catch yourself with your hands, so save
your palms and wear gloves. You should also wear protective eyewear; road grit and
flying insects do not make for happy eyes. Wearing cycling shoes, shorts and jerseys can
help you be more comfortable, but they are not as essential as the helmet, gloves and
glasses.
Now you’re all set to hop on your Vision and pedal away into the sunset, right? Wrong!
The key to riding smoothly and in a controlled fashion on any bicycle, recumbent or not,
is to be comfortable enough to relax. If you are nervous and tense, you will tend to ride in
a jerky, overcontrolling fashion. Not only does this make you more uncomfortable, which
leads to even worse riding, but it doesn’t look cool. So you need to approach the bike as
your friend, someone you’ll enjoy spending the day with. The intent here is to spend
some relaxed time getting to know your bike before you get 20 miles into nowhere, or
involved with city traffic. Pack a lunch and head for the park, relax and enjoy the day for
a bit, and then set yourself up to ride in the parking lot, or any open space with no traffic.
Let's talk about your gears. Both the 21 speed and seven speed Metro's have "click" style
shifters -- there is no danger of getting between gears with these systems (as long as they
are adjusted properly). If you have a seven speed VR30NT model, shifting couldn't be
easier -- Just press either the up or down lever on the handlebar to set the next gear. You
can shift at any time -- while stopped, while pedaling, up hill, down hill, smiling -- simple!
To begin with, set your shifter to the "1" setting.
For 21 speed metro VR30ST's the system is a little more complicated, but not