


Operation Guide 3038
2
Using the Alarm and
Hourly Time Signal
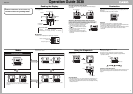
In the Timekeeping Mode, press the C button twice to enter the Alarm
Mode.
Hour
Minute
About 1 second
AM indicator
(P during PM)
Timekeeping Mode Alarm Mode
Alarm Mode
• The watch beeps for 10 seconds when the alarm time set in the Alarm
Mode is reached.
• The hourly time signal causes the watch to beep every hour on the hour.
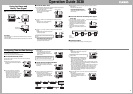
■ To set the alarm time
1.
In the Alarm Mode, hold down the A button for about one second until
the hour digits start to flash on the display.
• This is the setting mode.
• This also causes the alarm indicator to
appear, and turns on the alarm
automatically.
2.
Use the C button to move the flashing to the setting you want to
change.
• Each press of C moves the flashing
between the hour and minute.
3.
Use the D (+) and B (–) buttons to change the currently selected
setting.
• Holding down either button changes the
setting at high speed.
Repeat steps 2 and 3 to set the time you
want.
• When setting the hour, make sure you
specify AM (A) or PM (P) correctly when
using 12-hour timekeeping, or that you
specify the correct 24-hour time.
Alarm Indicator
(–)
(+)
4.
When the setting is the way you want, press the A button to exit the
setting screen.
• This exits the setting screen.
• The display also will exit the setting
screen automatically if you do not
perform any operation for about two or
three minutes.
■ To turn an alarm or the hourly time signal
on or off
In the Alarm Mode, press the D button.
• Each press of the D button cycles through
alarm and hourly time signal settings as
shown below. The current on/off status is
indicated by the indicators that appear on
the display.
• Turning on an alarm or the hourly time
signal causes its indicator to appear on the
display.
OffAlarm On
On
On Off
On
Hourly
Time Si
g
nal
Off Off
■ To stop an alarm
Pressing any button while the beeper is sounding stops it.
Hourly Time Signal Indicator
Configuring Time and Date Settings
Use the following procedure to set the current time and date settings
after having the battery replaced, etc.
• Perform this procedure in the Timekeeping Mode.
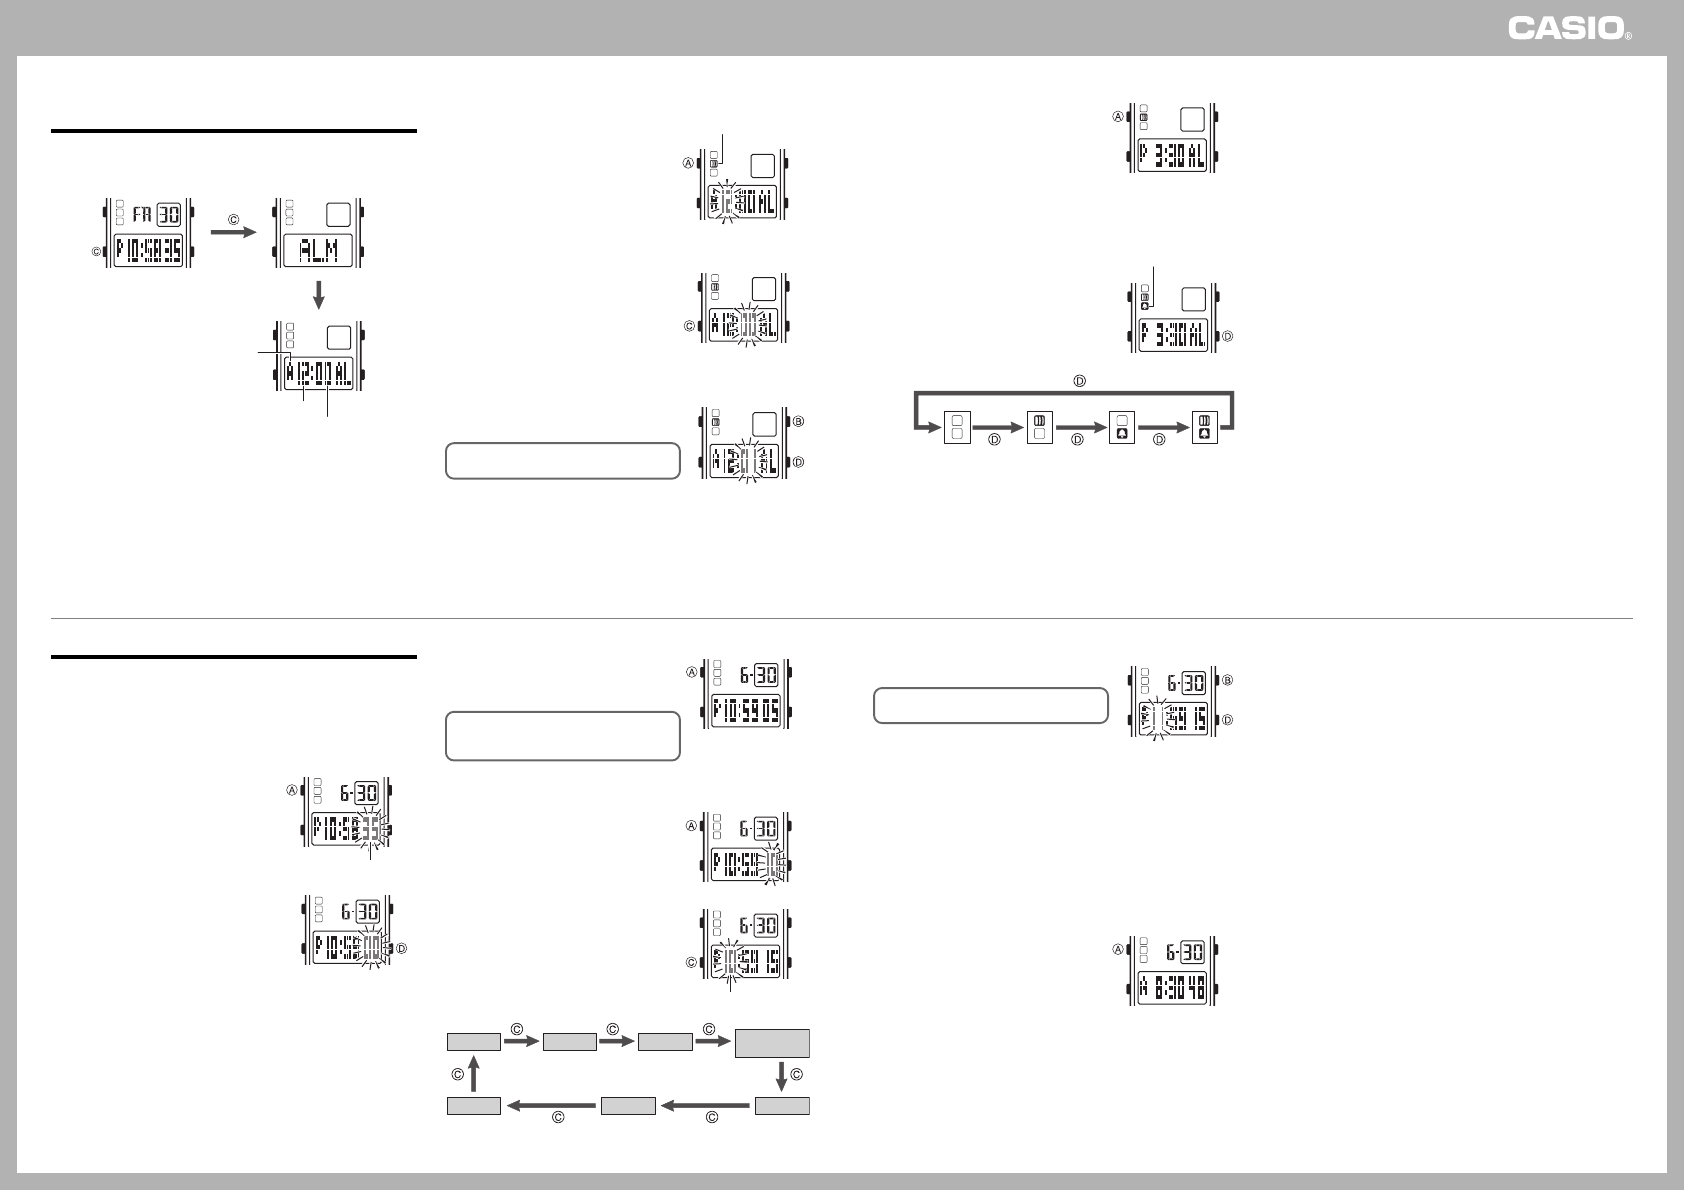
■ To reset the seconds count
This operation resets the seconds count to 00 when it is within 30
seconds fast or slow.
1.
Hold down the A button for about one
second until the seconds start to flash on
the display.
2.
Press the D button on a time signal.
• This resets the seconds count to 00.
• Pressing the D button while the
seconds count is in the range of 30 to 59
resets it to 00 and also adds 1 to the
minutes. Pressing the D button in the
range of 00 to 29 resets the seconds
count without changing the minutes.
Second
3.
When the setting is the way you want, press the A button to exit the
setting screen.
• The display also will exit the setting
screen automatically if you do not
perform any operation for about two or
three minutes.
Resetting the zero count to zero on an
accurate time signal about once a month
helps to ensure accurate timekeeping.
■ To set the current time and date
1.
Hold down the A button for about one
second until the seconds start to flash on
the display.
2.
Use the C button to move the flashing to
the setting you want to change.
• Use the C button to cycle through the
time and date settings shown below.
Each press of C causes the applicable
setting to flash.
12/24-hour
Timekeeping
Day YearMonth
Seconds MinutesHour
Hour
3.
Use the D (+) and B (–) buttons to change the currently selected
setting.
• Holding down either button changes the
setting at high speed.
Repeat steps 2 and 3 to set the time and
date you want.
• While setting the hour, make sure you
specify AM (A) or PM (P) correctly when
using 12-hour timekeeping, or that you
specify the correct 24-hour time.
• When the 12/24-hour timekeeping setting is on the display, press the
D button to toggle between 12-hour timekeeping (12H indicator) and
24-hour timekeeping (24H indicator).
• You can set the year within the range of 2000 to 2099. The day of the
week is set automatically in accordance with the date you set. The
watch’s full auto calendar makes adjustments for leap years and
month lengths automatically. Because of this, there should be no
need to change the date setting again, except after having the
watch’s battery replaced.
4.
When the setting is the way you want, press the A button to exit the
setting screen.
• The display also will exit the setting
screen automatically if you do not
perform any operation for about two or
three minutes.
(–)
(+)