


2196-2
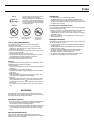
3. While a setting is flashing, press B to
increase it.
• When the 12/24-hour setting is
selected, press B to toggle between
12-hour (
BCL) and 24-hour (C@L)
timekeeping.
4. Press A to exit the setting screen.
• The day of the week is automatically
displayed in accordance with the date
(year, month, and day) settings.
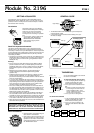
ALARM
You can set a Daily Alarm that sounds at
the same time each day, while it is turned
on. You can also turn on an Hourly Time
Signal that causes the Watch to beep twice
every hour on the hour.
• All of the operations in this section are
performed in the Alarm Mode, which you
enter by pressing C.
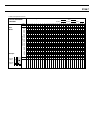
To set the alarm time
1. In the Alarm Mode, hold down A until
the hour digits of the alarm time start to
flash, which indicates the setting screen.
• This automatically turns on the alarm.
2. Press C to move the flashing between
the hour and minutes.
3. While a setting is flashing, press B to
increase it.
• When setting the alarm time using the
12-hour format, take care to set the
time correctly as a.m. (no indicator) or
p.m. (P indicator).
4. Press A to exit the setting screen.
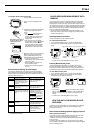
Alarm time (Hour : Minutes)
Alarm on indicator
Daily Alarm Operation
The alarm sounds at the preset time each day for about 20 seconds, or
until you stop it by pressing any button.
• Note that the alarm and Hourly Time Signal do not sound while the
Watch is in the Measurement Mode.
To test the alarm
1. In the Alarm Mode, hold down A until the hour digits of the alarm
time start to flash, which indicates the setting screen.
2. Hold down C to sound the alarm.
3. Press A to exit the setting screen.
To turn the Daily Alarm and Hourly Time Signal on and off
In the Alarm Mode, press A to cycle through the on and off settings as
shown below.
[Alarm On Indicator / Hourly Time Signal On Indicator]
Alarm On
Signal On
Alarm Off
Signal Off
Alarm Off
Signal On
Alarm On
Signal Off
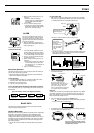
BASIC DATA
The Watch cannot calculate a blood pressure value until the person
using it first inputs some basic data.
Inputting Basic Data
Basic data is set using both the Watch and the Base Unit in combination.
Basic data is set by taking simultaneous pulse and blood pressure
readings with the Base Unit, and pulse wave and electric potential
readings with the Watch. Readings taken with the Base Unit are sent to
the Watch using infrared data communication. This means you should
have both the Watch and Base Unit on hand before starting the basic
data setting procedure.
• See the “BP-1M User’s Guide” for full details about using the Base
Unit.
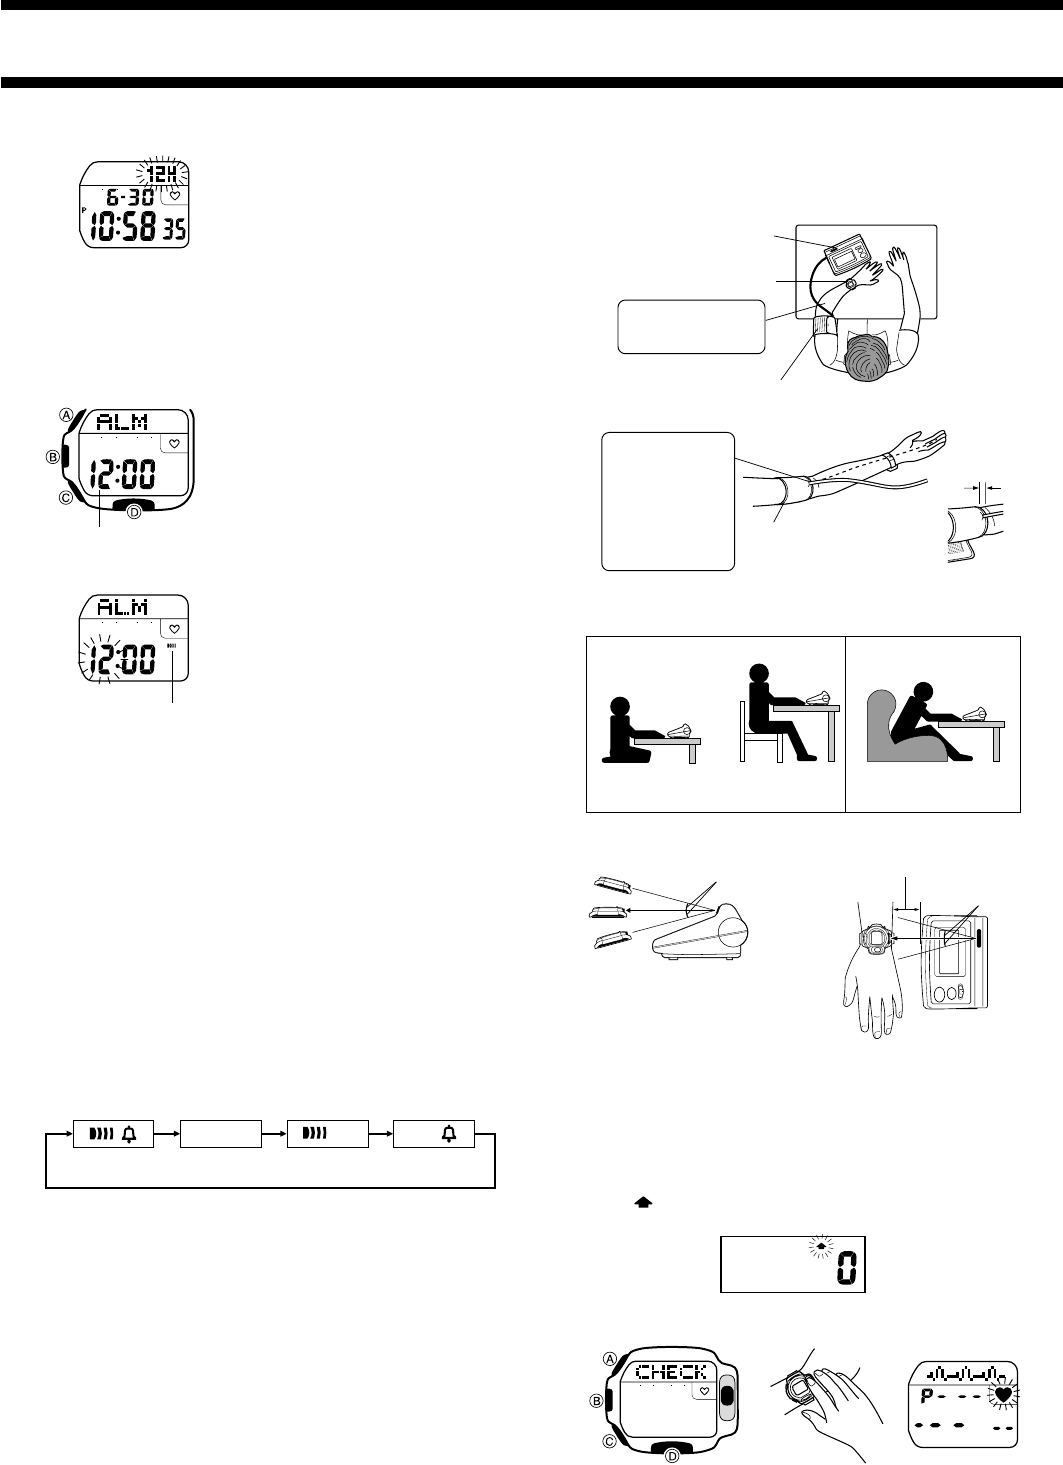
To input basic data
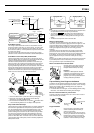
1. With your arm resting on a table or desk, attach the cuff of the Base
Unit to your arm and buckle the Watch to your wrist as shown below.
• The Watch should be on the outside of the left wrist.
Watch
Base Unit
Cuff
Keep your arm bent at
an angle that is greater
than 90 degrees.
• Be sure to attach the Base Unit cuff to your left arm.
• Your left arm (which is wearing the Watch) should be resting on the
same table or desktop as the Base Unit. Your arm and shoulders
should be relaxed and free of tension.
2. Position the infrared ports of the Base Unit and the Watch as shown
in the illustration below.
Important!
It takes a few moments after your blood pressure appears on the display
of the Base Unit before it is sent to the Watch. Be sure you keep your
finger on the Watch’s sensor and keep the infrared ports pointed each
other until the Watch beeps in step 5.
3. Turn on the Base Unit by pressing its ON/OFF button.
• The
indicator should flash on the Base Unit display to indicate
that it is standing by for measurement.
4. On the Watch, press the D button and then immediately place your
right index finger on the Watch’s sensor.
15° maximum
5cm maximum
Position the cuff so
the air tube is
located at the top of
your biceps.
• The tube should
align approximately
with your middle
finger.
1 or 2 cm
Cuff
15° maximum
Do not force your arm into an
abnormal position when aligning the
infrared ports. Put a cushion under
your arm if necessary, and try to
achieve a path between the ports that
is as straight and level as possible.
Proper posture
Sit erect.
This posture puts pressure
on the abdomen.
Poor posture
Keep your finger on the Watch’s sensor
and keep the infrared ports aligned until
the Watch beeps in step 5.