


3
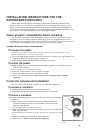
INSTALLATION INSTRUCTIONS FOR THE
EXPERIENCED MECHANIC
These instructions explain the steps to remove an existing crankset and
install a new one. The correct installation of your crankset is critical to your
safety, so this work should be performed only by an experienced mechanic. If
you are not sure of your ability to correctly install this crankset and adjust the
parts, have the crank installed by your Bontrager dealer.
Check all parts' compatibility before installing
The crankset interfaces with the pedals, bottom bracket, chain, and front
derailleur with its shifter. Each of these parts must be compatible with the
crankset for the systems of a bicycle to function correctly. If you are not sure if
this crankset is compatible with your bicycle, consult your dealer.
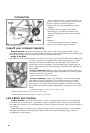
Pedal removal and installation
To remove the pedals
Note: There are right and left pedals, usually marked with a letter stamped on the
end of the pedal axle, or on the wrench flats.
1. Turn the right pedal spindle counter-clockwise to remove the right pedal, the
opposite direction of tightening (Figure 3).
2. Turn the left pedal axle clockwise to remove the pedal.
To install the pedals
1. Apply a light coat of Wrench Force® synthetic grease or a similar lubricant
over all the threads.
See your dealer for a recommended grease.
2. Place the pedal washer over the pedal threads.
3. Thread the pedal into the crank arm by hand.
4. Follow the instructions for tightening pedals in
Inspect your crankset
regularly
.
Crank arm removal and installation
The left crank arm is held in place by a crank bolt (Figure 2).
To remove a crankarm
1. Loosen the crankarm bolt on the left crankarm.
2. Continue turning the crank bolt to remove the crank arm.
To install a crankarm
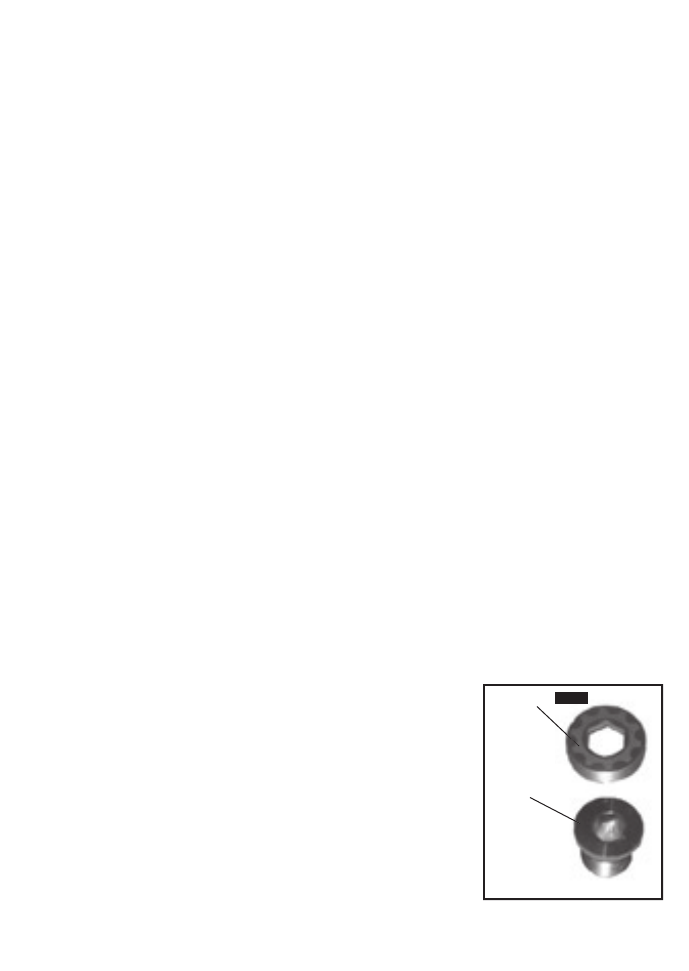
With a self-extracting bolt, the parts must be correctly assembled
(Figure 6).
1. Apply a light coat of Wrench Force® synthetic grease or
a similar lubricant over all the threads, and the bottom
bracket axle splines.
See your dealer for a recommended grease.
2. Align the splines of the axle with the crank arm, and slide the
arm onto the axle.
When installing the crankarm, note the alignment of the opposite crank
arm.
3. Carefully engage the threads of the crank bolt.
4. Tighten as in
Inspect your crankset regularly.
Figure 6- Self-extractor bolt
Figure 6- Self-extractor bolt
parts
Crank
bolt
Extractor collar
Extractor collar